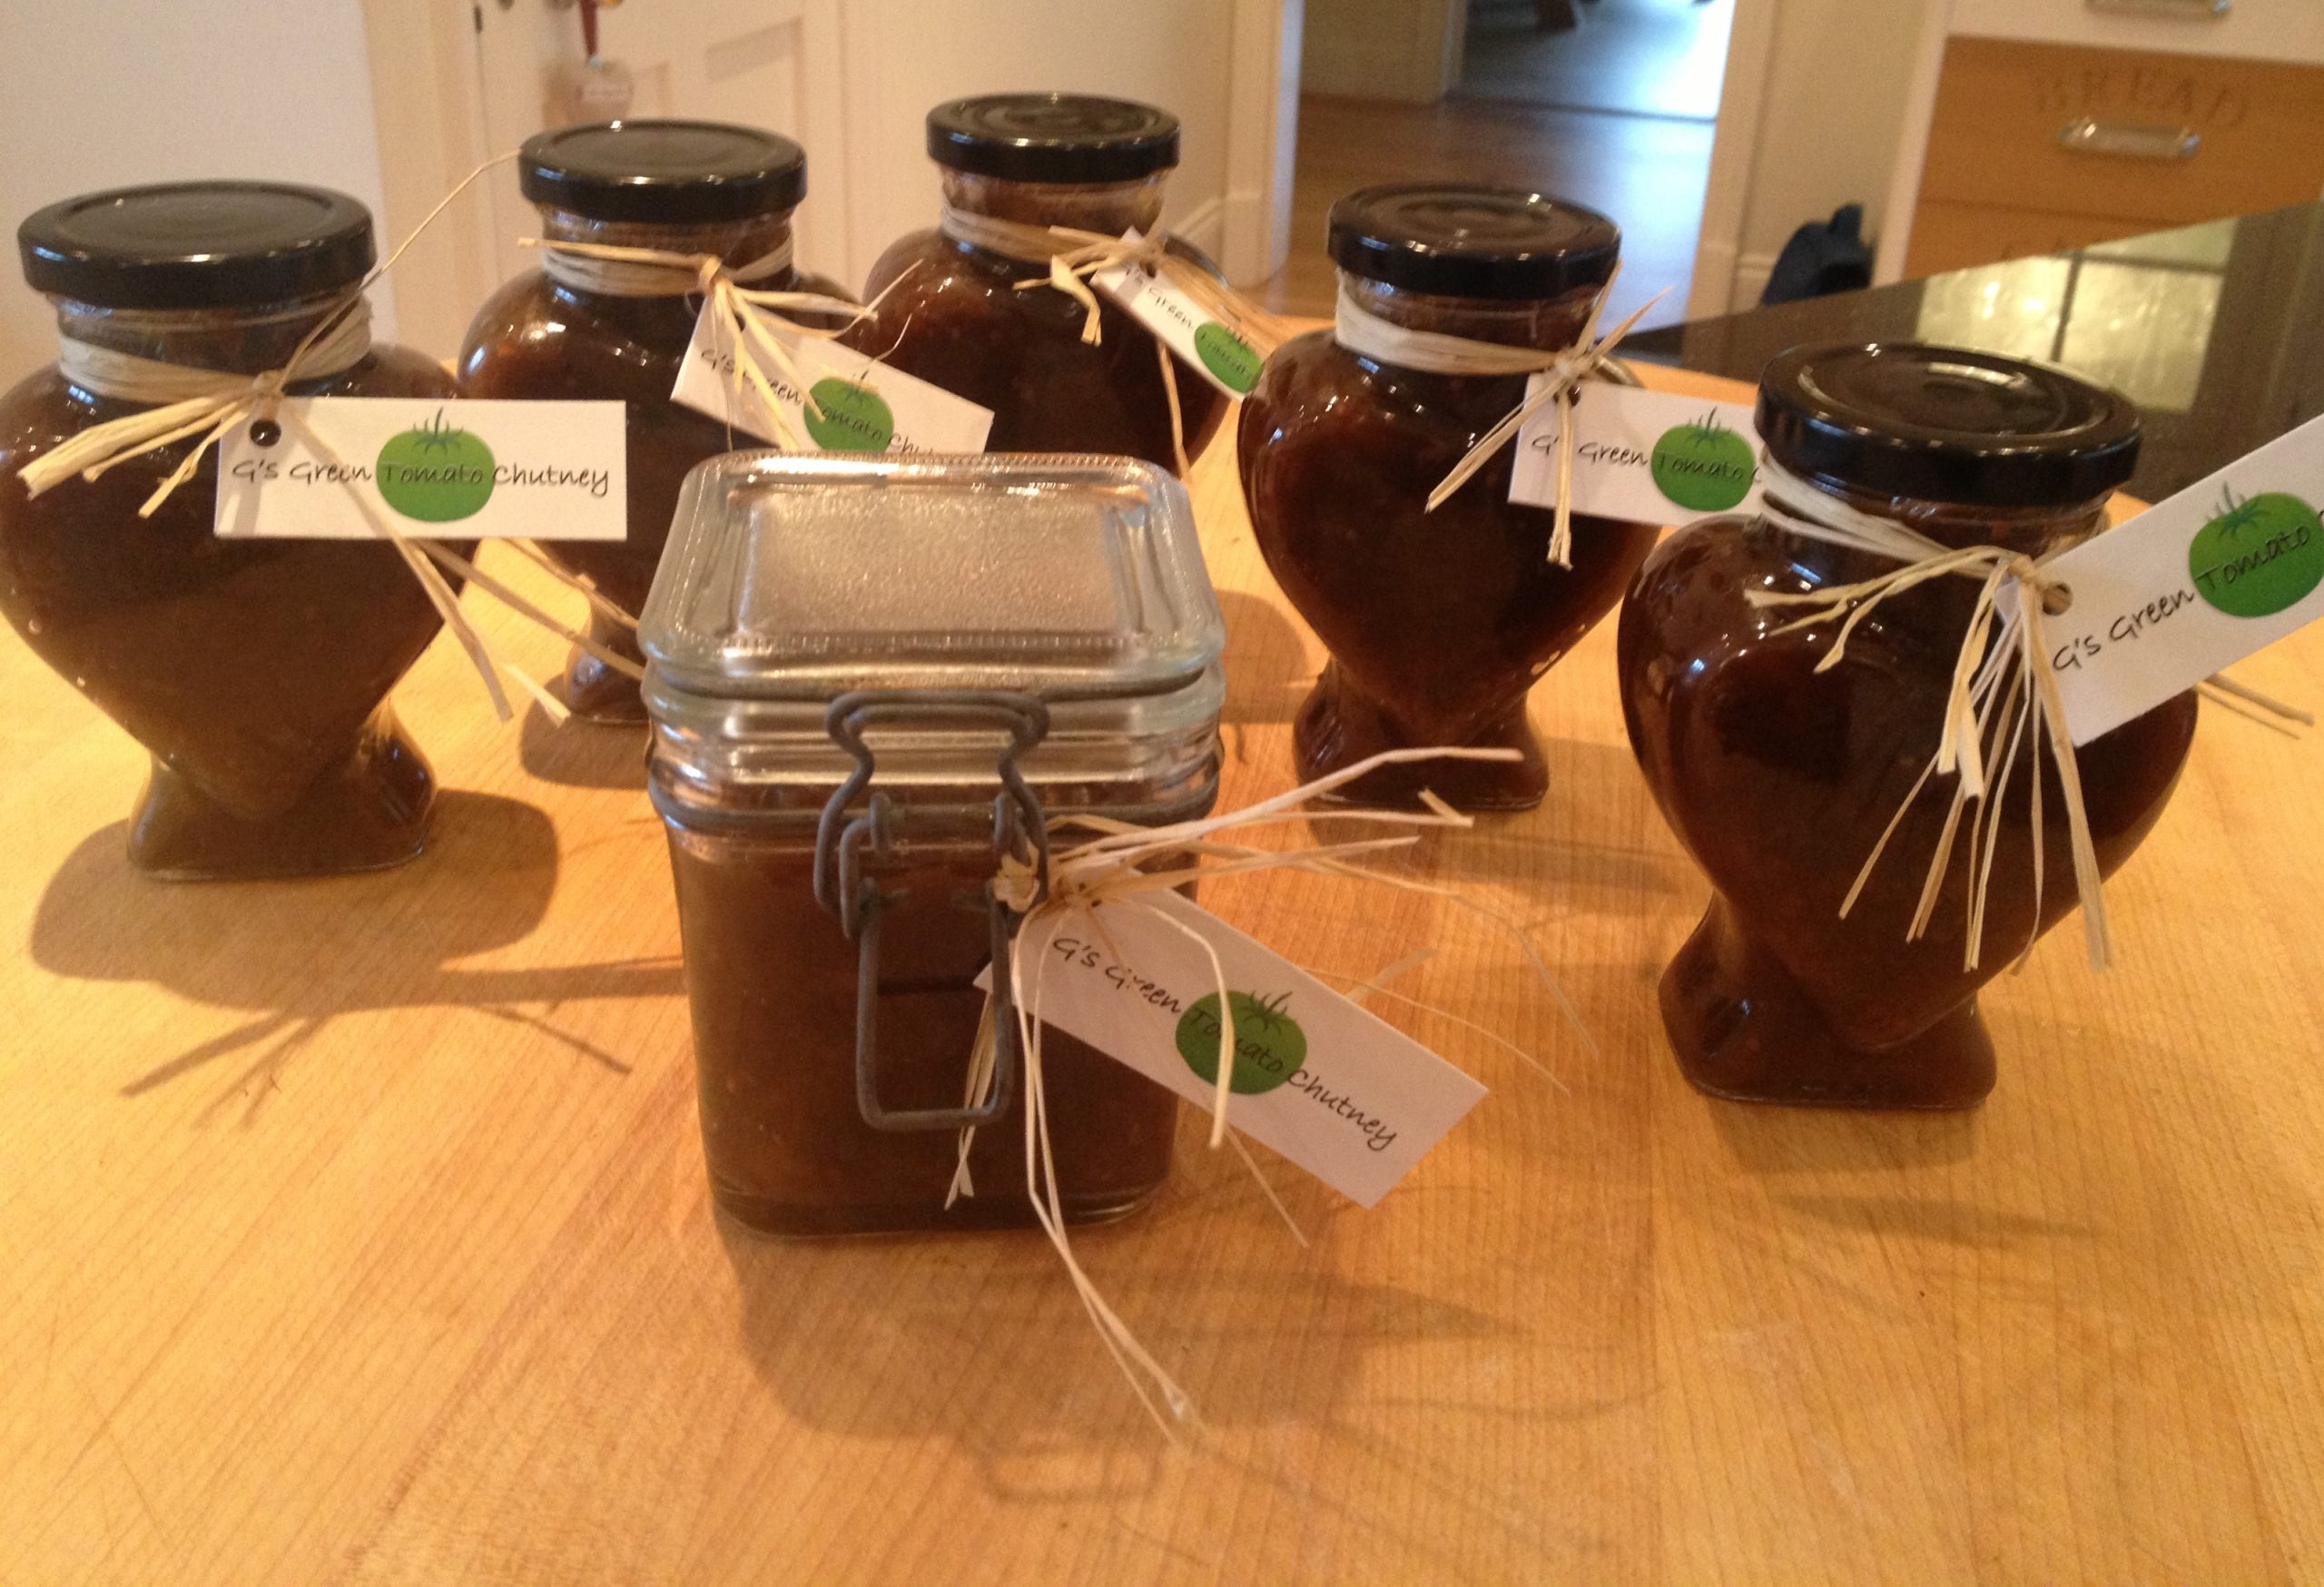
Green Tomato Chutney
The tomato harvest was really excellent this year. Consequently we had a huge amount of green tomatoes left on the plants as the weather began to turn wet and cold.
So, green tomato chutney was to be on the menu this autumn.
We started by stripping off bowlful after bowlful of fruit and here is the green tomato chutney recipe we used.
Ingredients
Green Tomatoes – 2.5 kg
Onions – 500 g
Malt Vinegar – 1 litre
Light Brown Sugar – 500 g
Sultanas – 250 g
Salt – 4 teaspoons
White Pepper – 3 teaspoons
How to Make
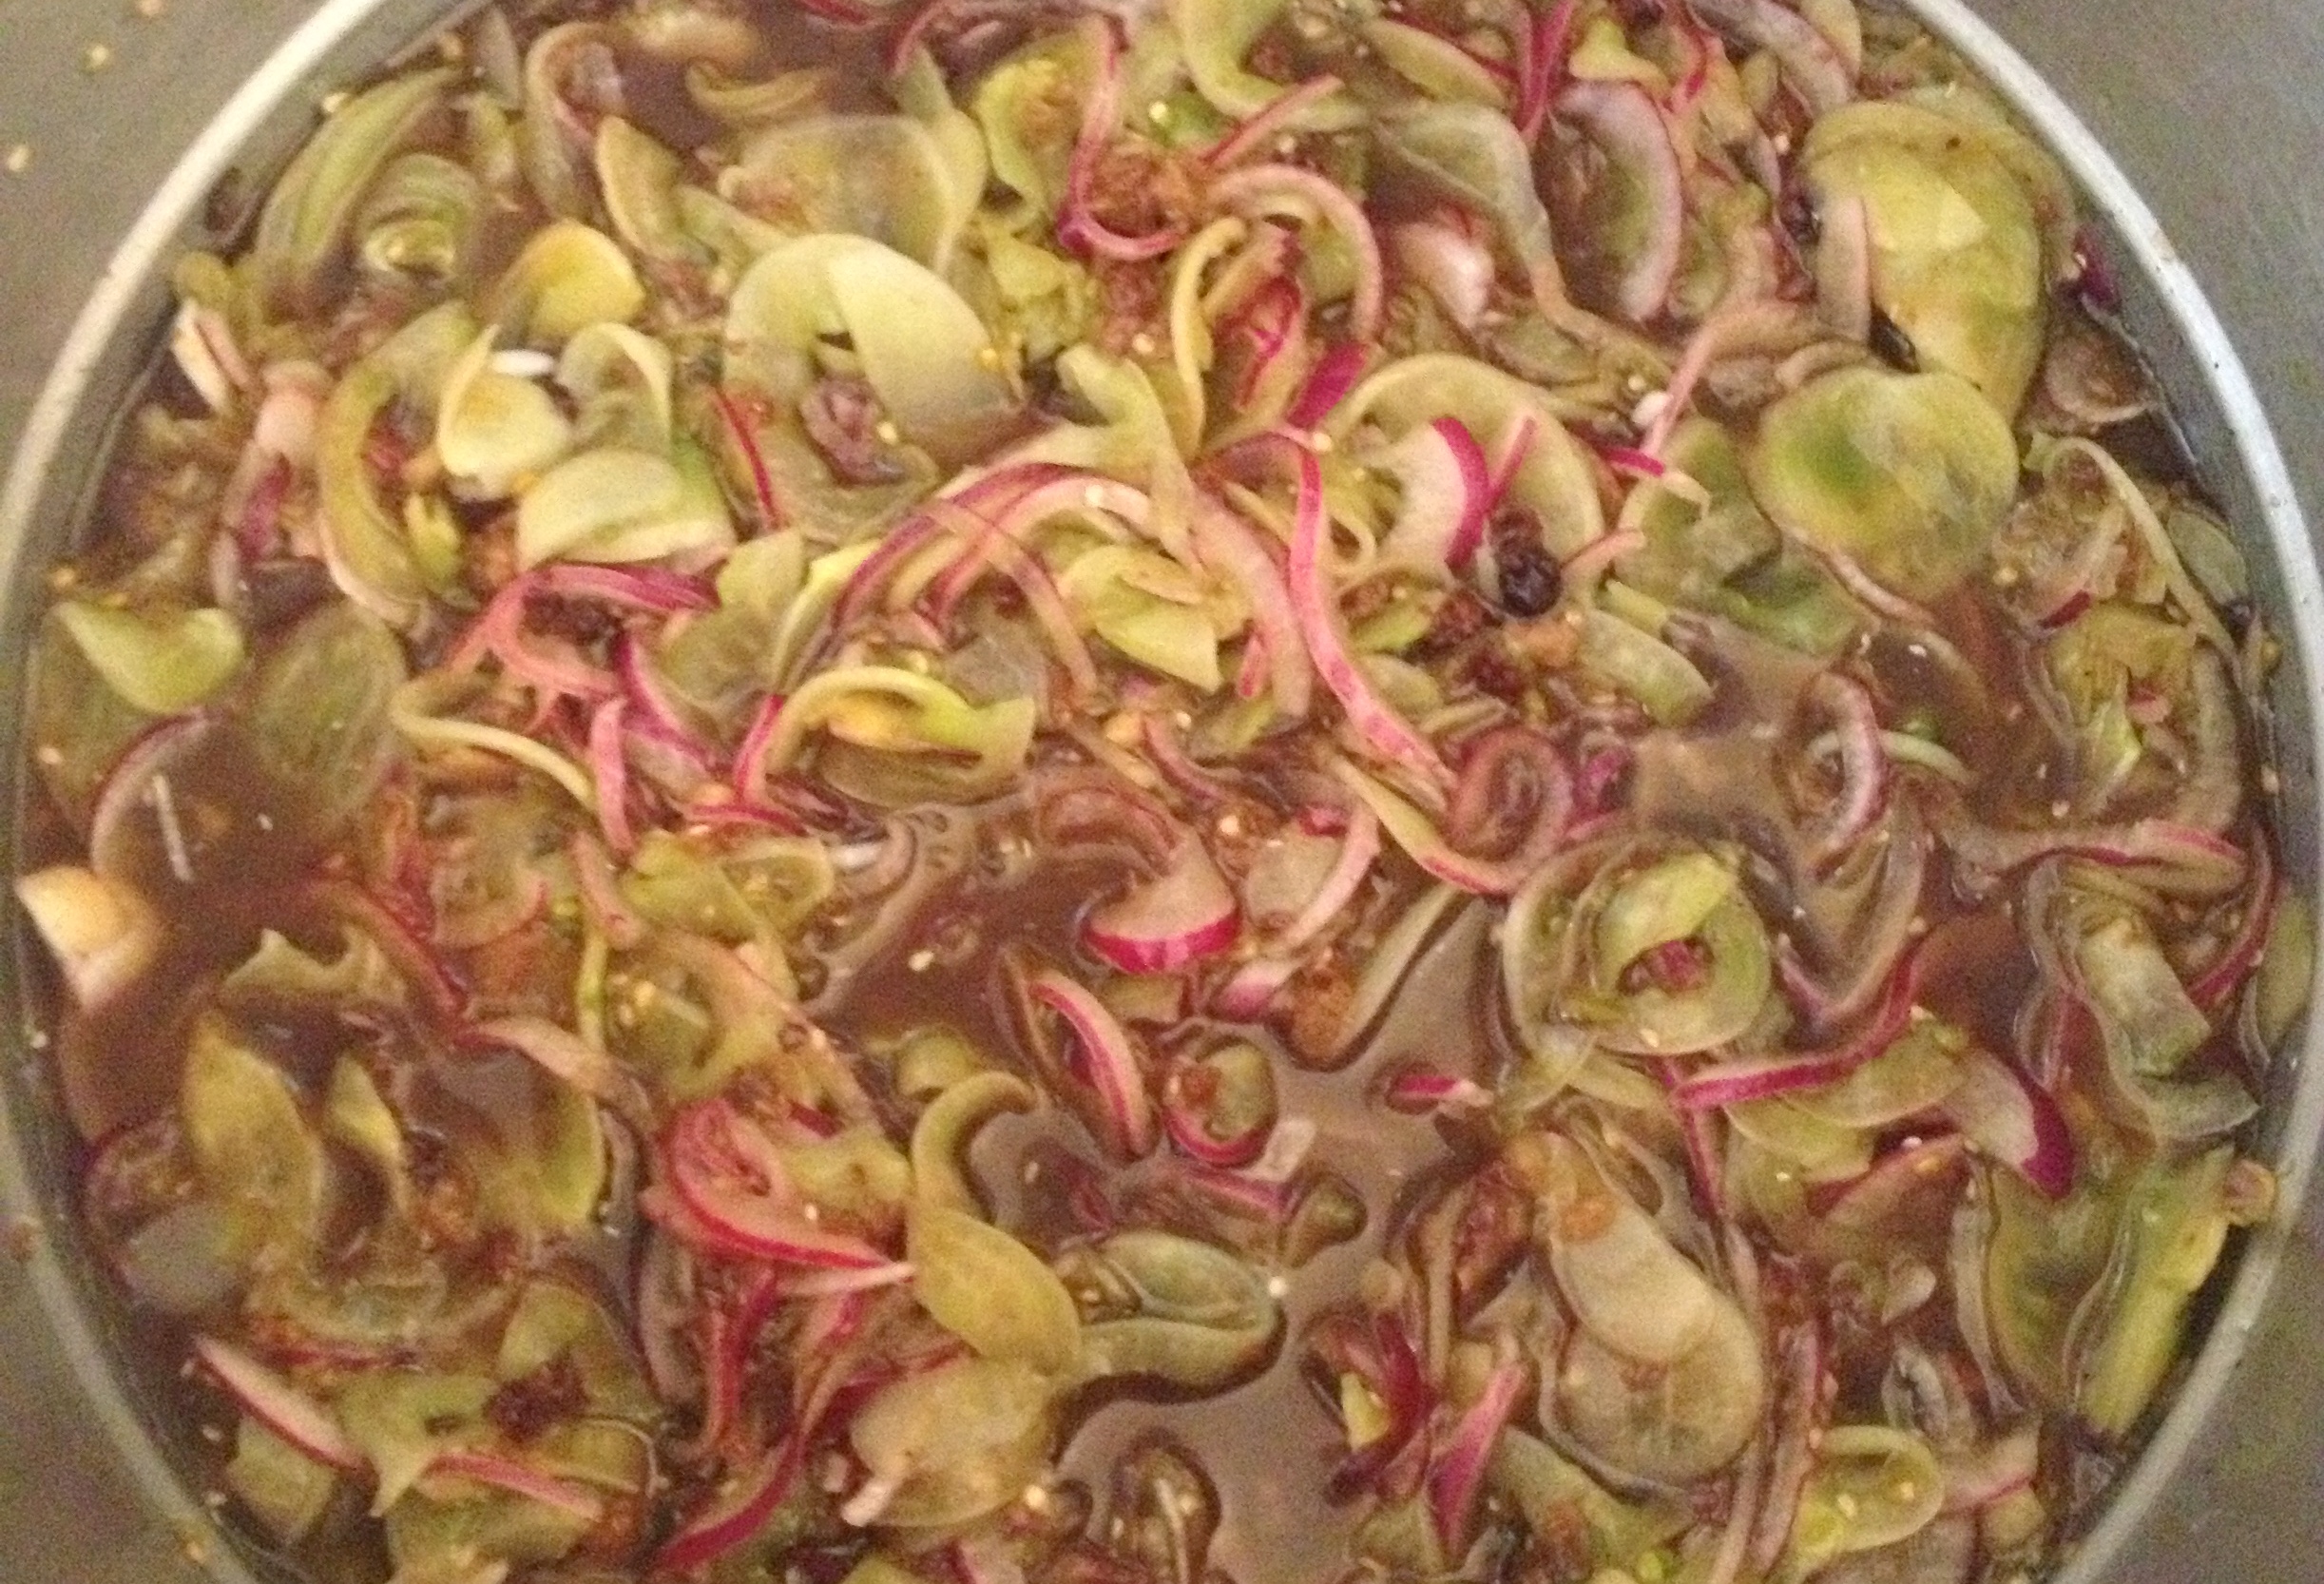
1. Wash the tomatoes and cut into fine slices.
2. Do the same with the onions.
3. Place the tomato and onion slices in a large bowl and add the salt.
4. Give it all a good mix together and cover.
5. Leave overnight, which allows the juices in the tomatoes to be drawn out, which enhances flavour and reduces cooking time.
The following day:
6. Place the vinegar to a large pan and add the brown sugar.
7. Put the pan on a medium heat and stir constantly, so that the sugar dissolves fully in vinegar.
8. When the mixture boils, add the chopped sultanas and leave it to boil a little.
9. Drain the juices from the chopped tomatoes and onions, that were left overnight.
10. Add the tomato and onion slices to the boiling vinegar and sugar solution.
11. Add two or three teaspoons of white pepper and mix together.
12. Allow the mixture to boil gently for around two hours. This helps in making the tomatoes and onions softer and thickens the entire mixture. Do ensure your stir the contents occasionally.
When finished, the chutney will be a golden brown colour and will have a nice thick consistency.
Now, turn off the heat and pour the chutney in jars.
Ensure you use sterilized jars for storing your green tomato chutney.
You can sterilise your jars by washing them in hot water and then placing them in the oven, which is preheated to around 280° F.
Once the bottles are sterilised, fill them with chutney. Gently tap the jars, so as to get rid of any air bubbles. When you have filled your jars, use a food wrap to cover the top of the jar. Trim off any excess wrap and place the lids on the jars.
Label jars, so you don’t forget what it is and when you made it.
Next. Enjoy with meat, cheese or just about anything else you can think of.

