

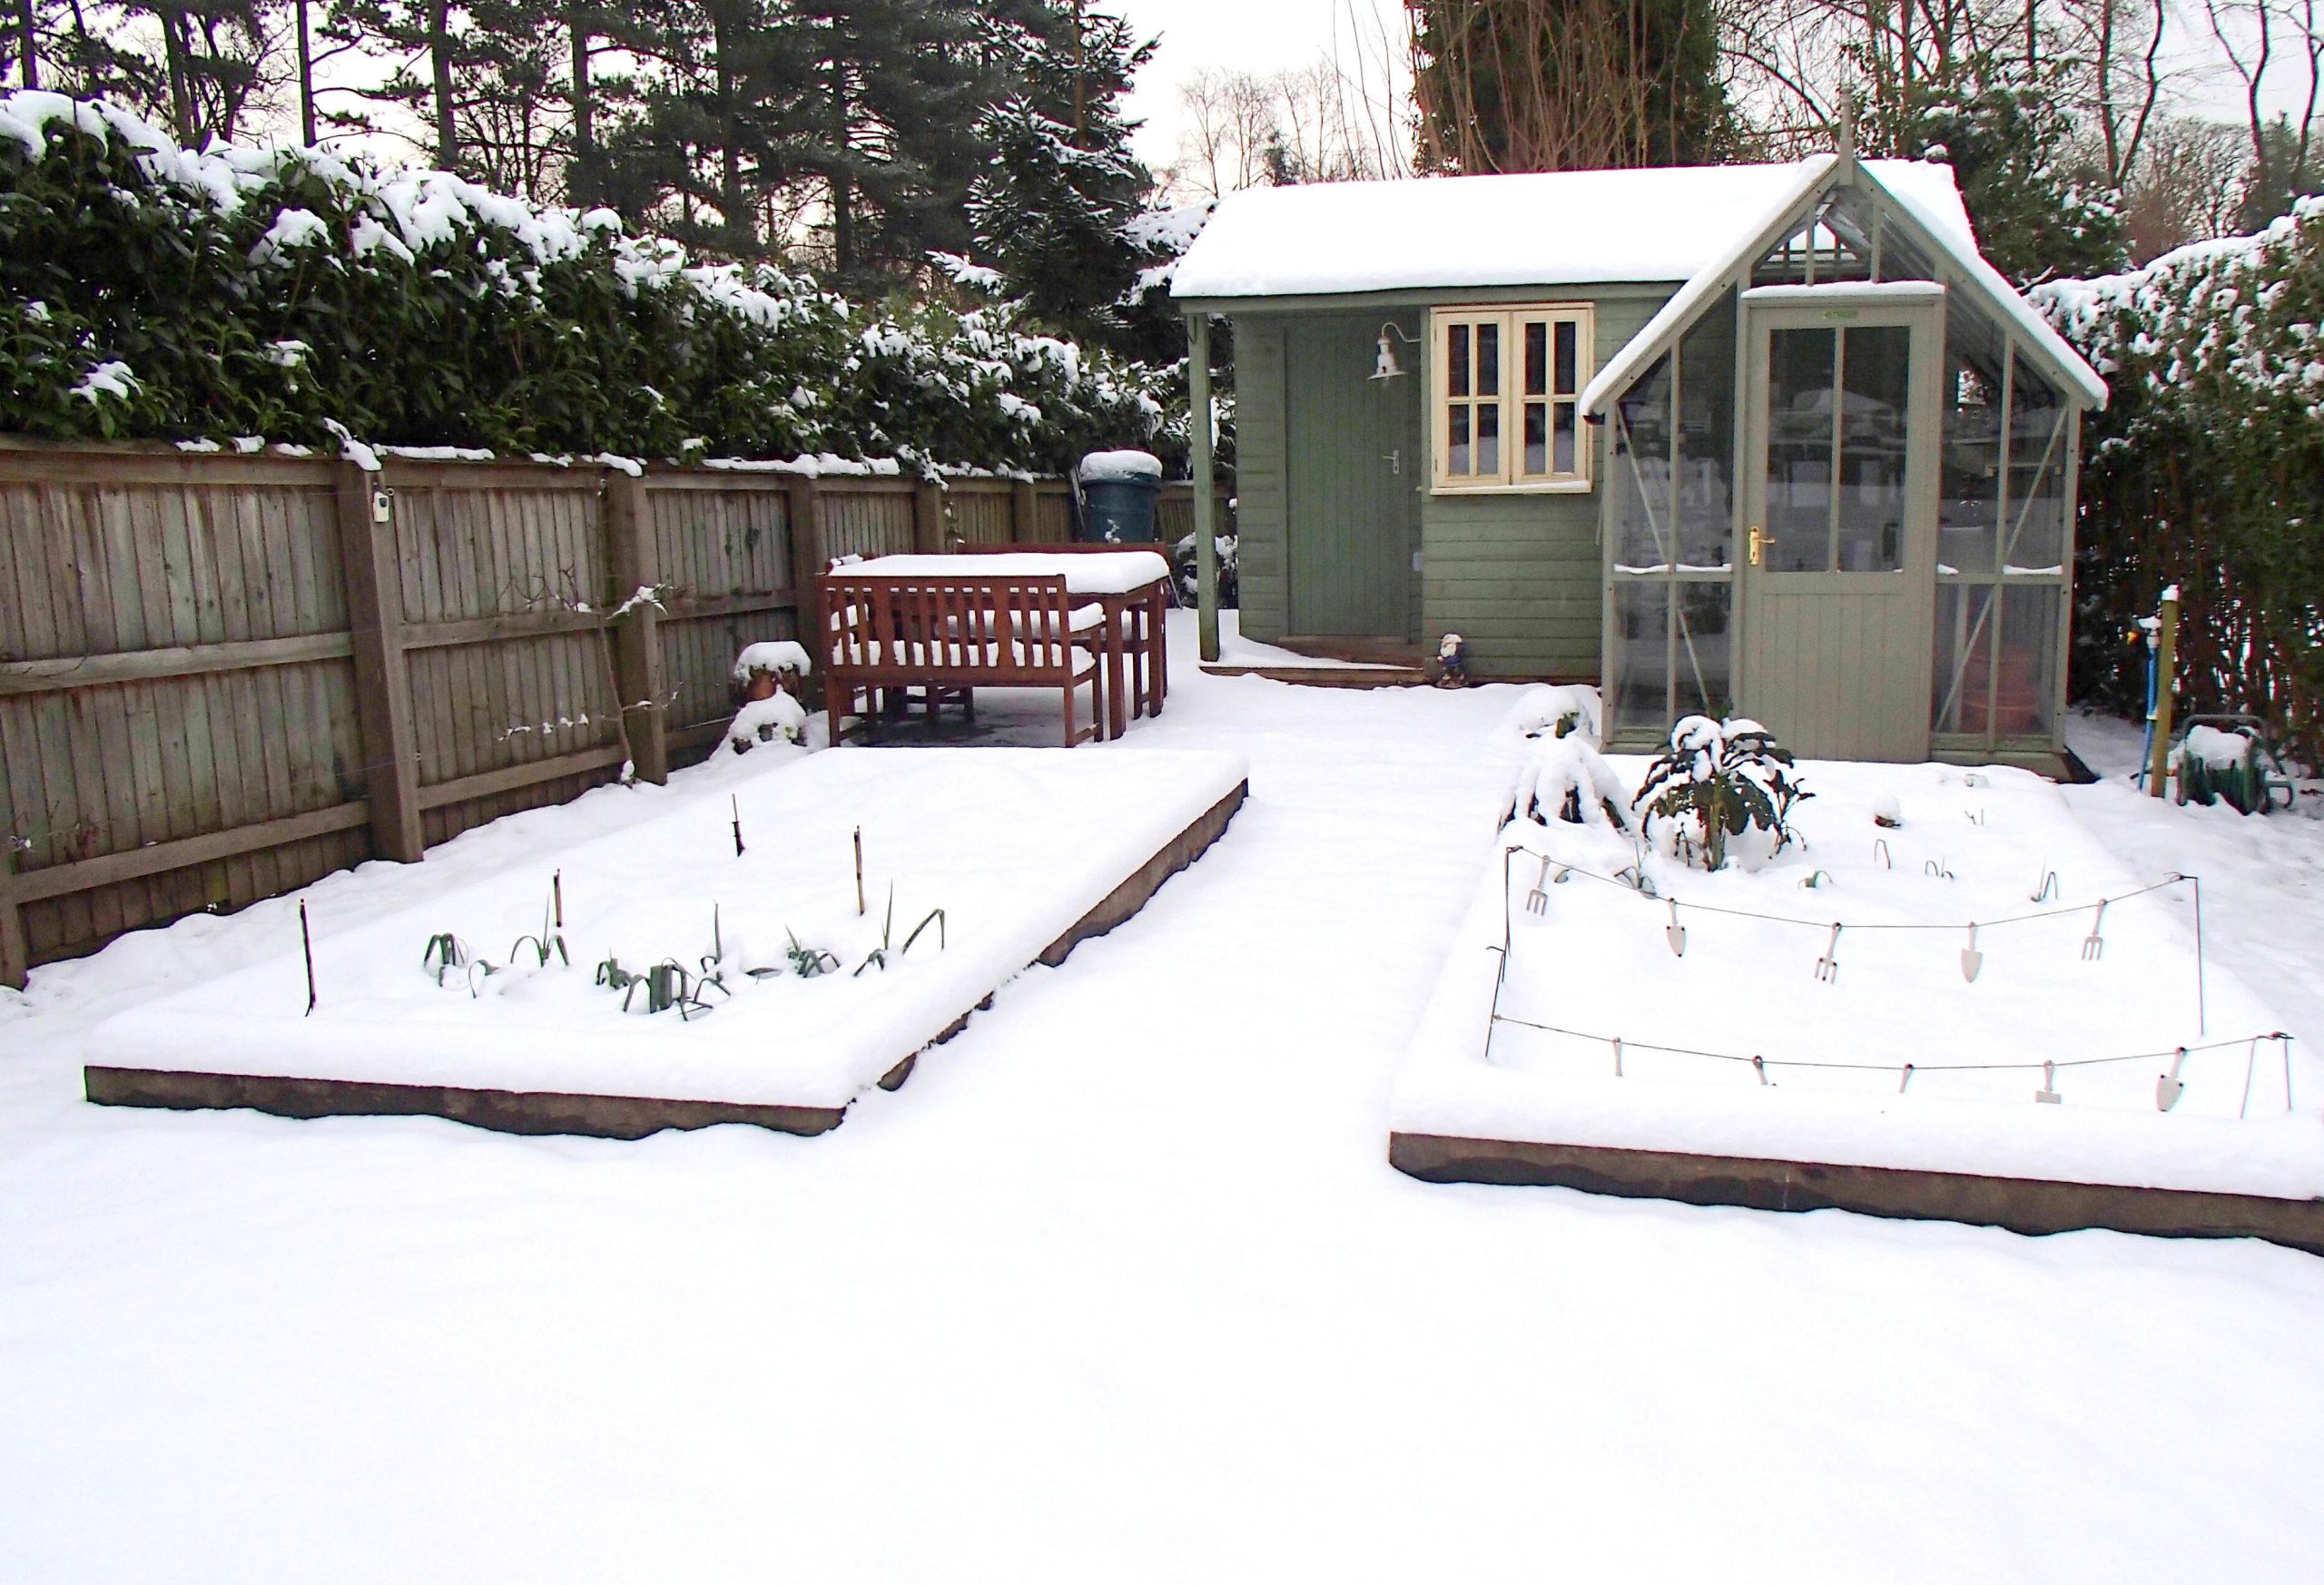
Gardening in Snow
Gardening in Snow Well despite the best laid plans of doing some work on the vegetable beds today, I’m not sure a great deal of
Read more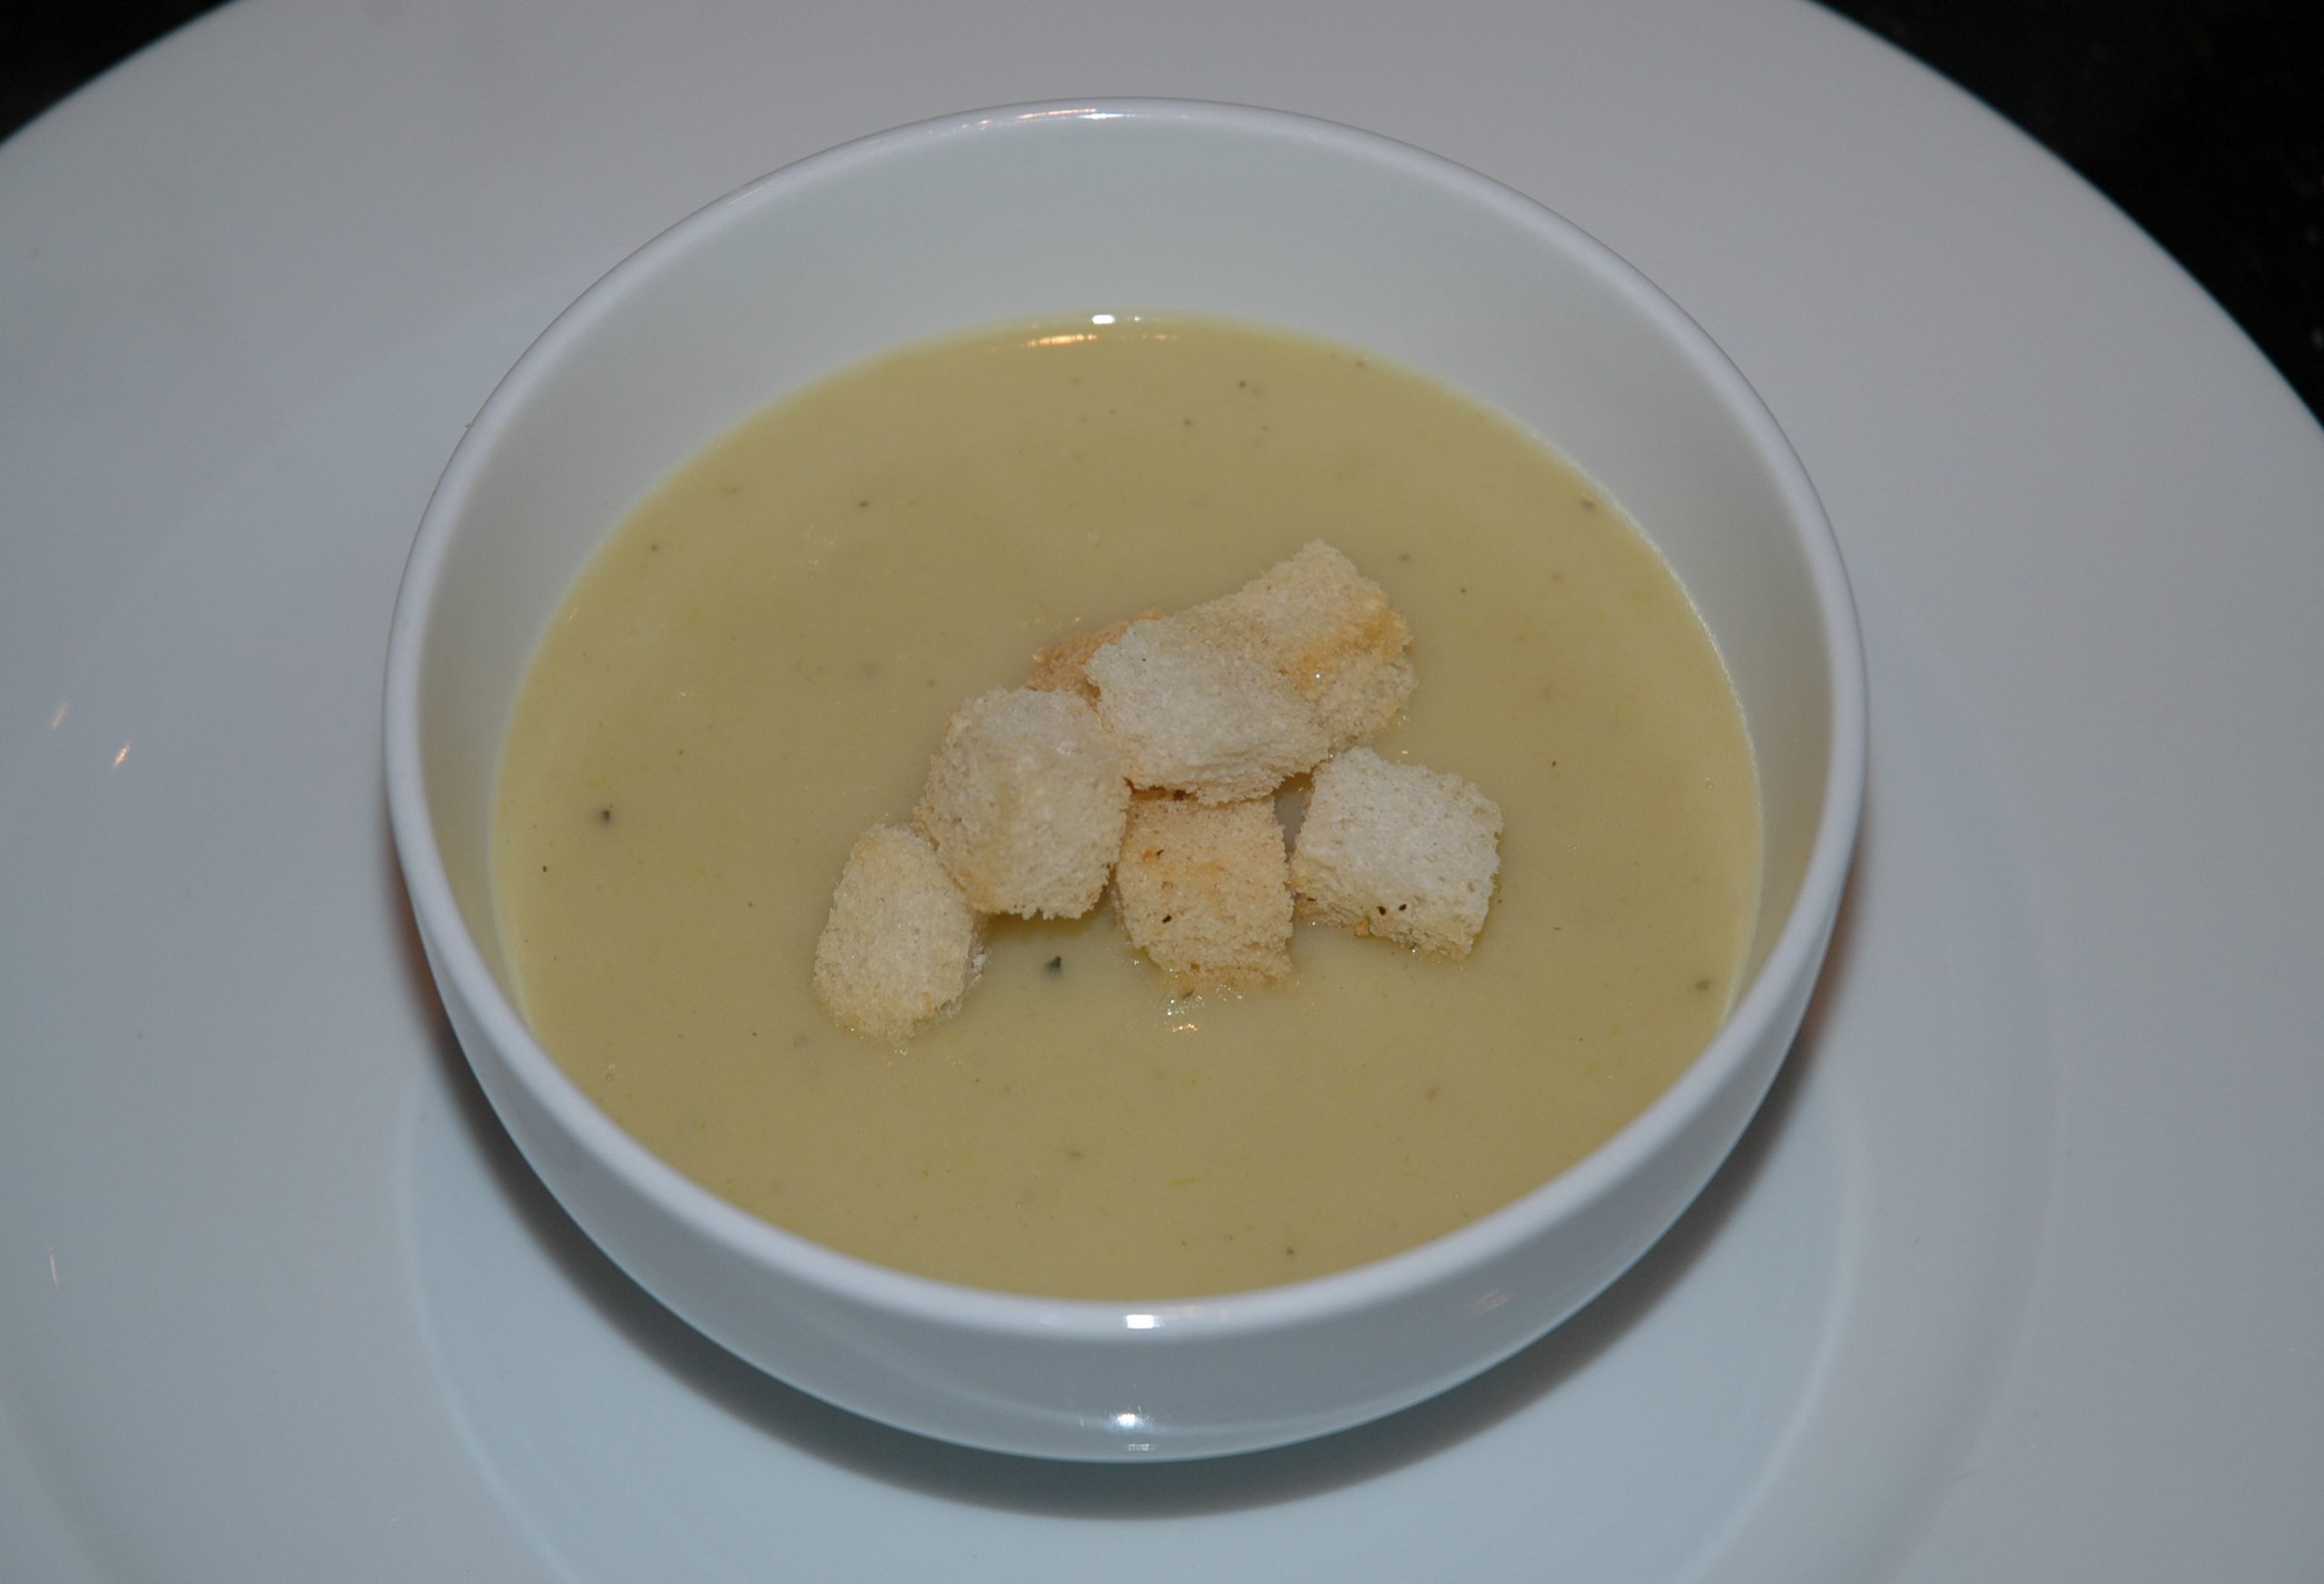
Leek and Potato Soup Recipe
Fresh Leeks Having had enough of turkey and Christmas pudding, today was to be soup day. The day started by pulling some delicious looking leeks.
Read more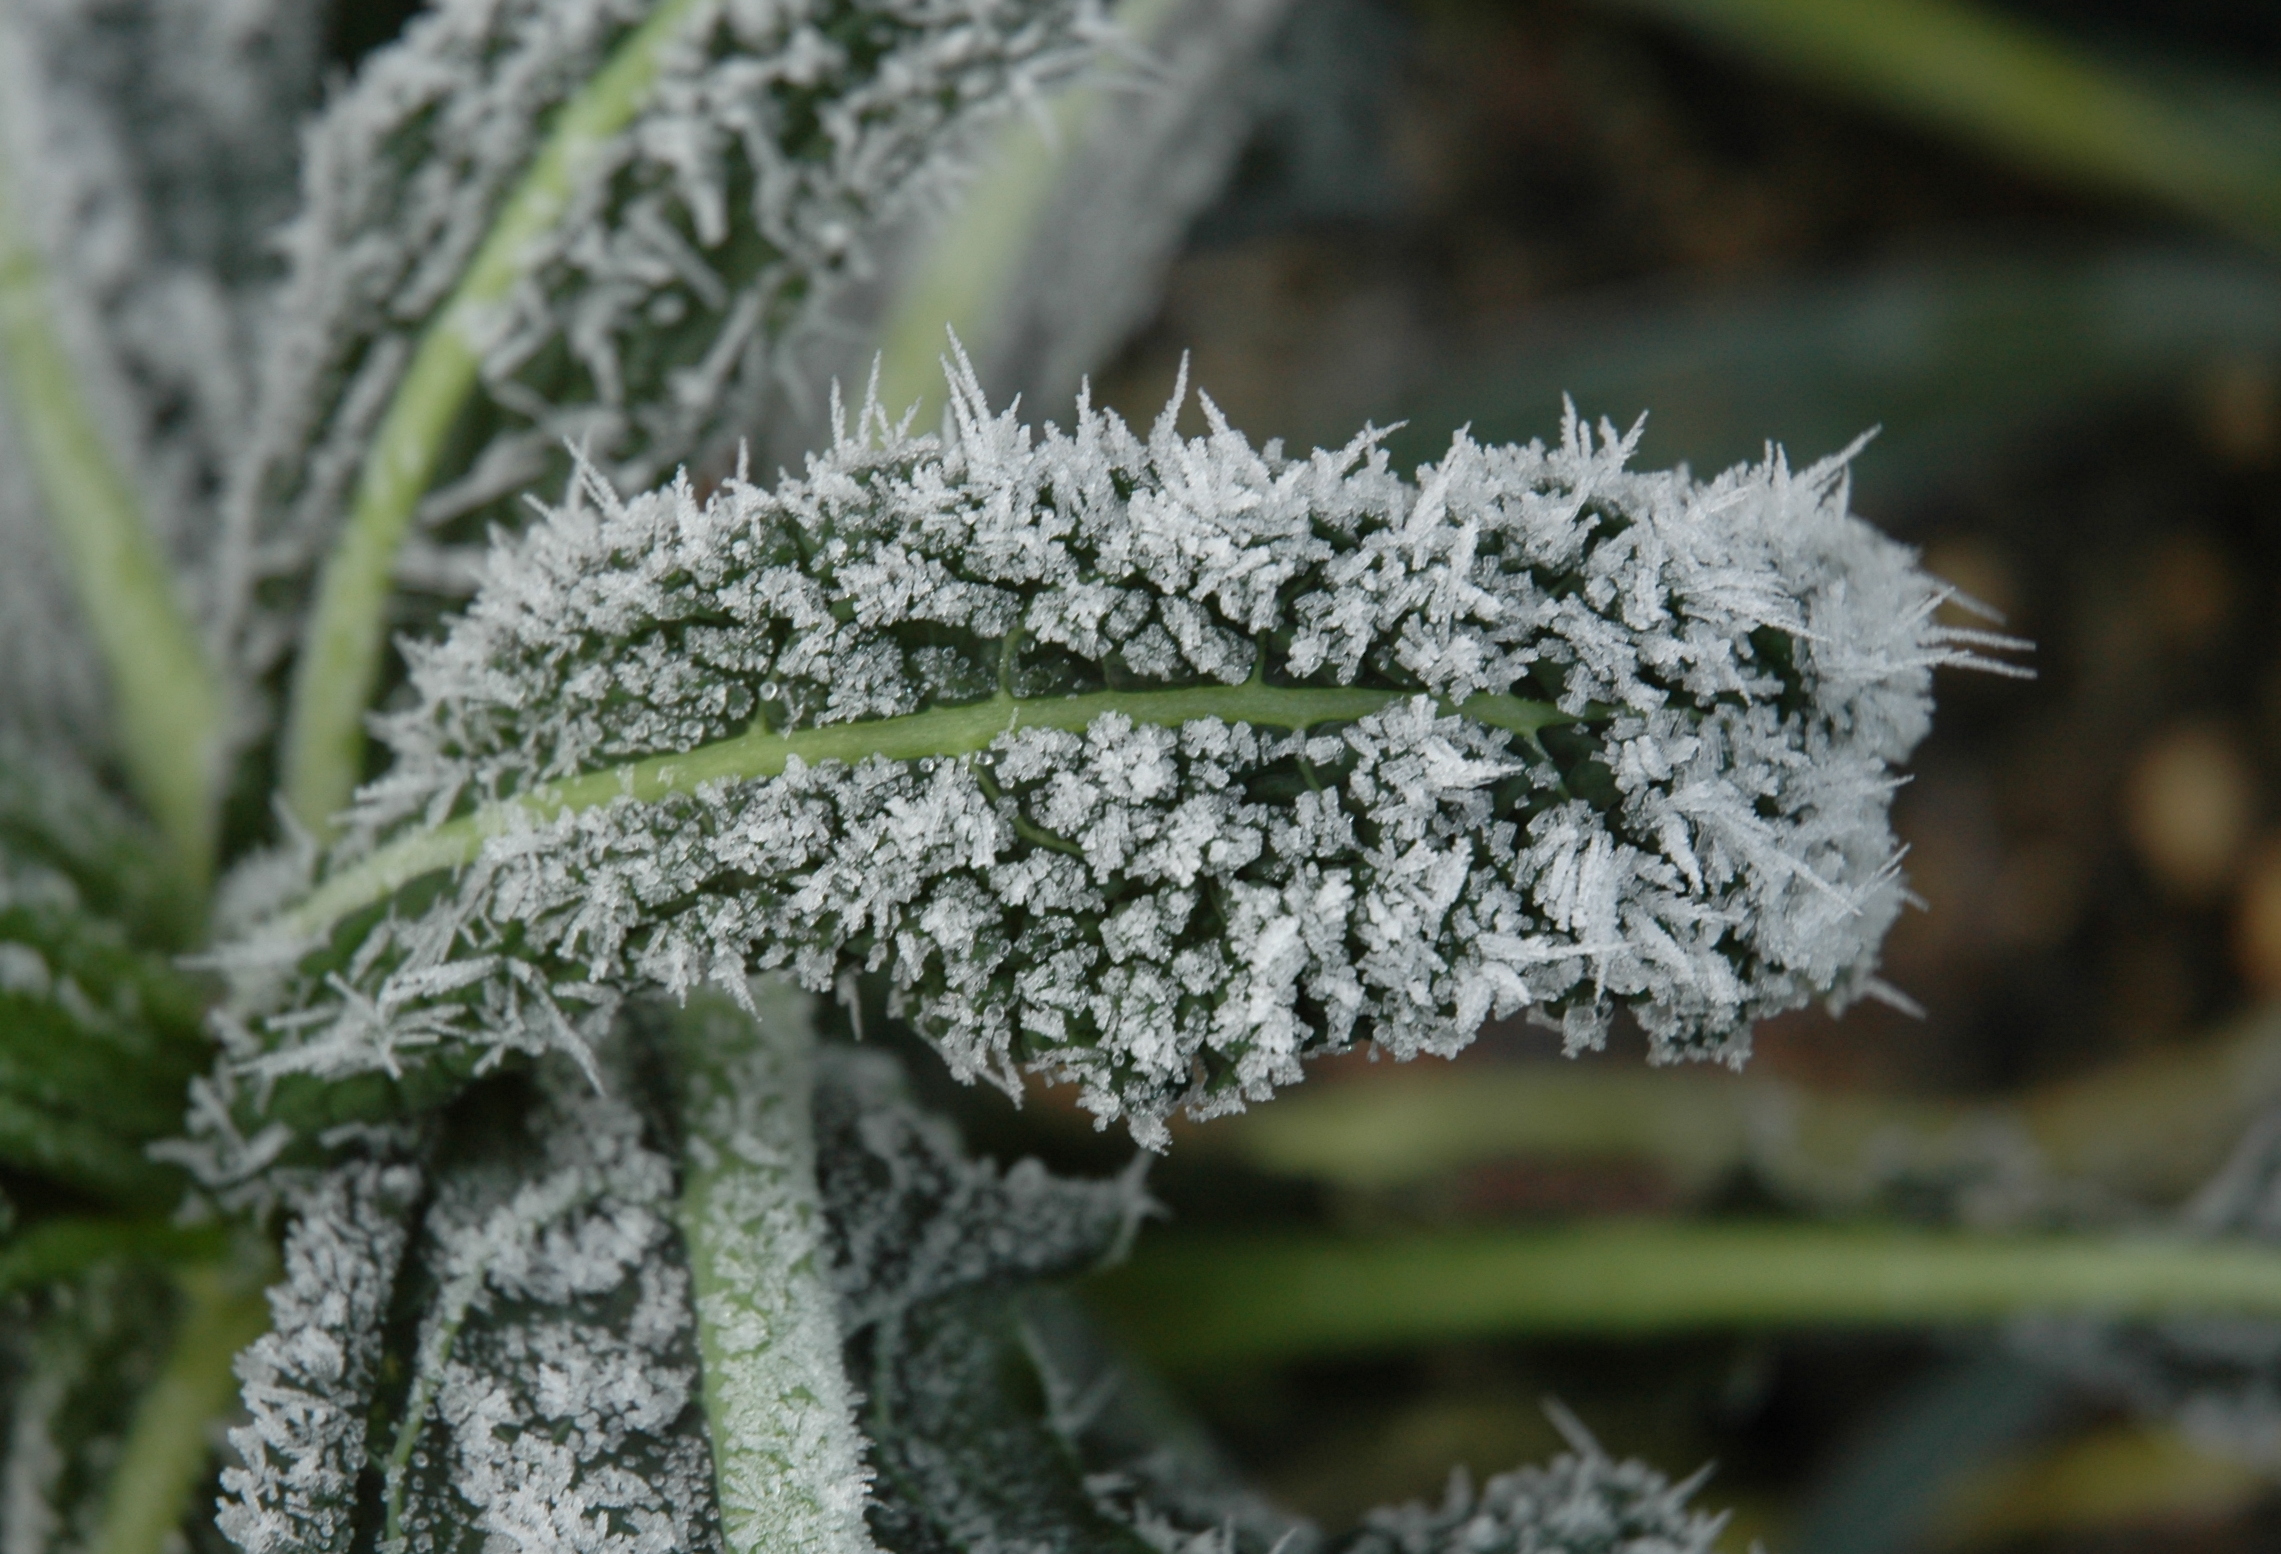
Frozen Landscape
Frozen Apple Bud The hard frost last night provided a fantastic looking winter wonderland at Garden Posts this morning. Frozen Kale Frozen Lavender Frozen Landscape
Read more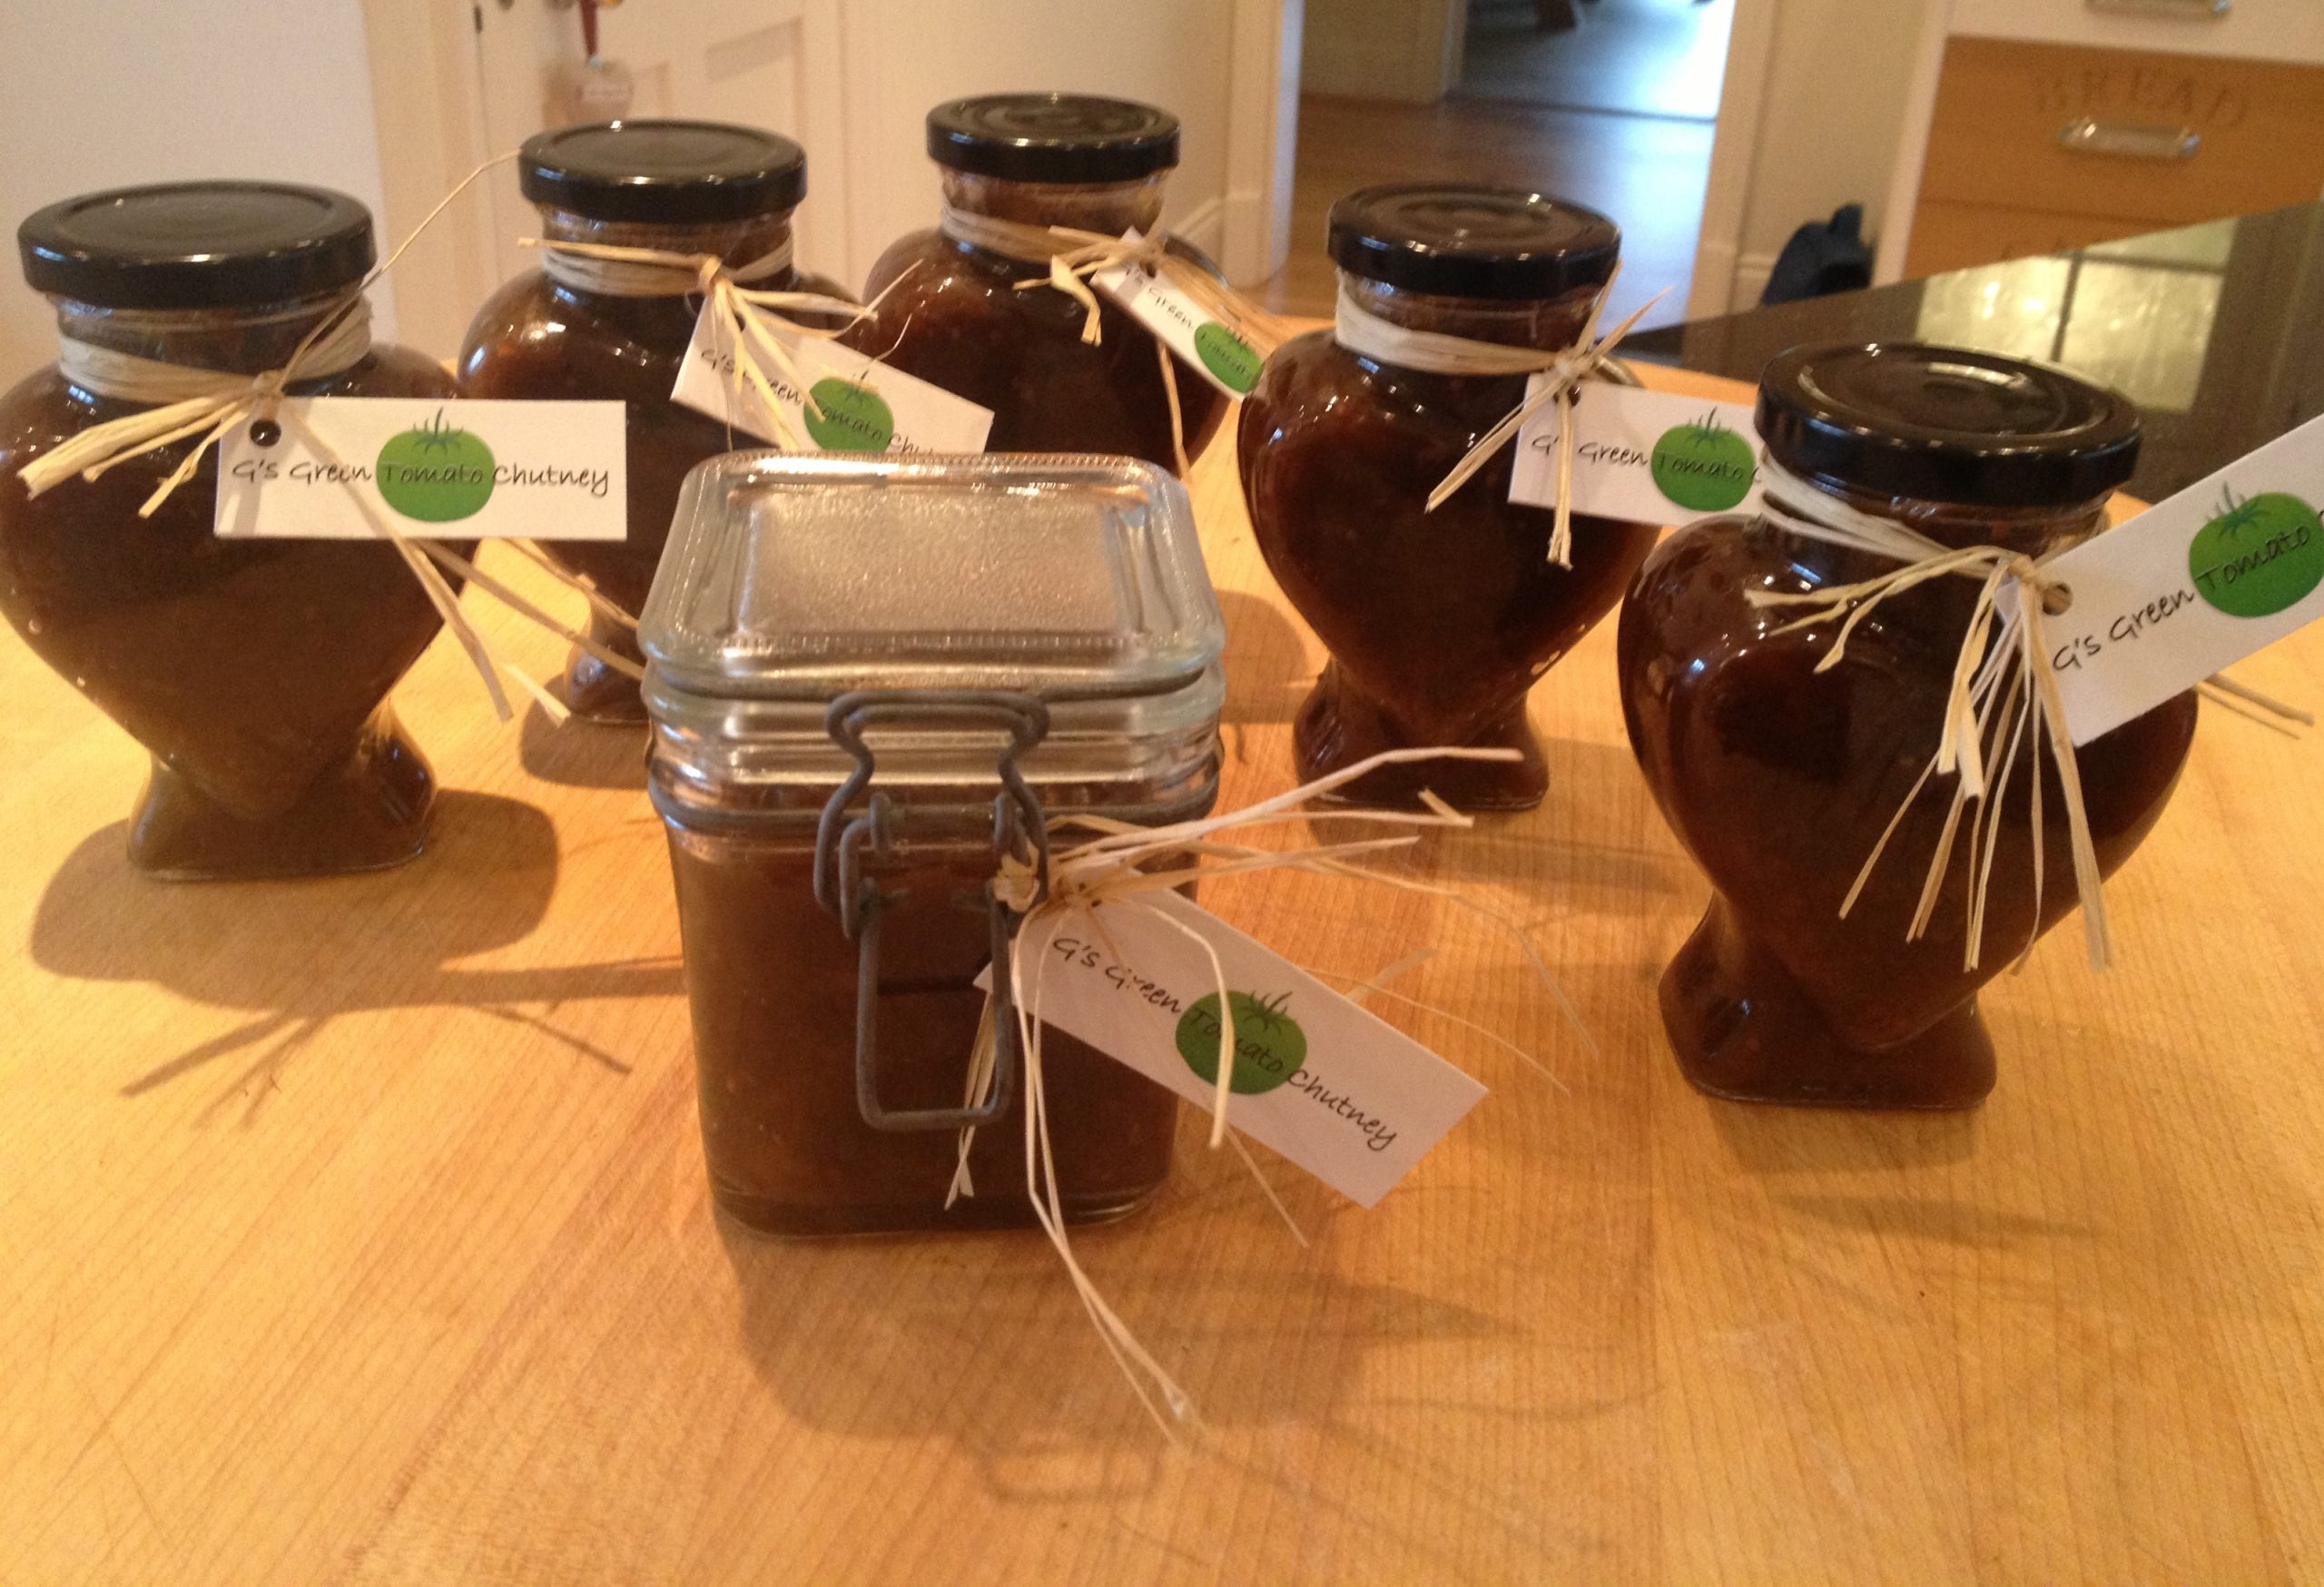
Green Tomato Chutney
Green Tomato Chutney The tomato harvest was really excellent this year. Consequently we had a huge amount of green tomatoes left on the plants as
Read more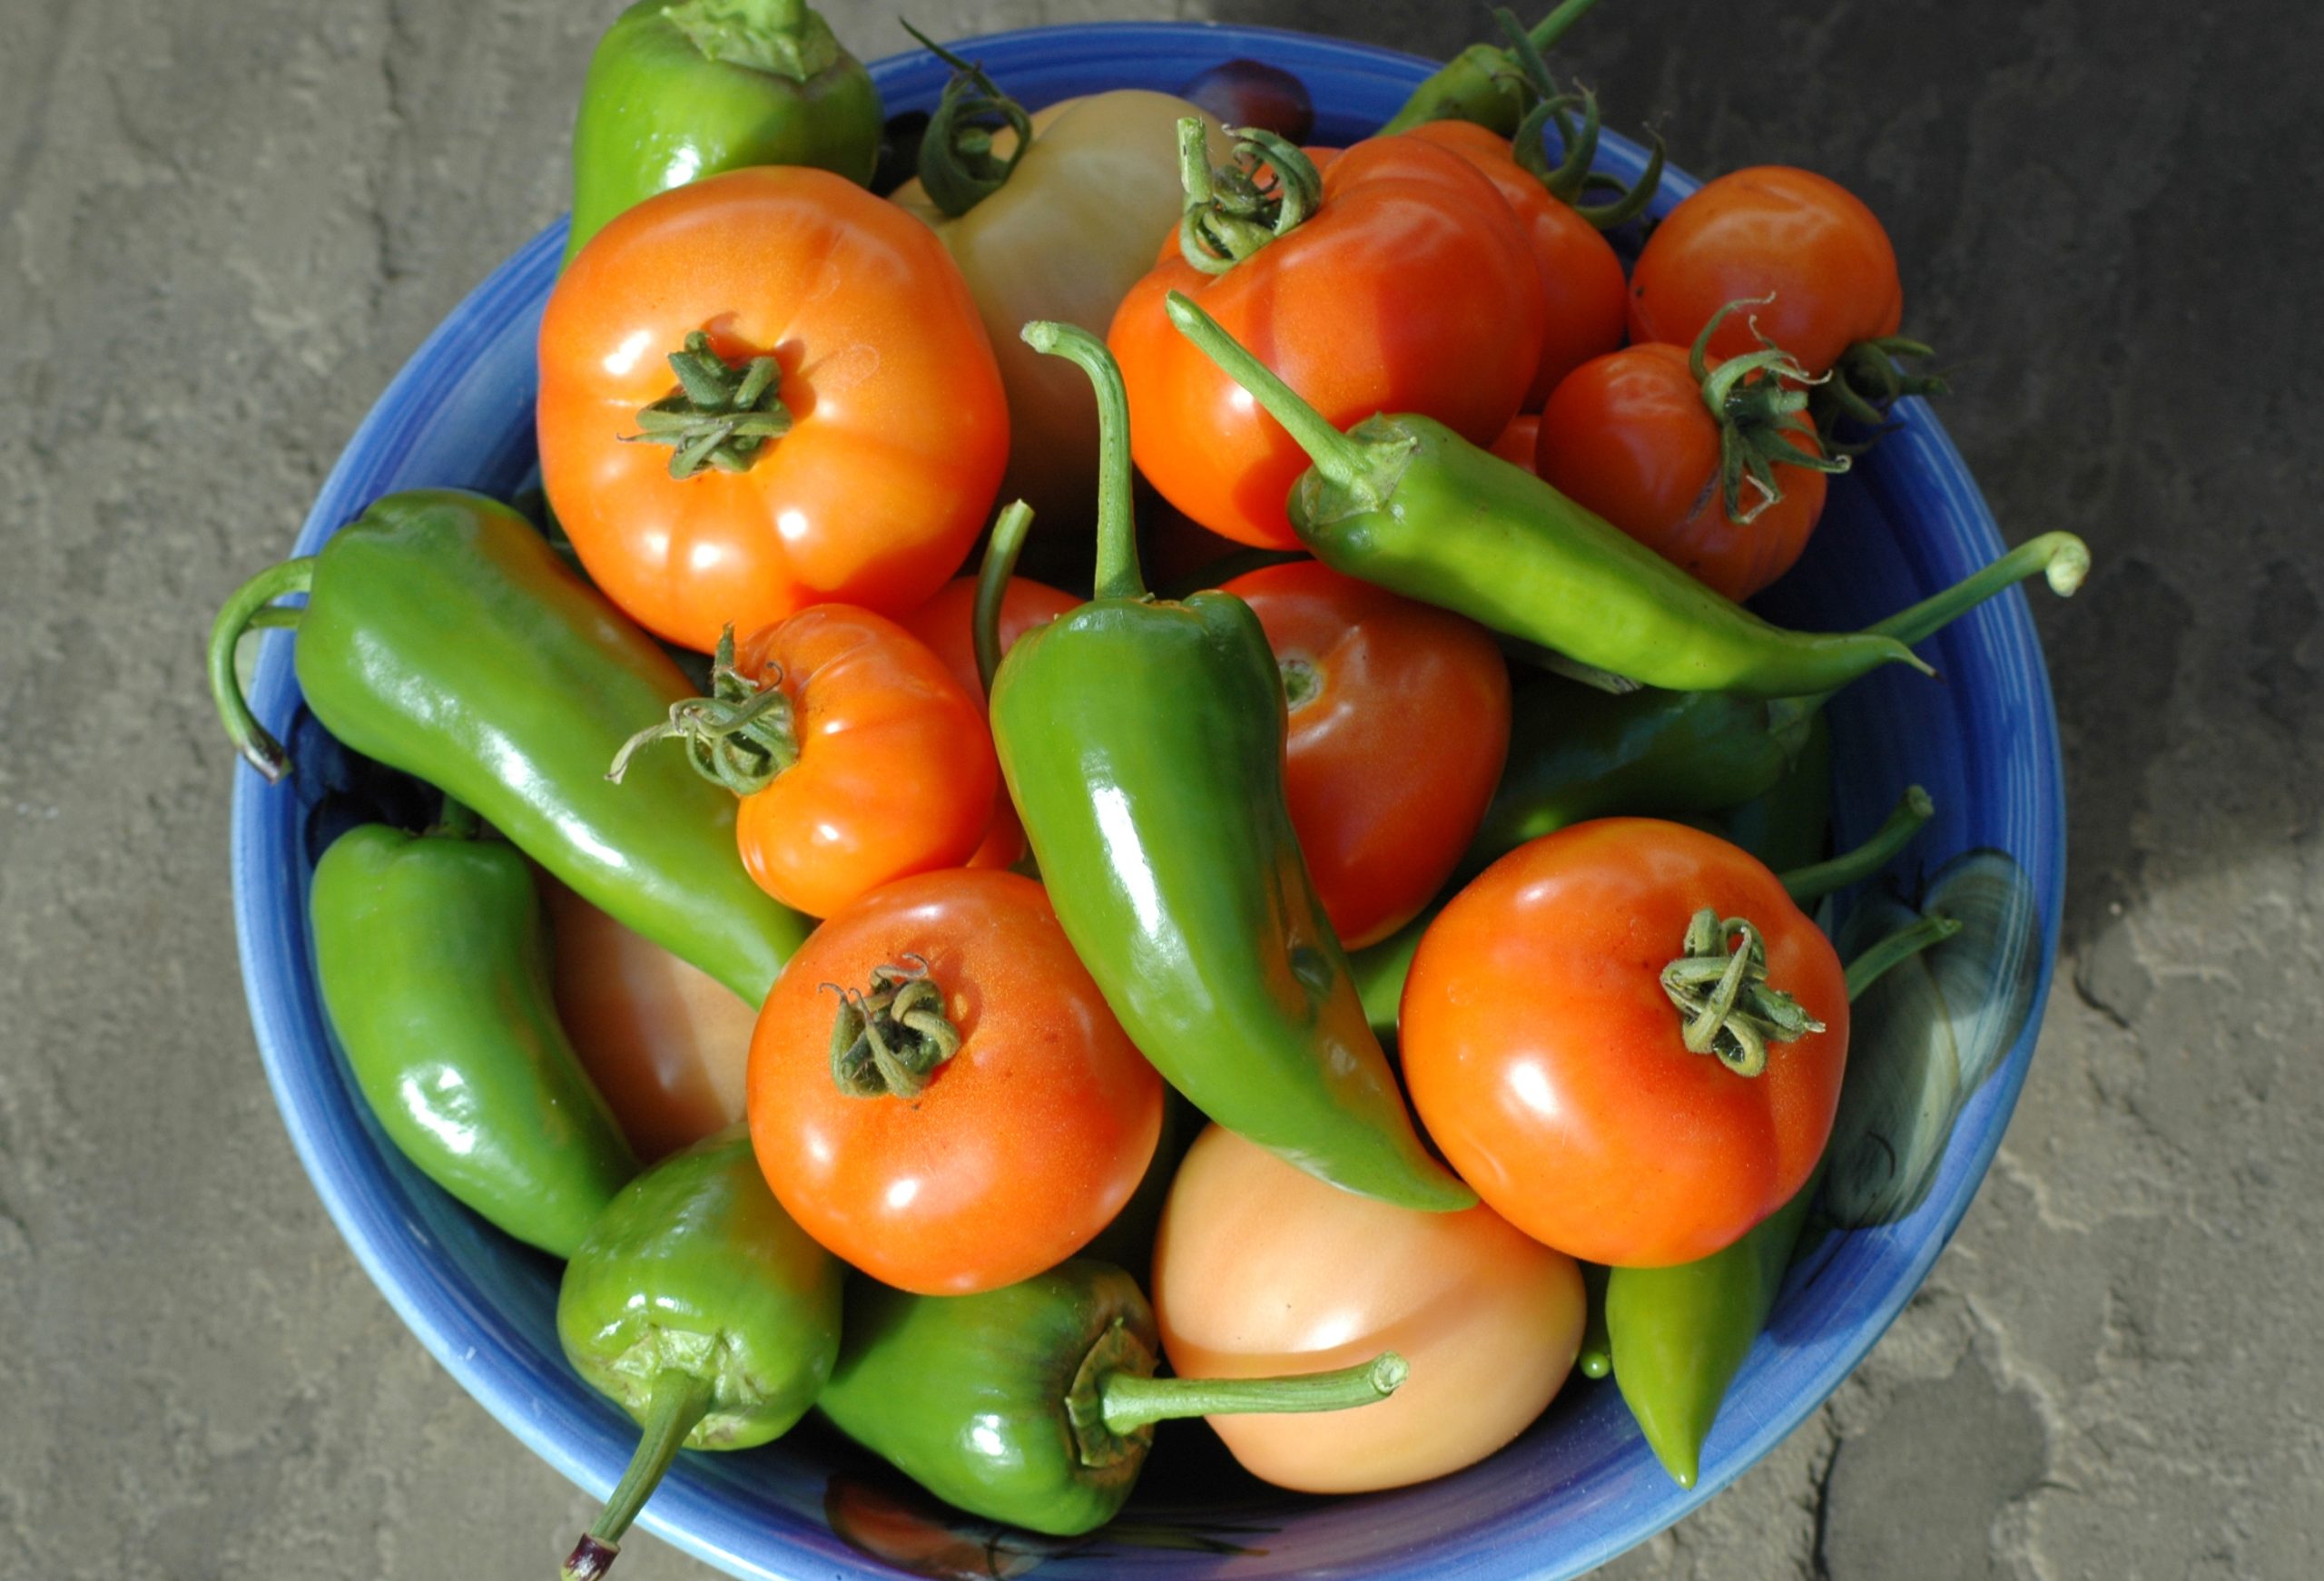
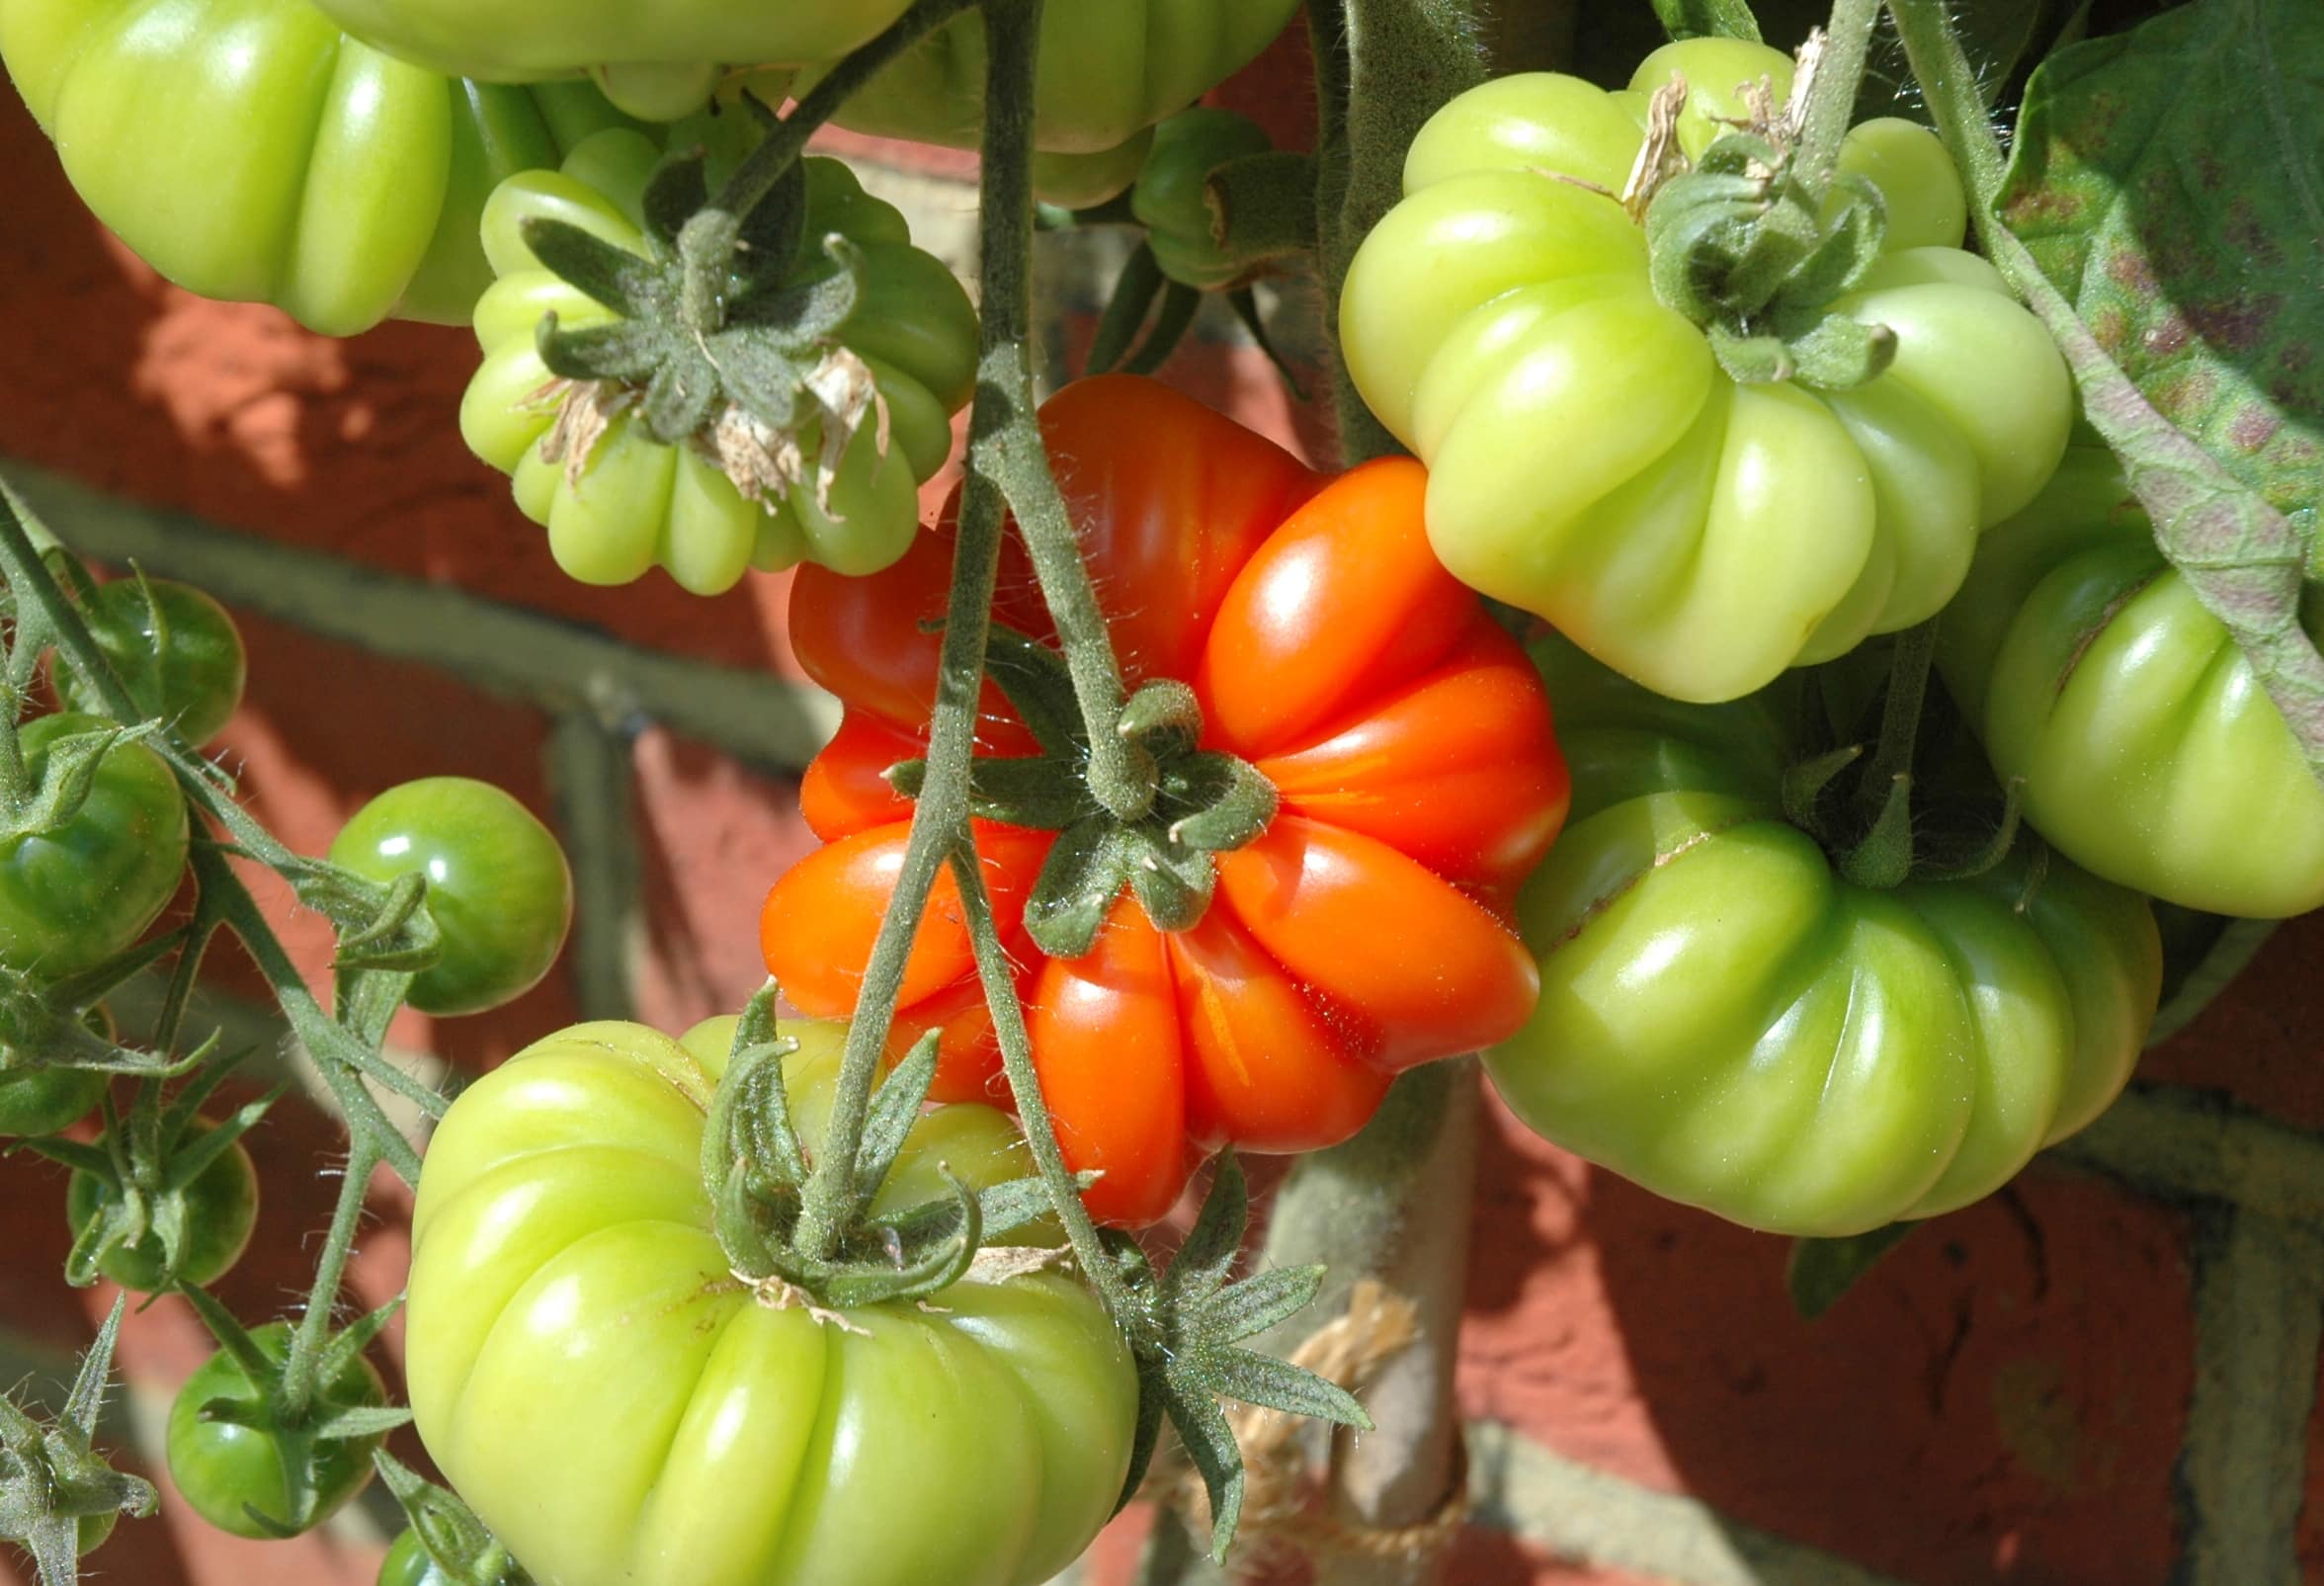
Tomatoes & Peppers
Tomatoes & Peppers Today we harvested the remainder of our tomatoes and peppers. This is just one of the many bowls full of lovely fruit
Read more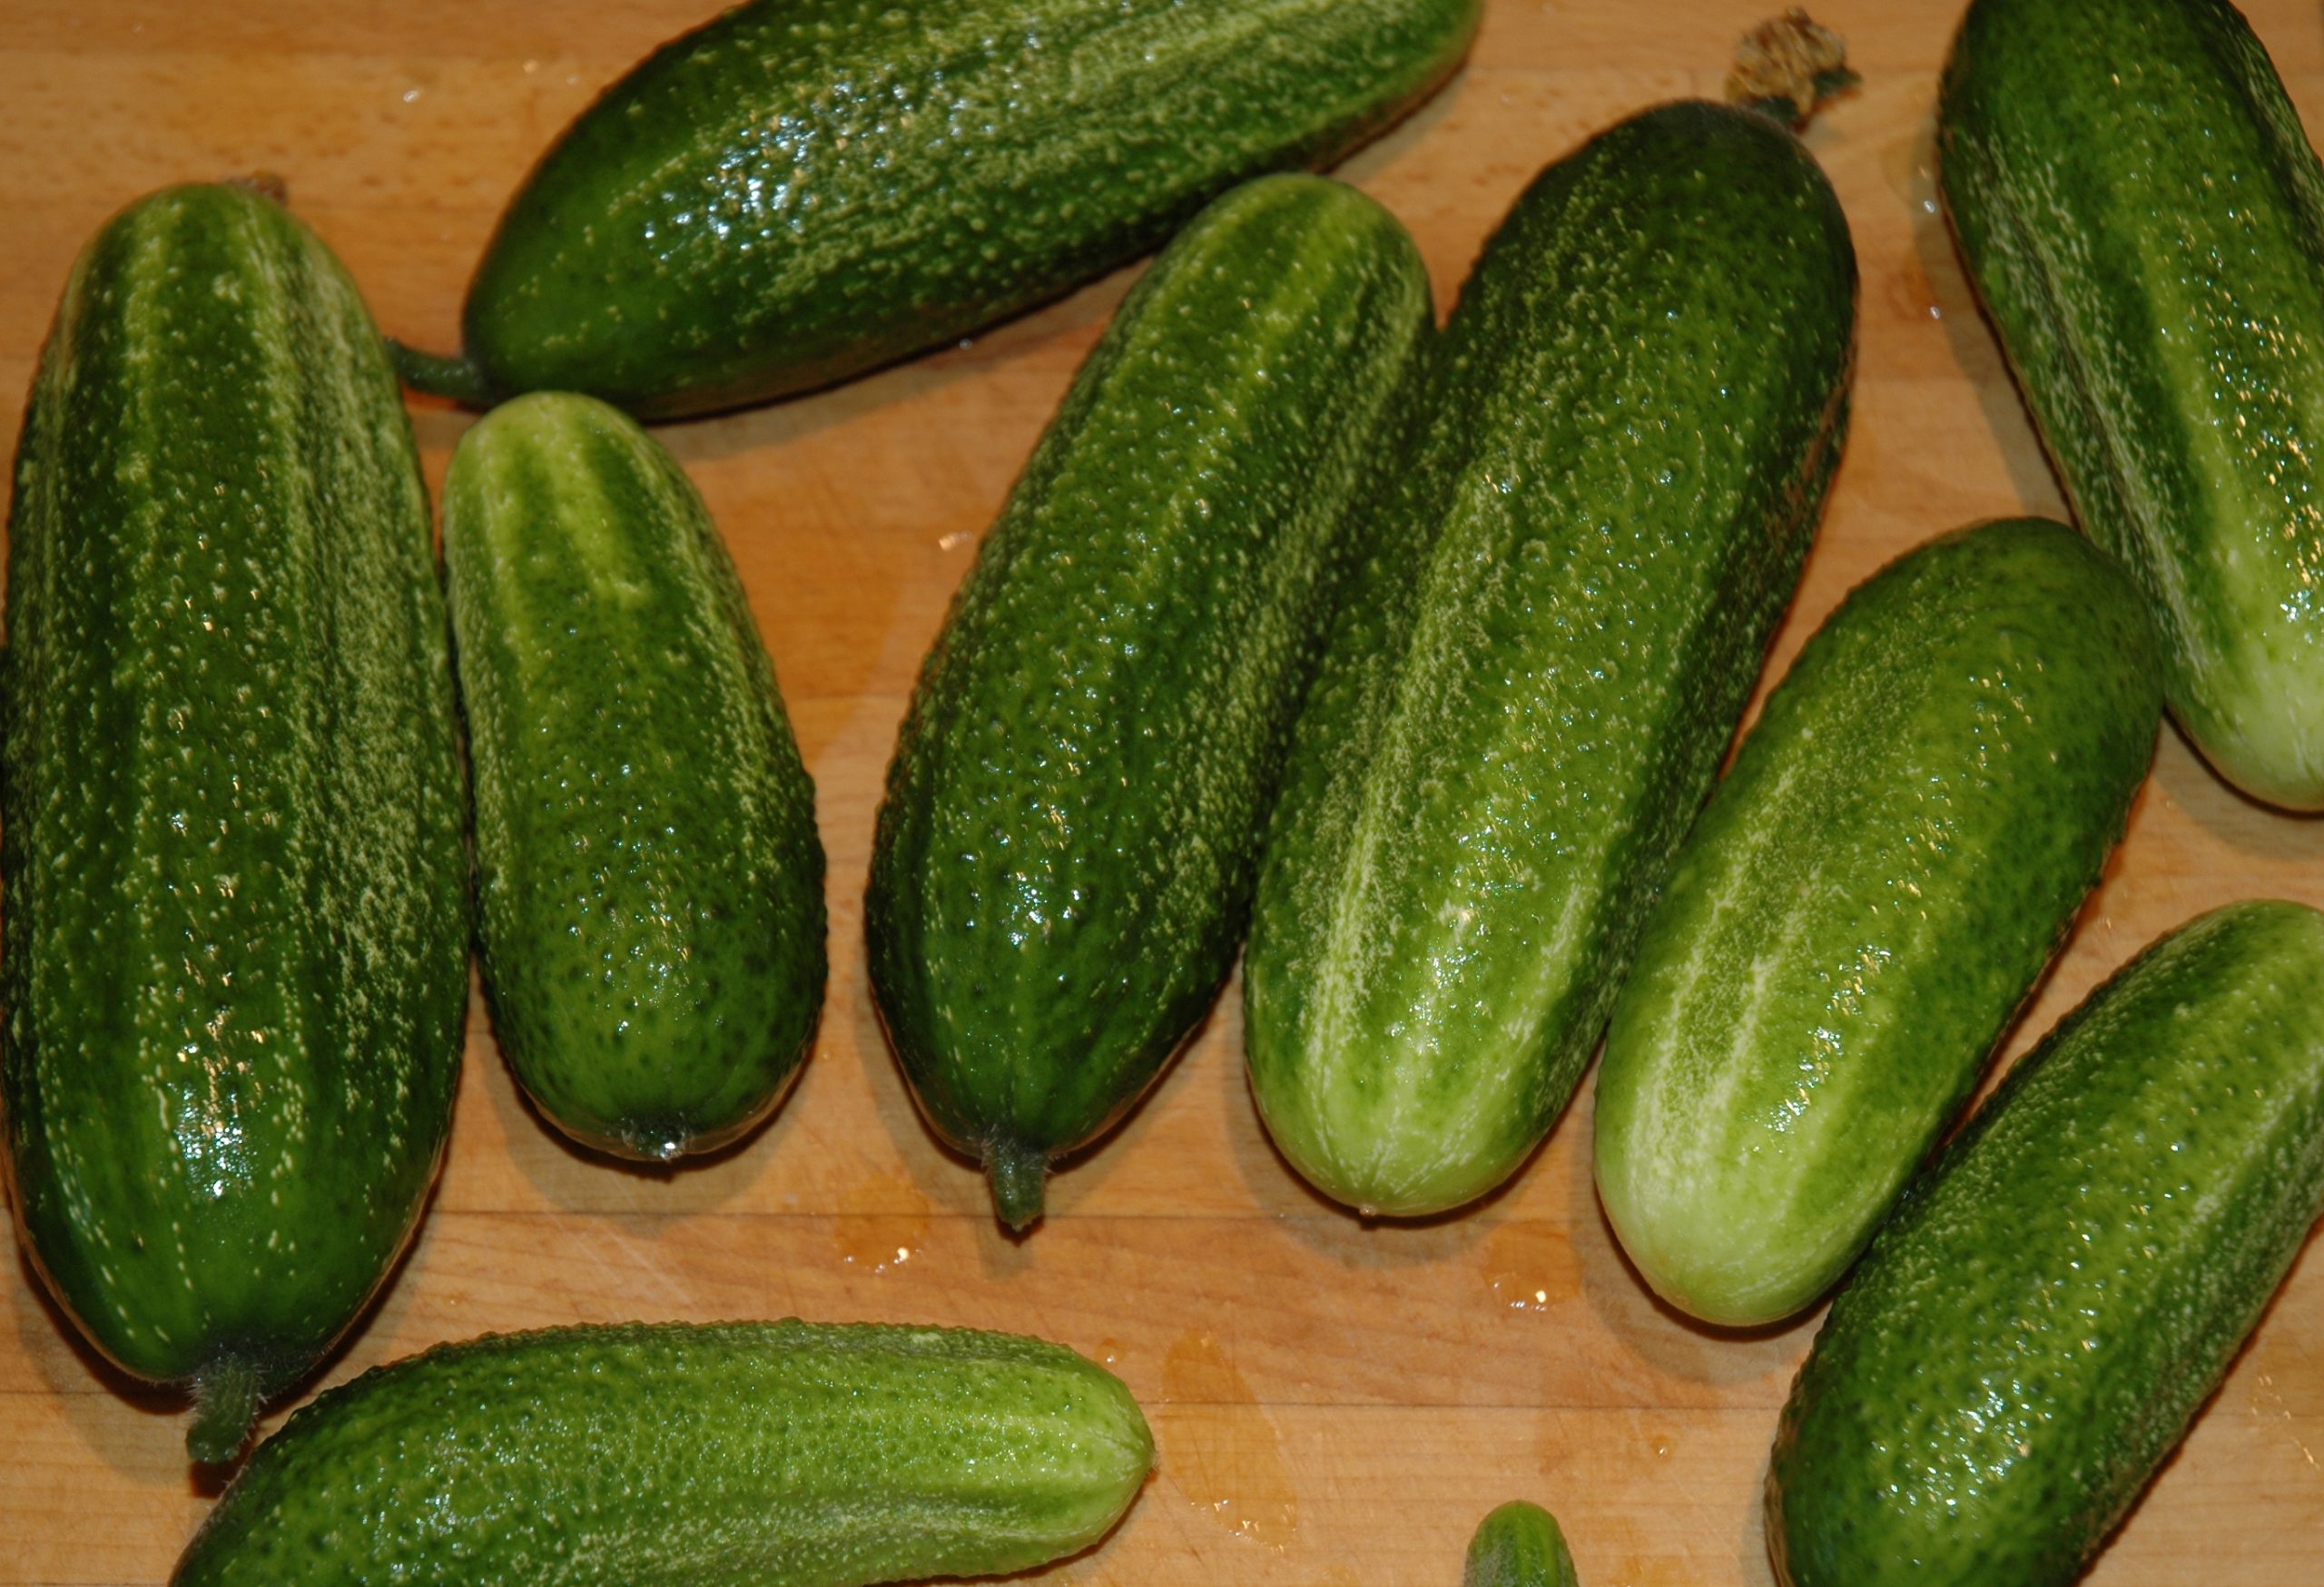
Gherkin Harvest
Gherkin Harvest You may remember my post in May about Growing Gherkins. Well they certainly grew well. I kept the plant in the greenhouse all
Read more
Charlotte Potatoes
Charlotte Potatoes Despite all the rain we have had this year, this is one of the best crops of second early potatoes we have ever
Read more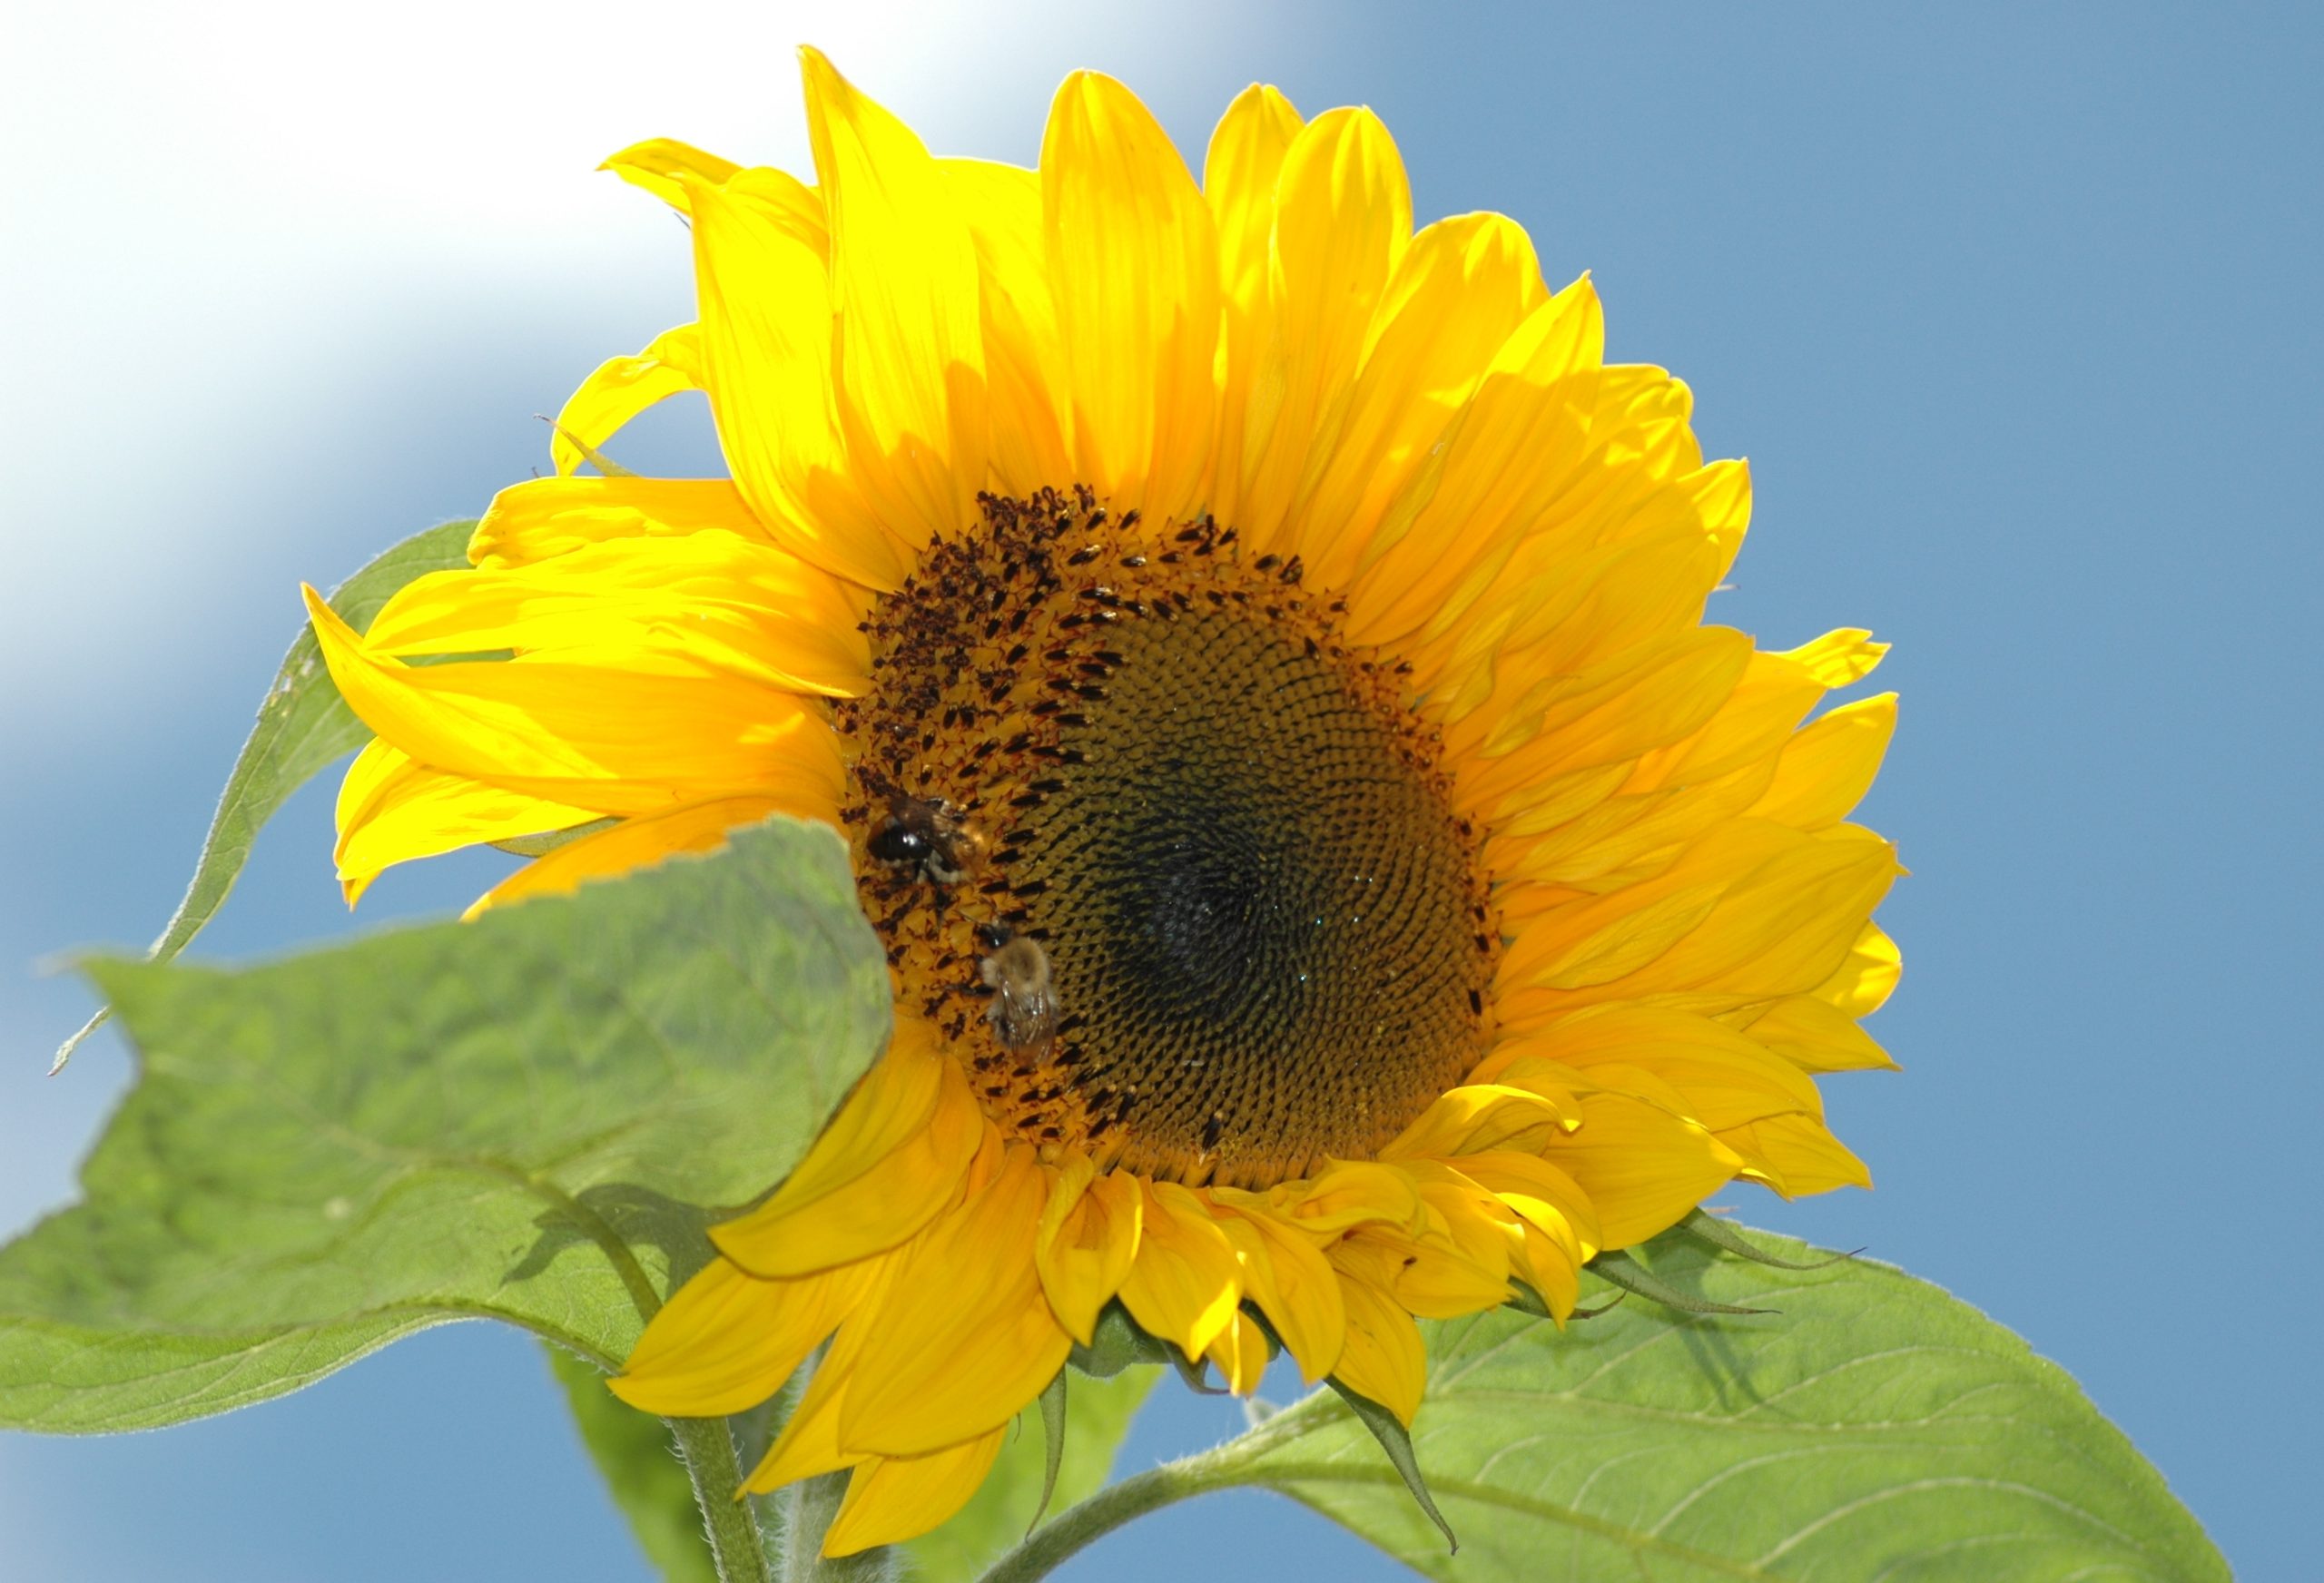
Sunflower in the Sunshine
Sunflower (Helianthus annuu) There may not have been a great deal of sunshine this summer, but we did manage one really good sunflower this year.
Read more
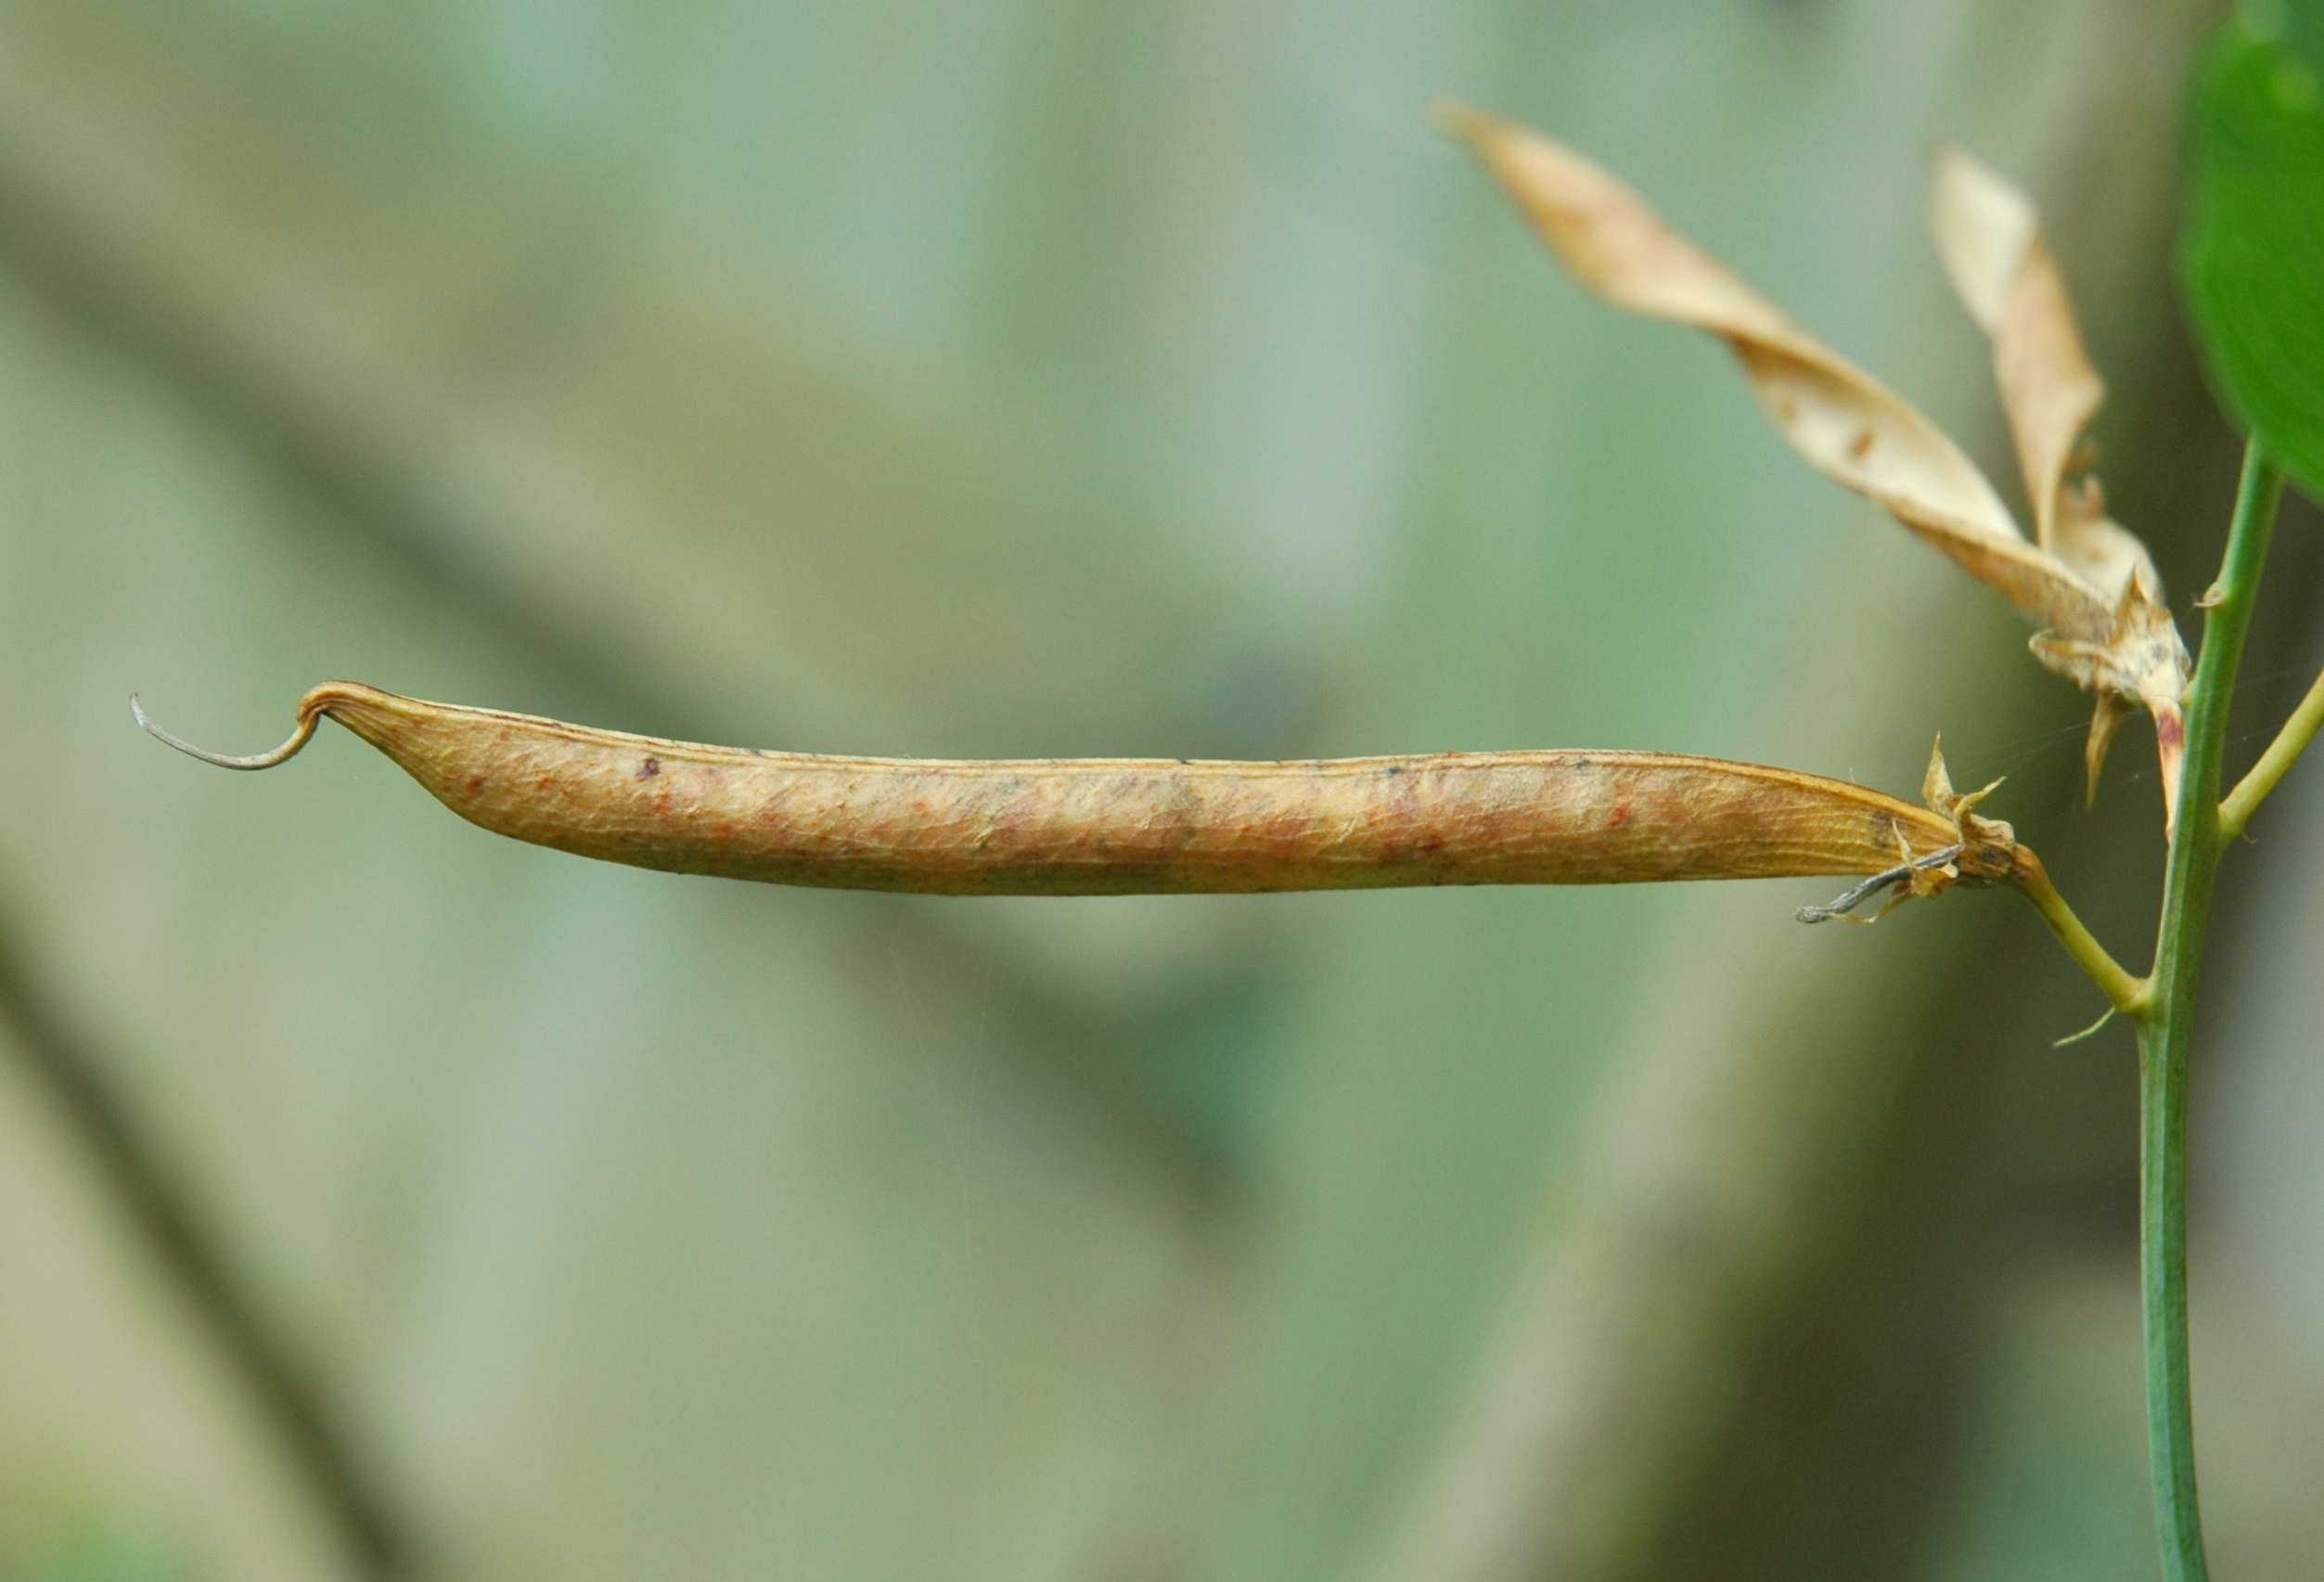
Bean Harvest
Climbing Beans and Runner Beans Having just returned from a few days away, it was wonderful to harvest a respectable crop of runner beans, climbing
Read more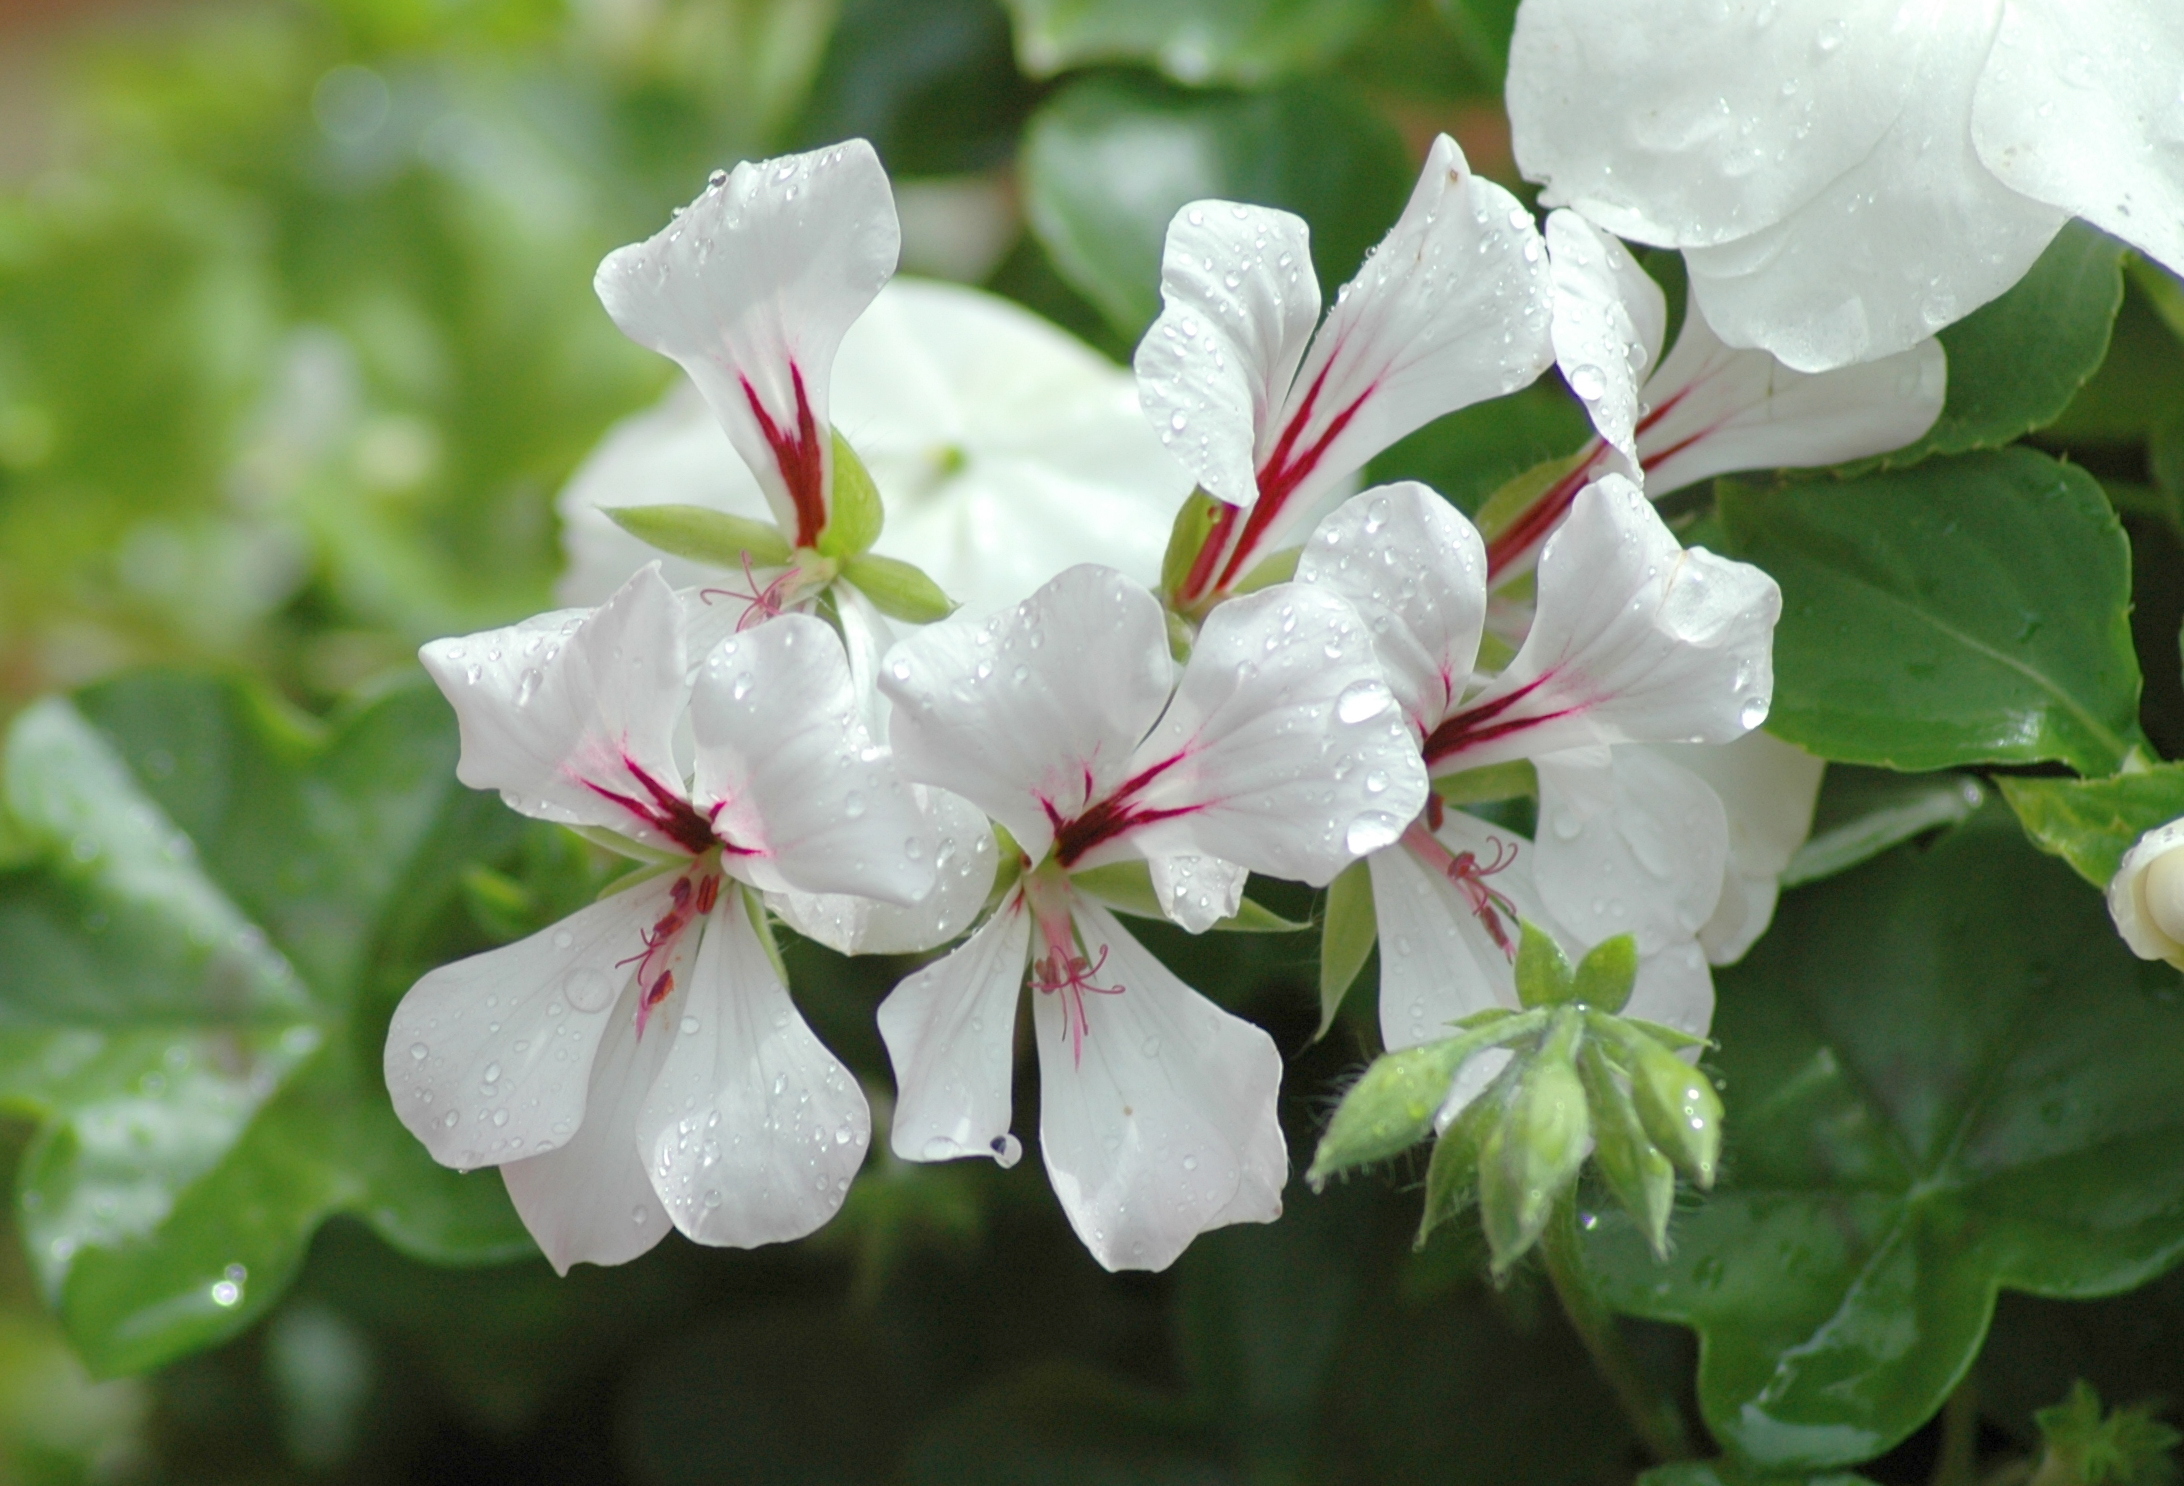
Wet Bedding
Wet Bedding Plants It looks like most of the bedding plants won’t need much watering this summer, despite the earlier hosepipe bans. The hanging baskets
Read more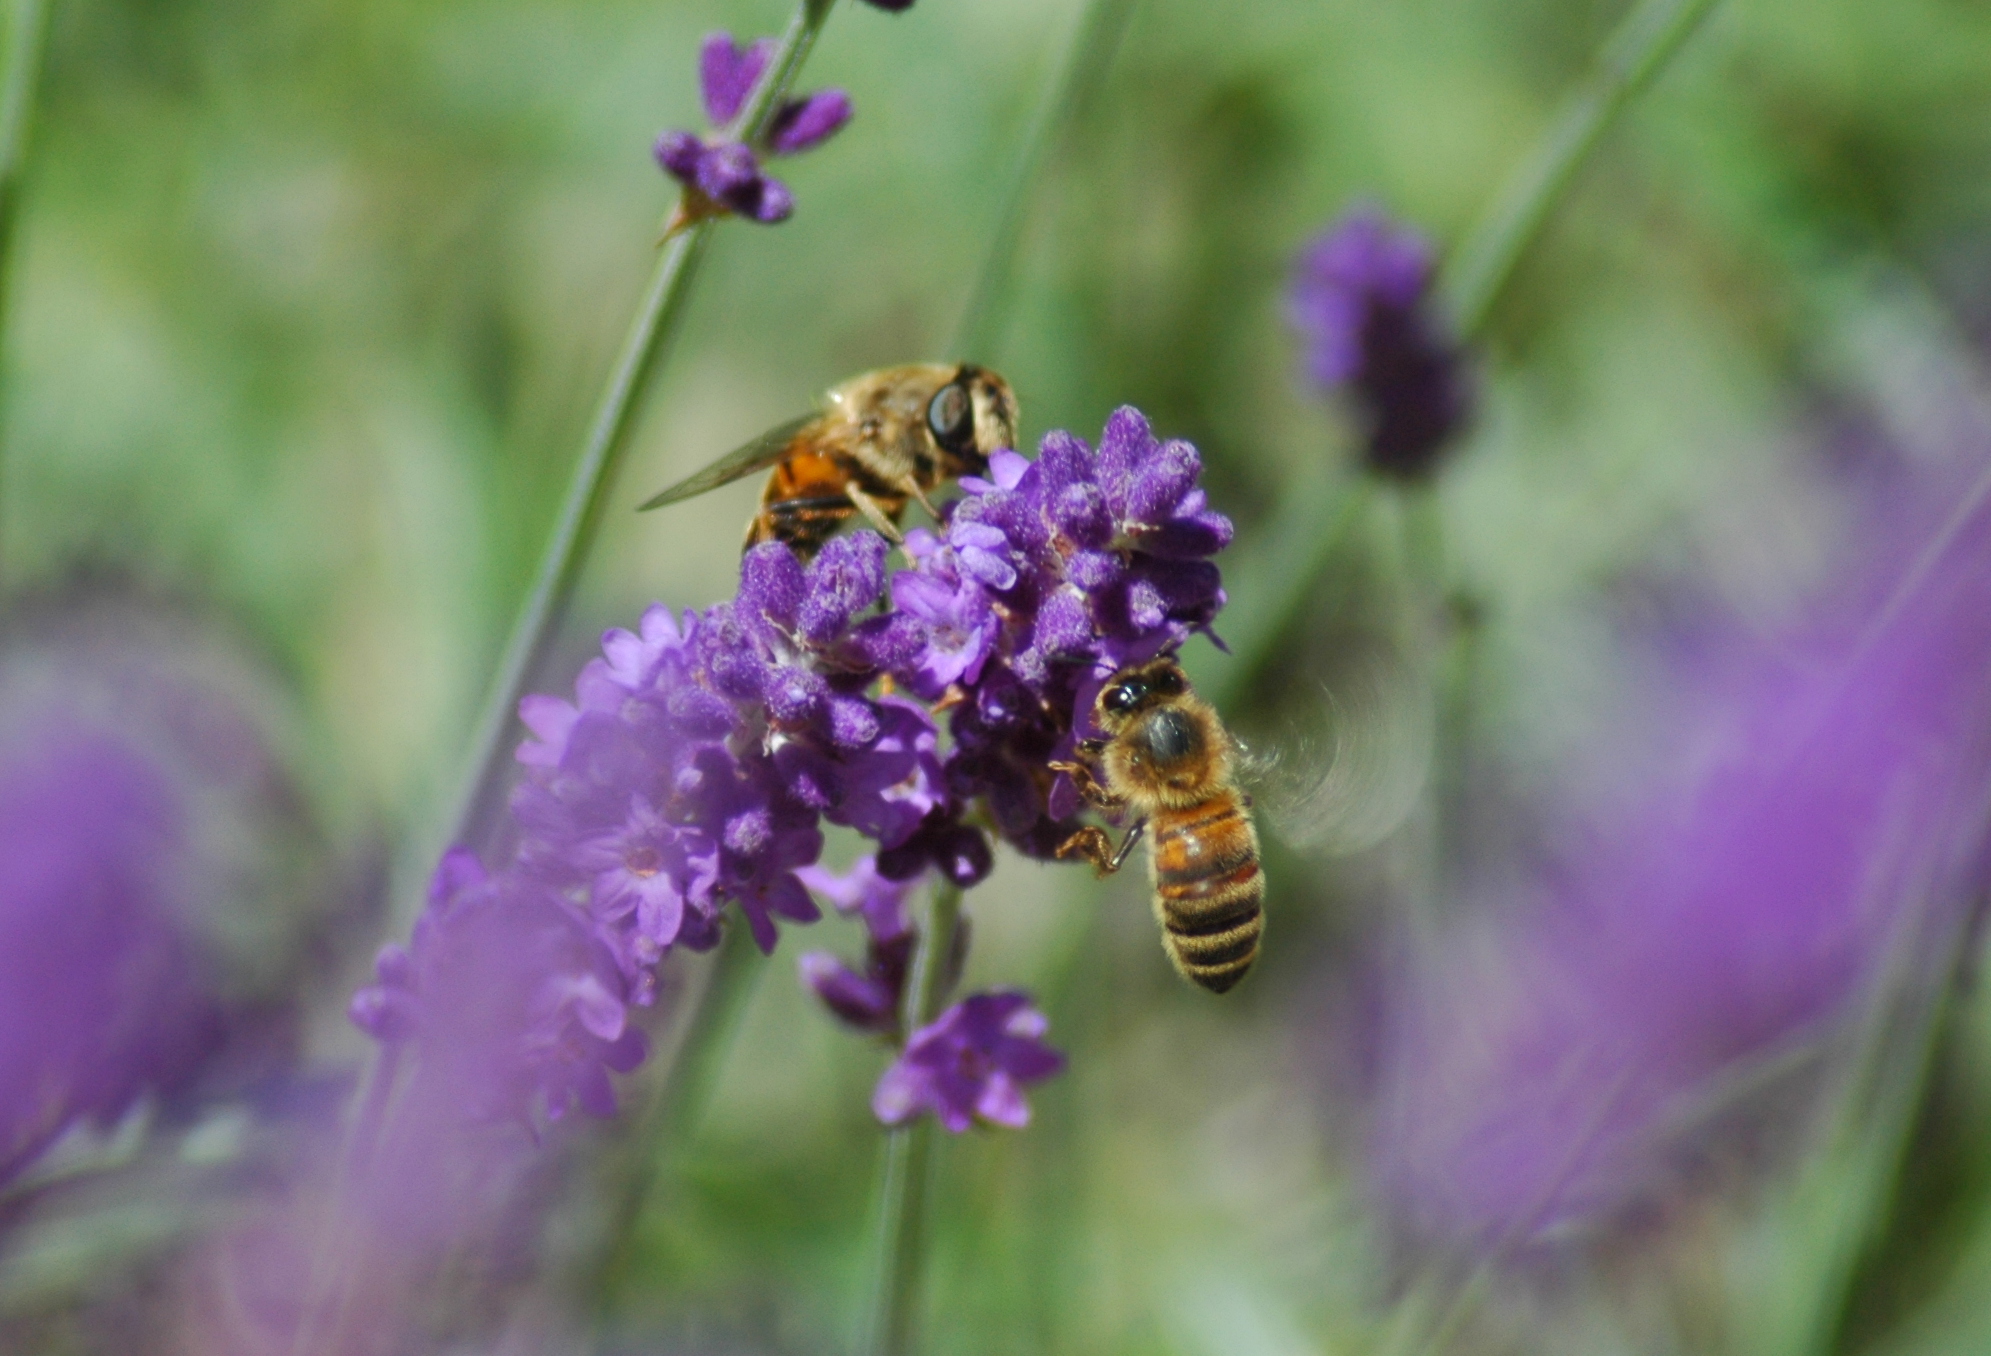
Lavender Hedge
Lavender (Lavandula) Hedge The lavender hedge looked radiant this morning. When the sun popped out between the grey clouds, it looked like a mid-summer dream.
Read more
Bean Flowers
Climbing Bean Flowers Despite the non-stop rain and the lack of sunshine, the beans in the garden are doing pretty well. I planted a mixture
Read more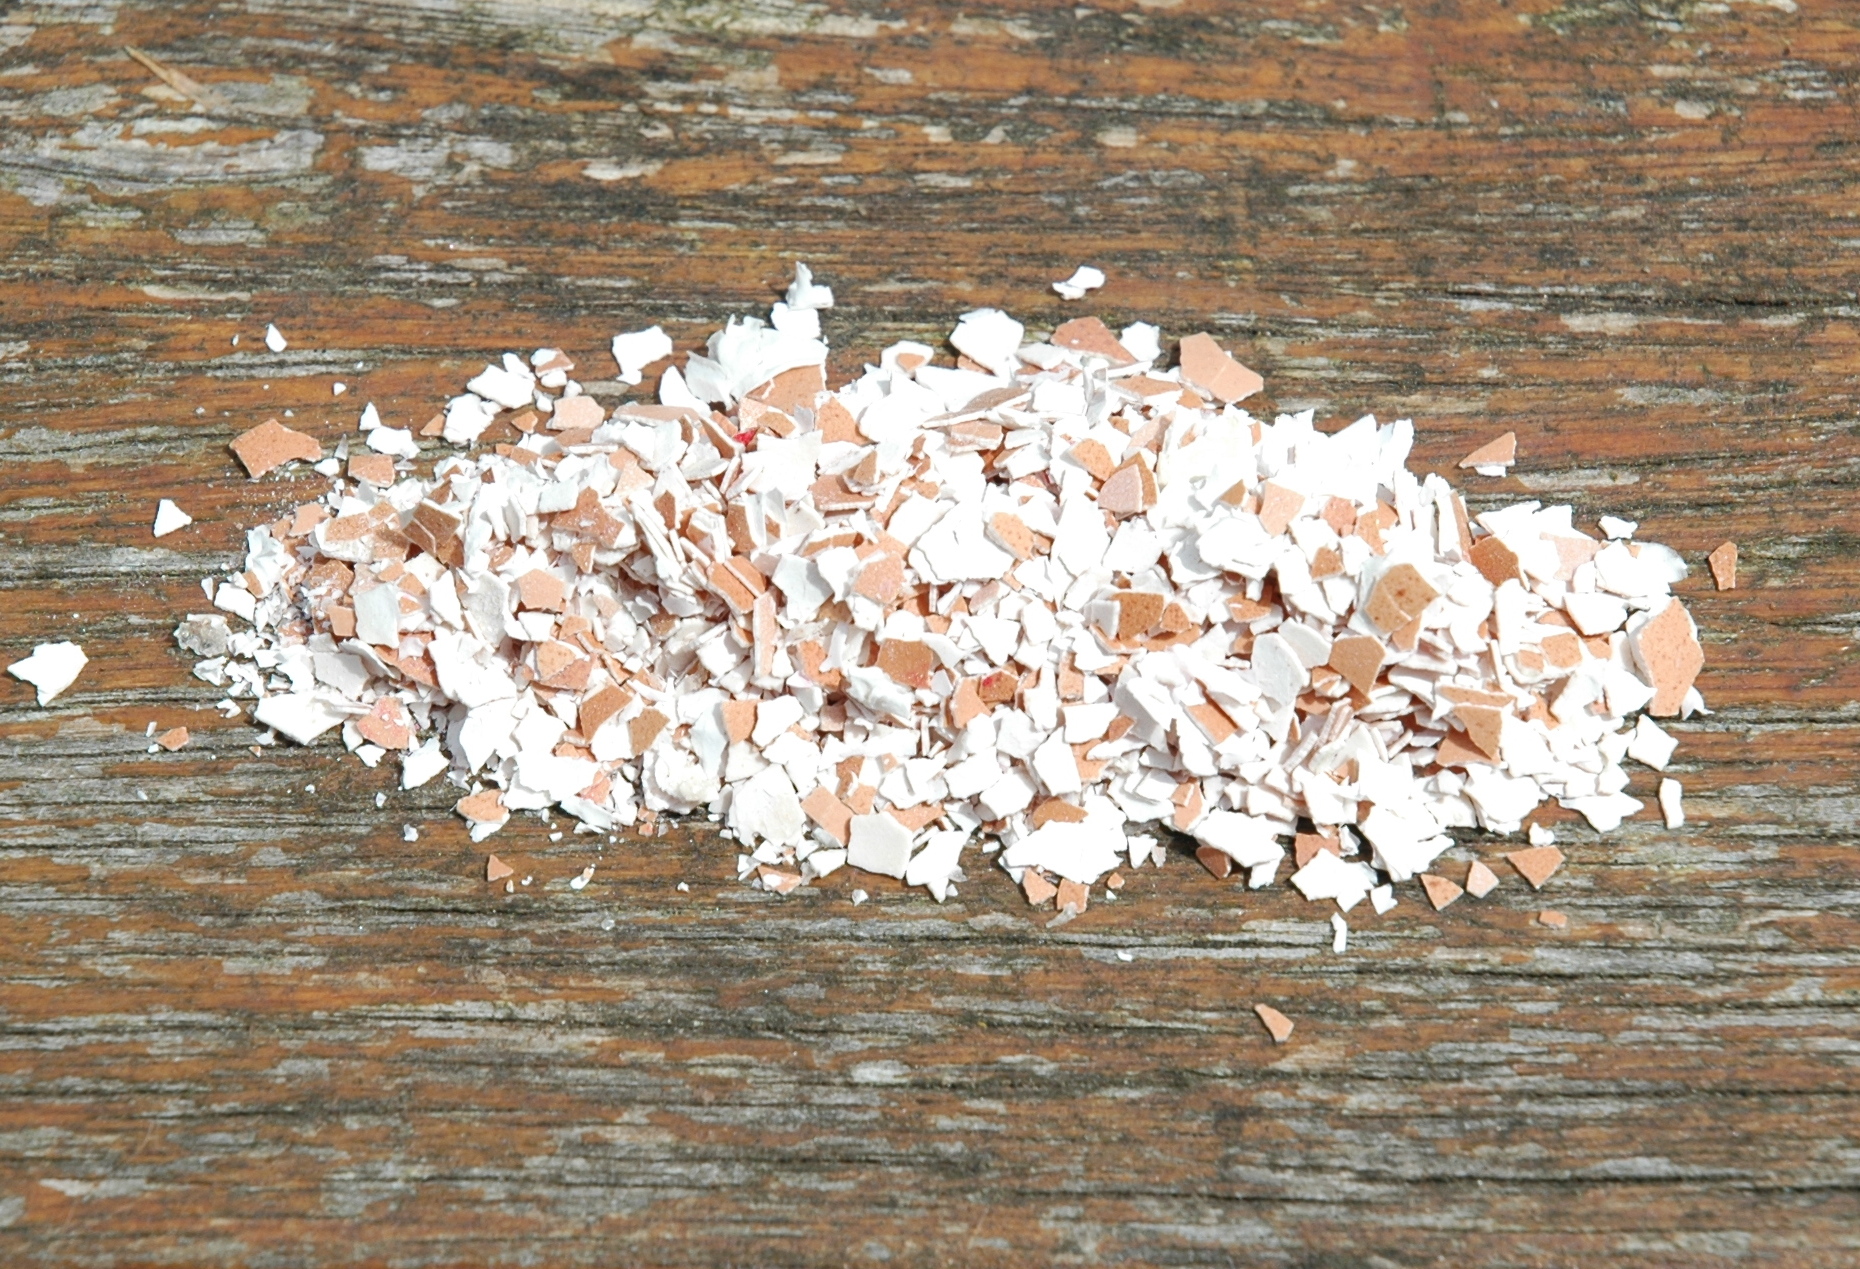
Prevent Snail or Slug Attack
Crushed eggshells to prevent slug attack Try using crushed eggshells to prevent snail or slug attack. This method seems to work as hungry gastropods don’t
Read more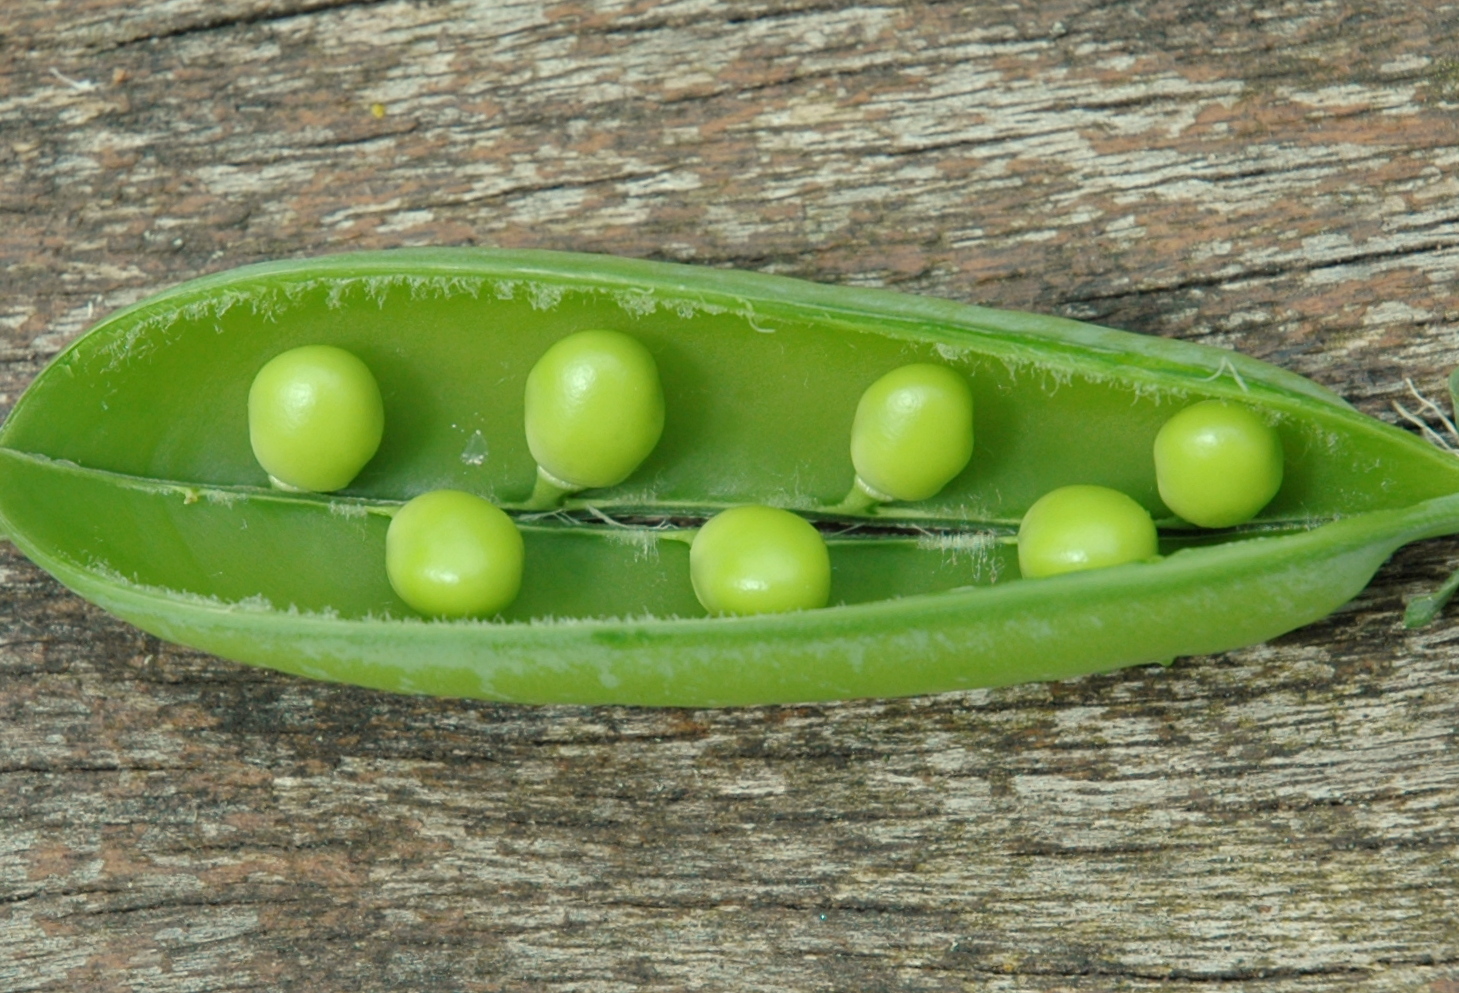
Peas in a Pod
Peas in a pod You can almost taste how sweet these peas are from the picture. There is nothing better than popping down to the
Read more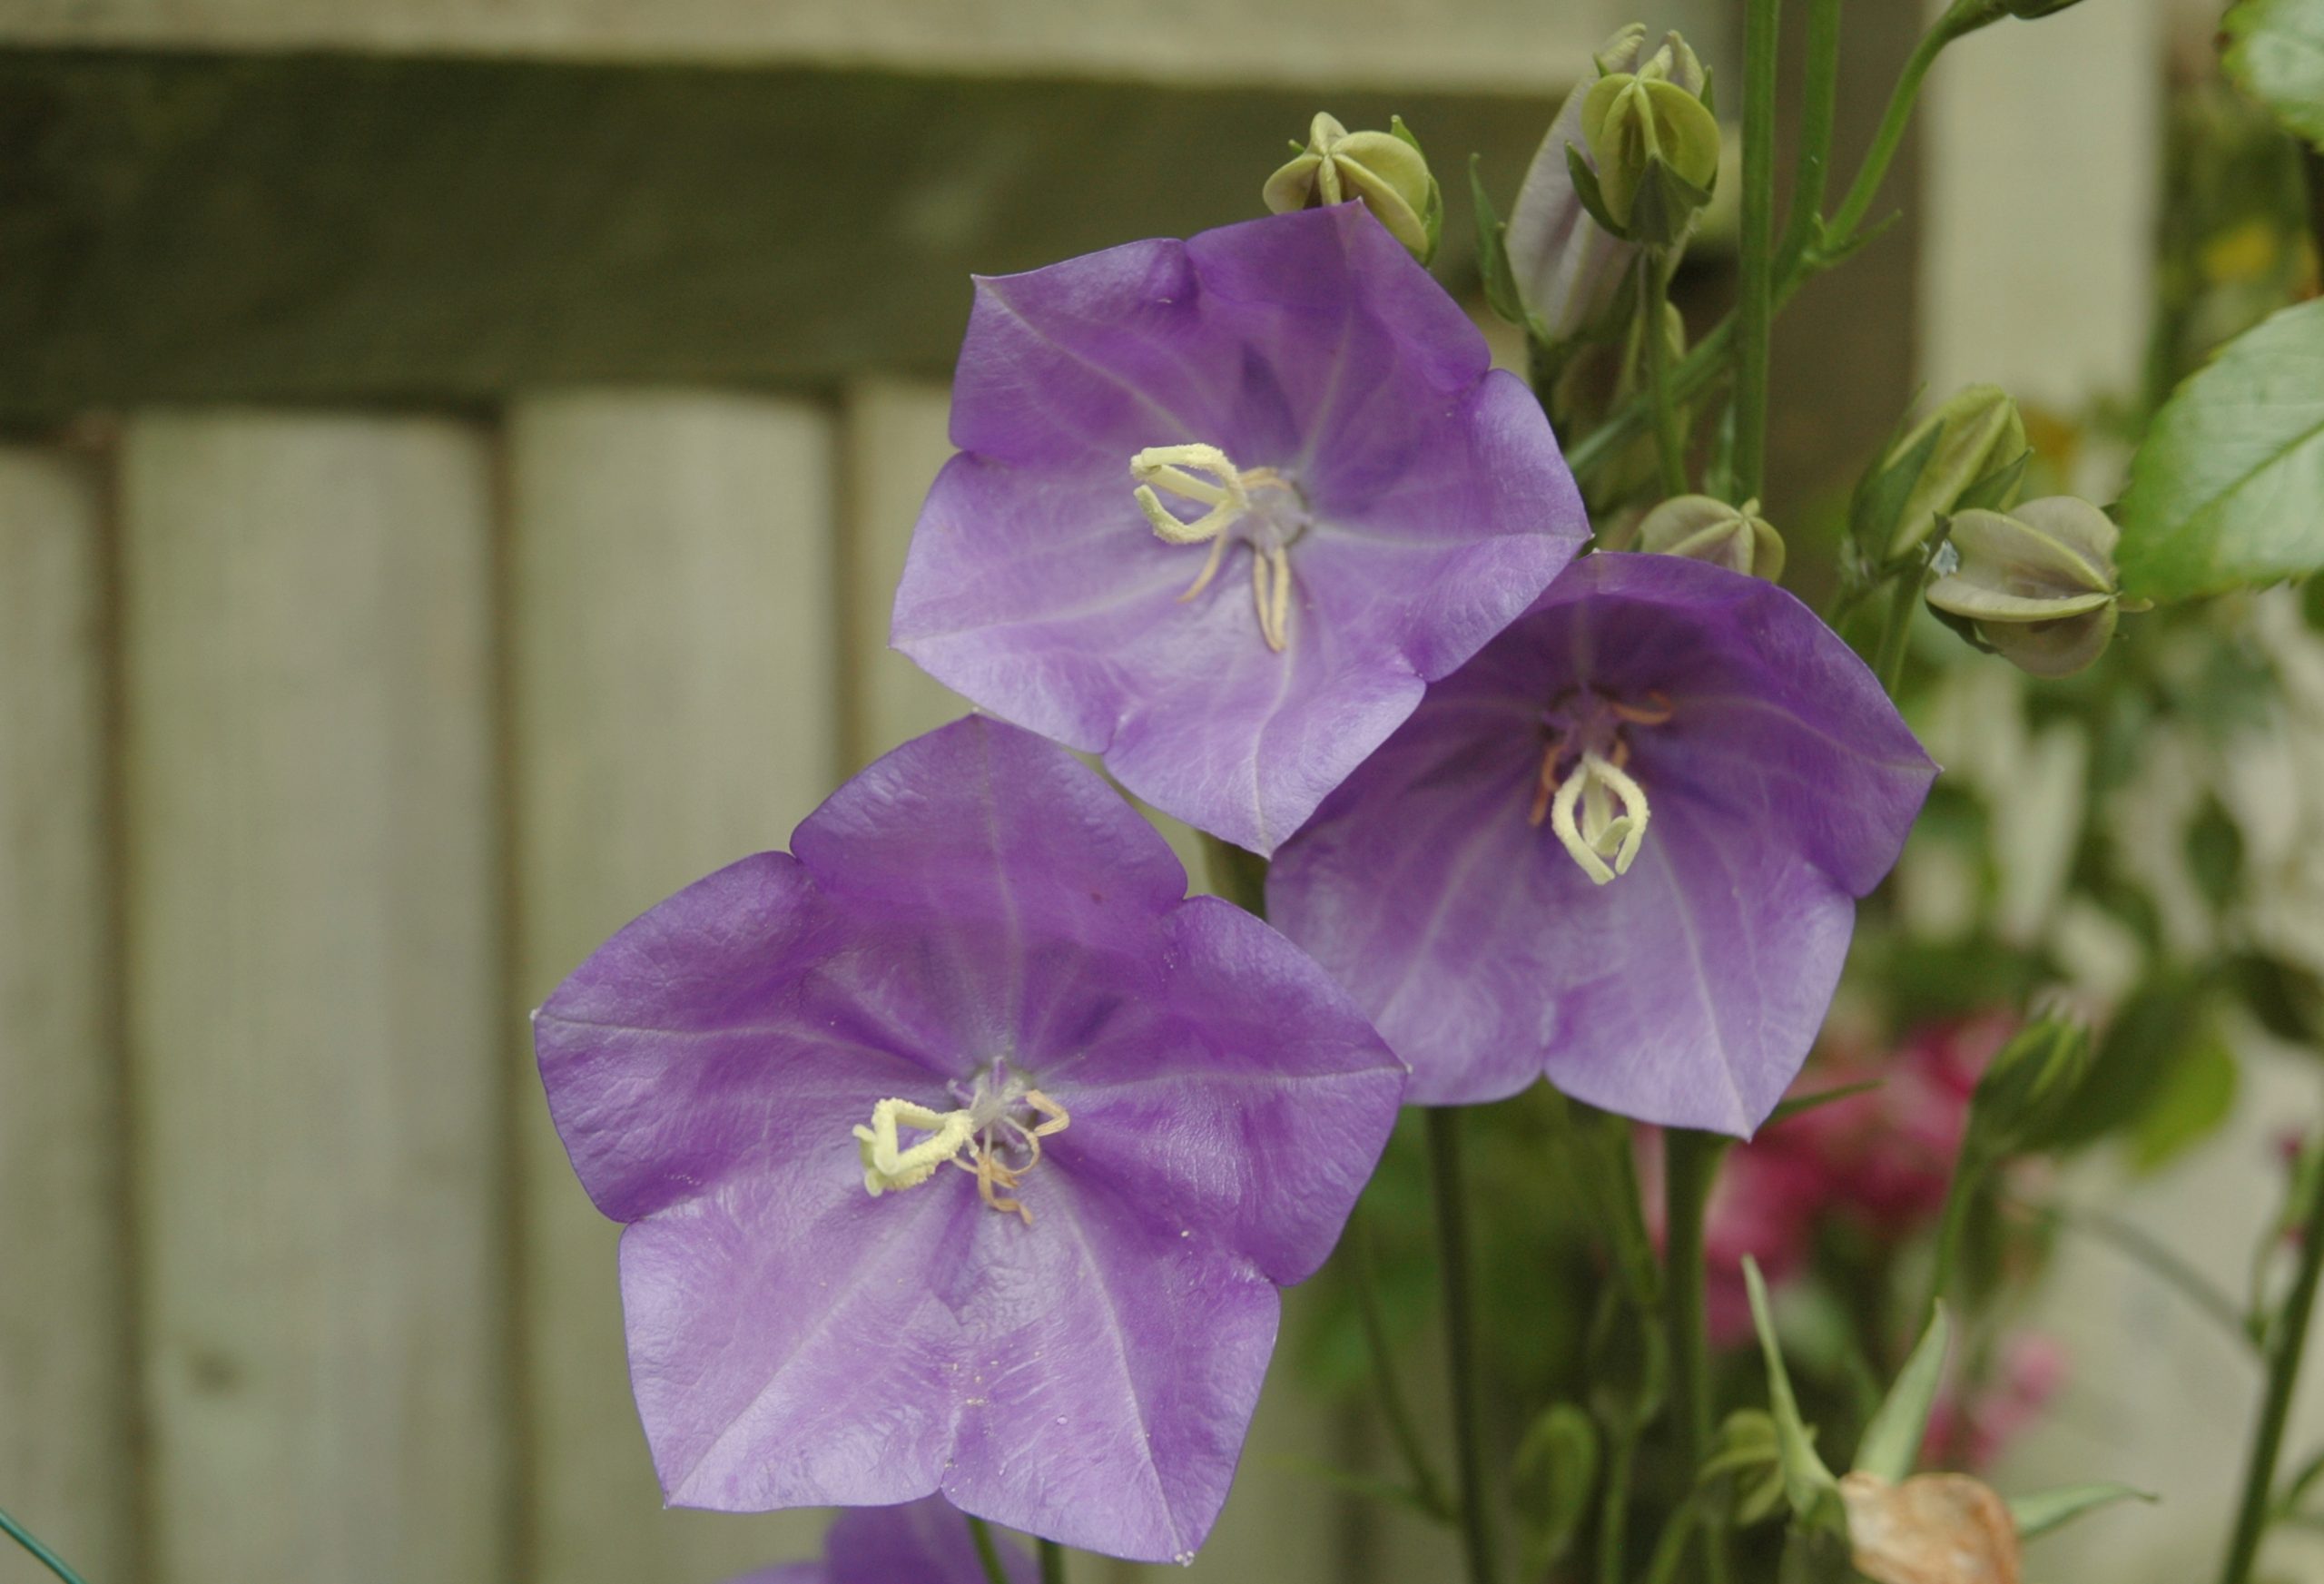
Campanula (Bellflowers)
Campanula or Bellflower (Campanulaceae) These wonderful violet Campanula flowers were making the most of what little sunshine there was in the garden today. I understand
Read more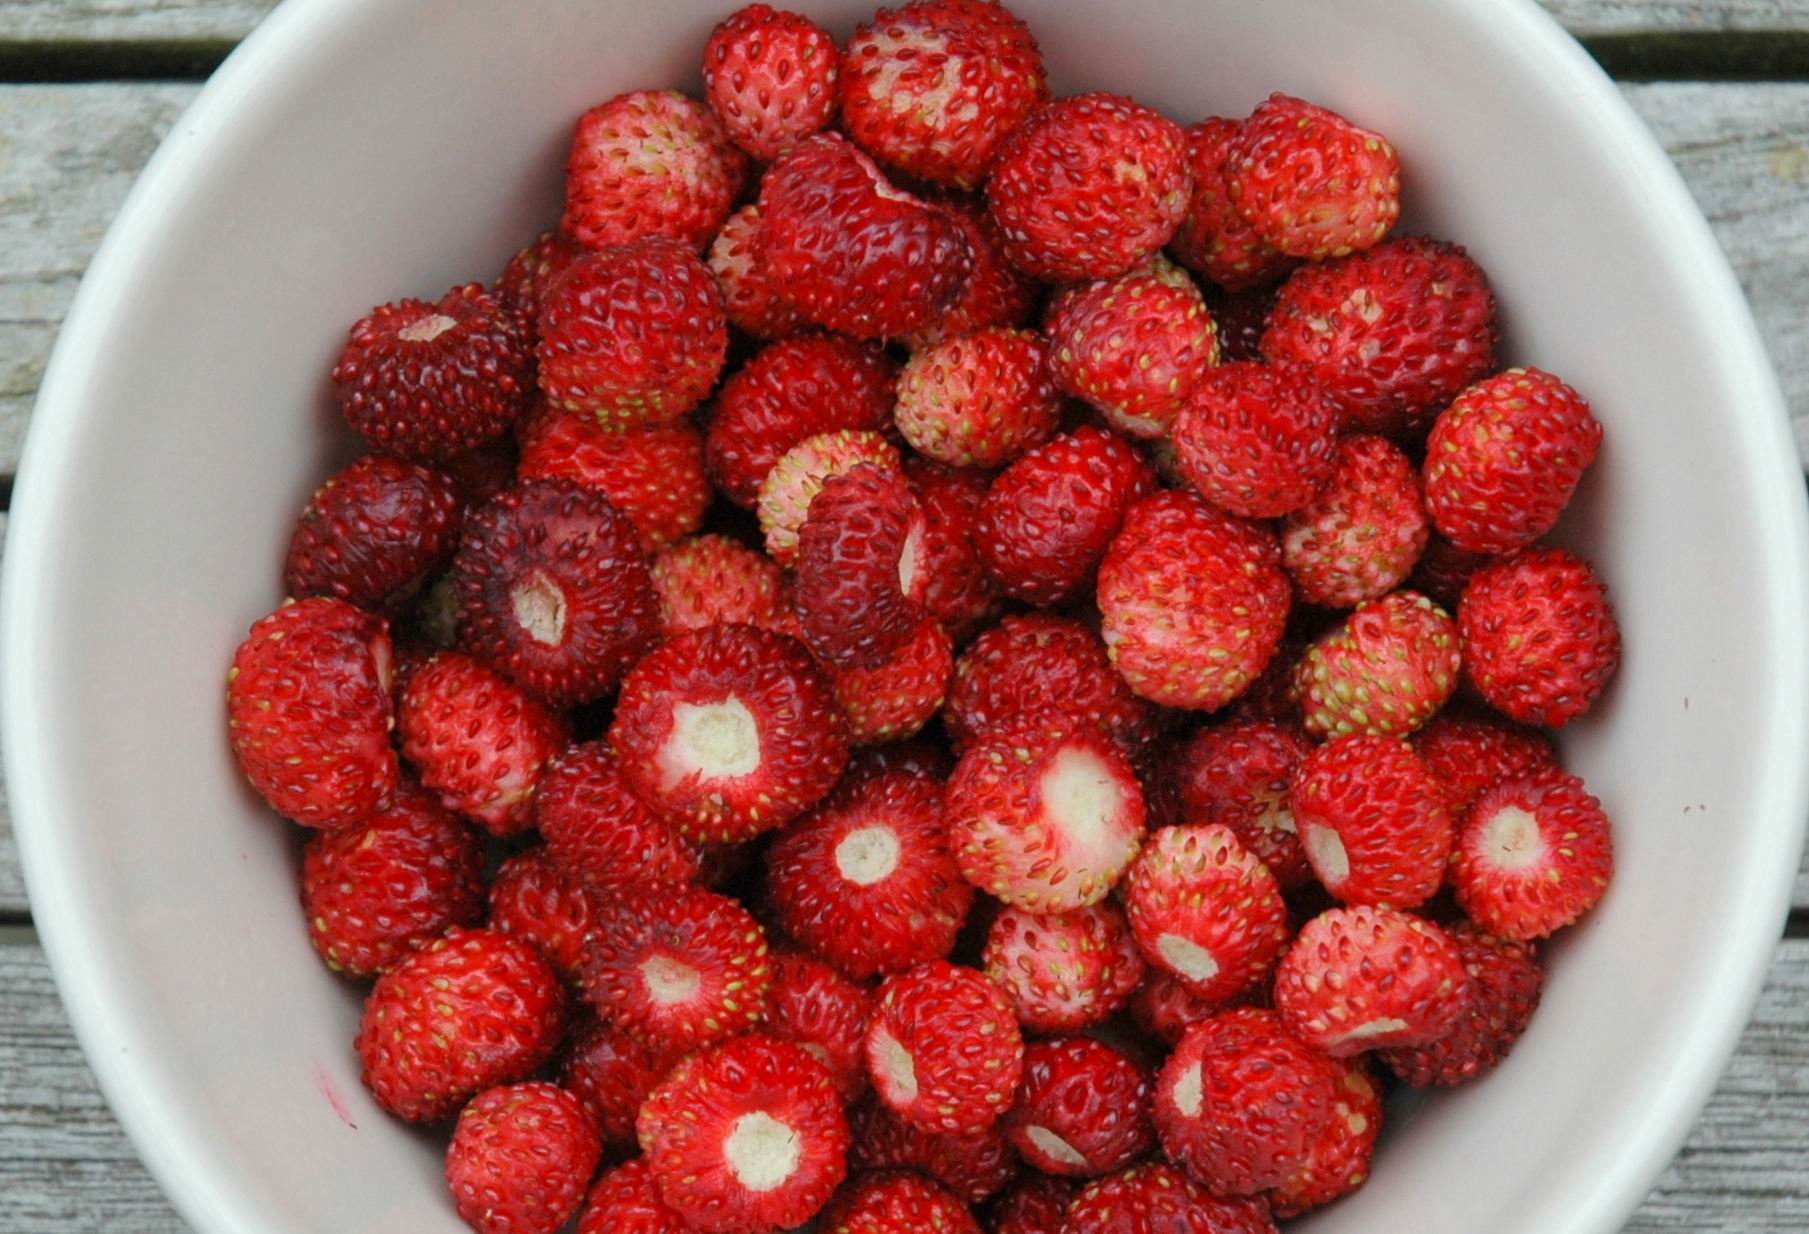
Wild Strawberries
Wild Strawberries (Fragaria vesca) We picked a wonderful crop sweet wild strawberries today. They seem to be taking over one of our borders. Now we
Read more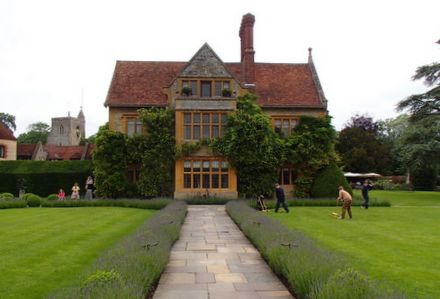
Le Manoir Gardens
Le Manoir aux Quat Saisons We visited Raymond Blanc’s Le Manoir aux Quat Saisons for lunch this weekend to celebrate my Wife’s birthday. The gardens
Read more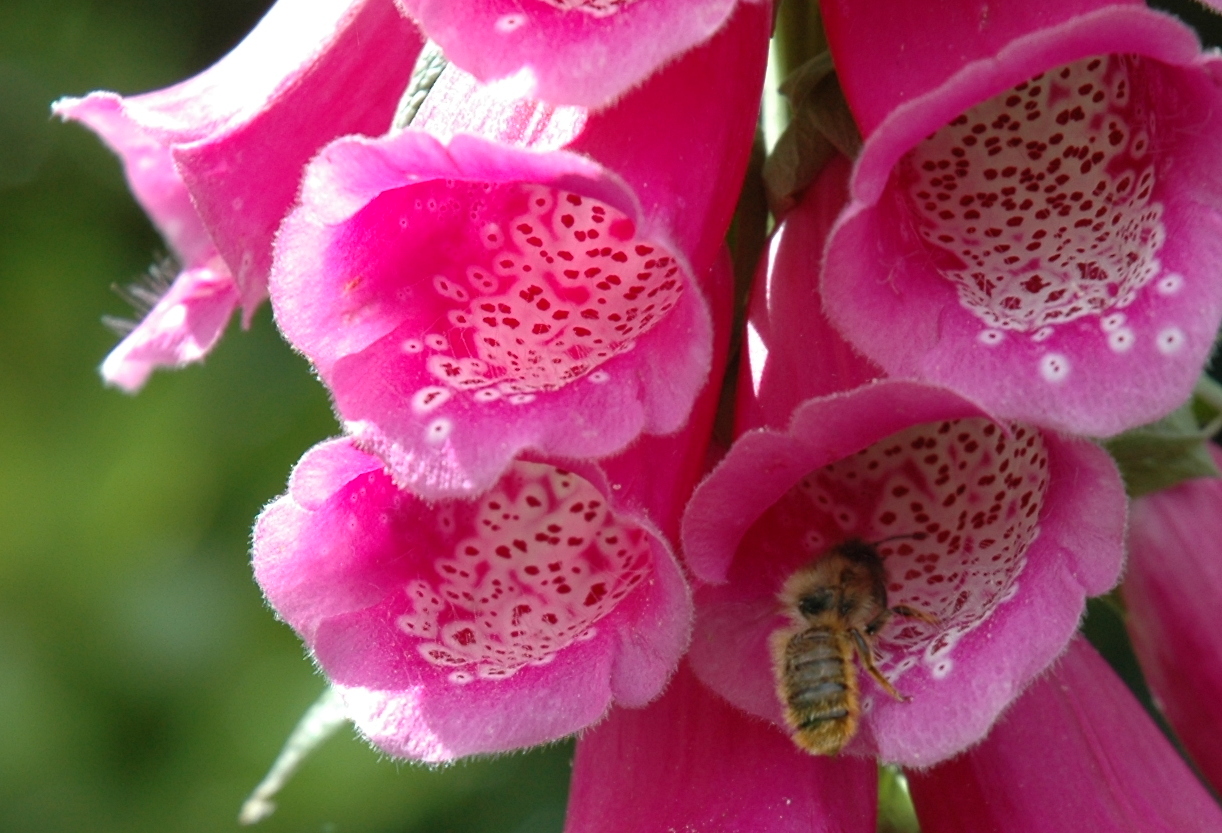
Foxgloves – Digitalis
Foxglove (Digitalis) It was lovely to see the honey bees going about their work amongst the foxgloves (Digitalis) in the sunshine this weekend.
Read more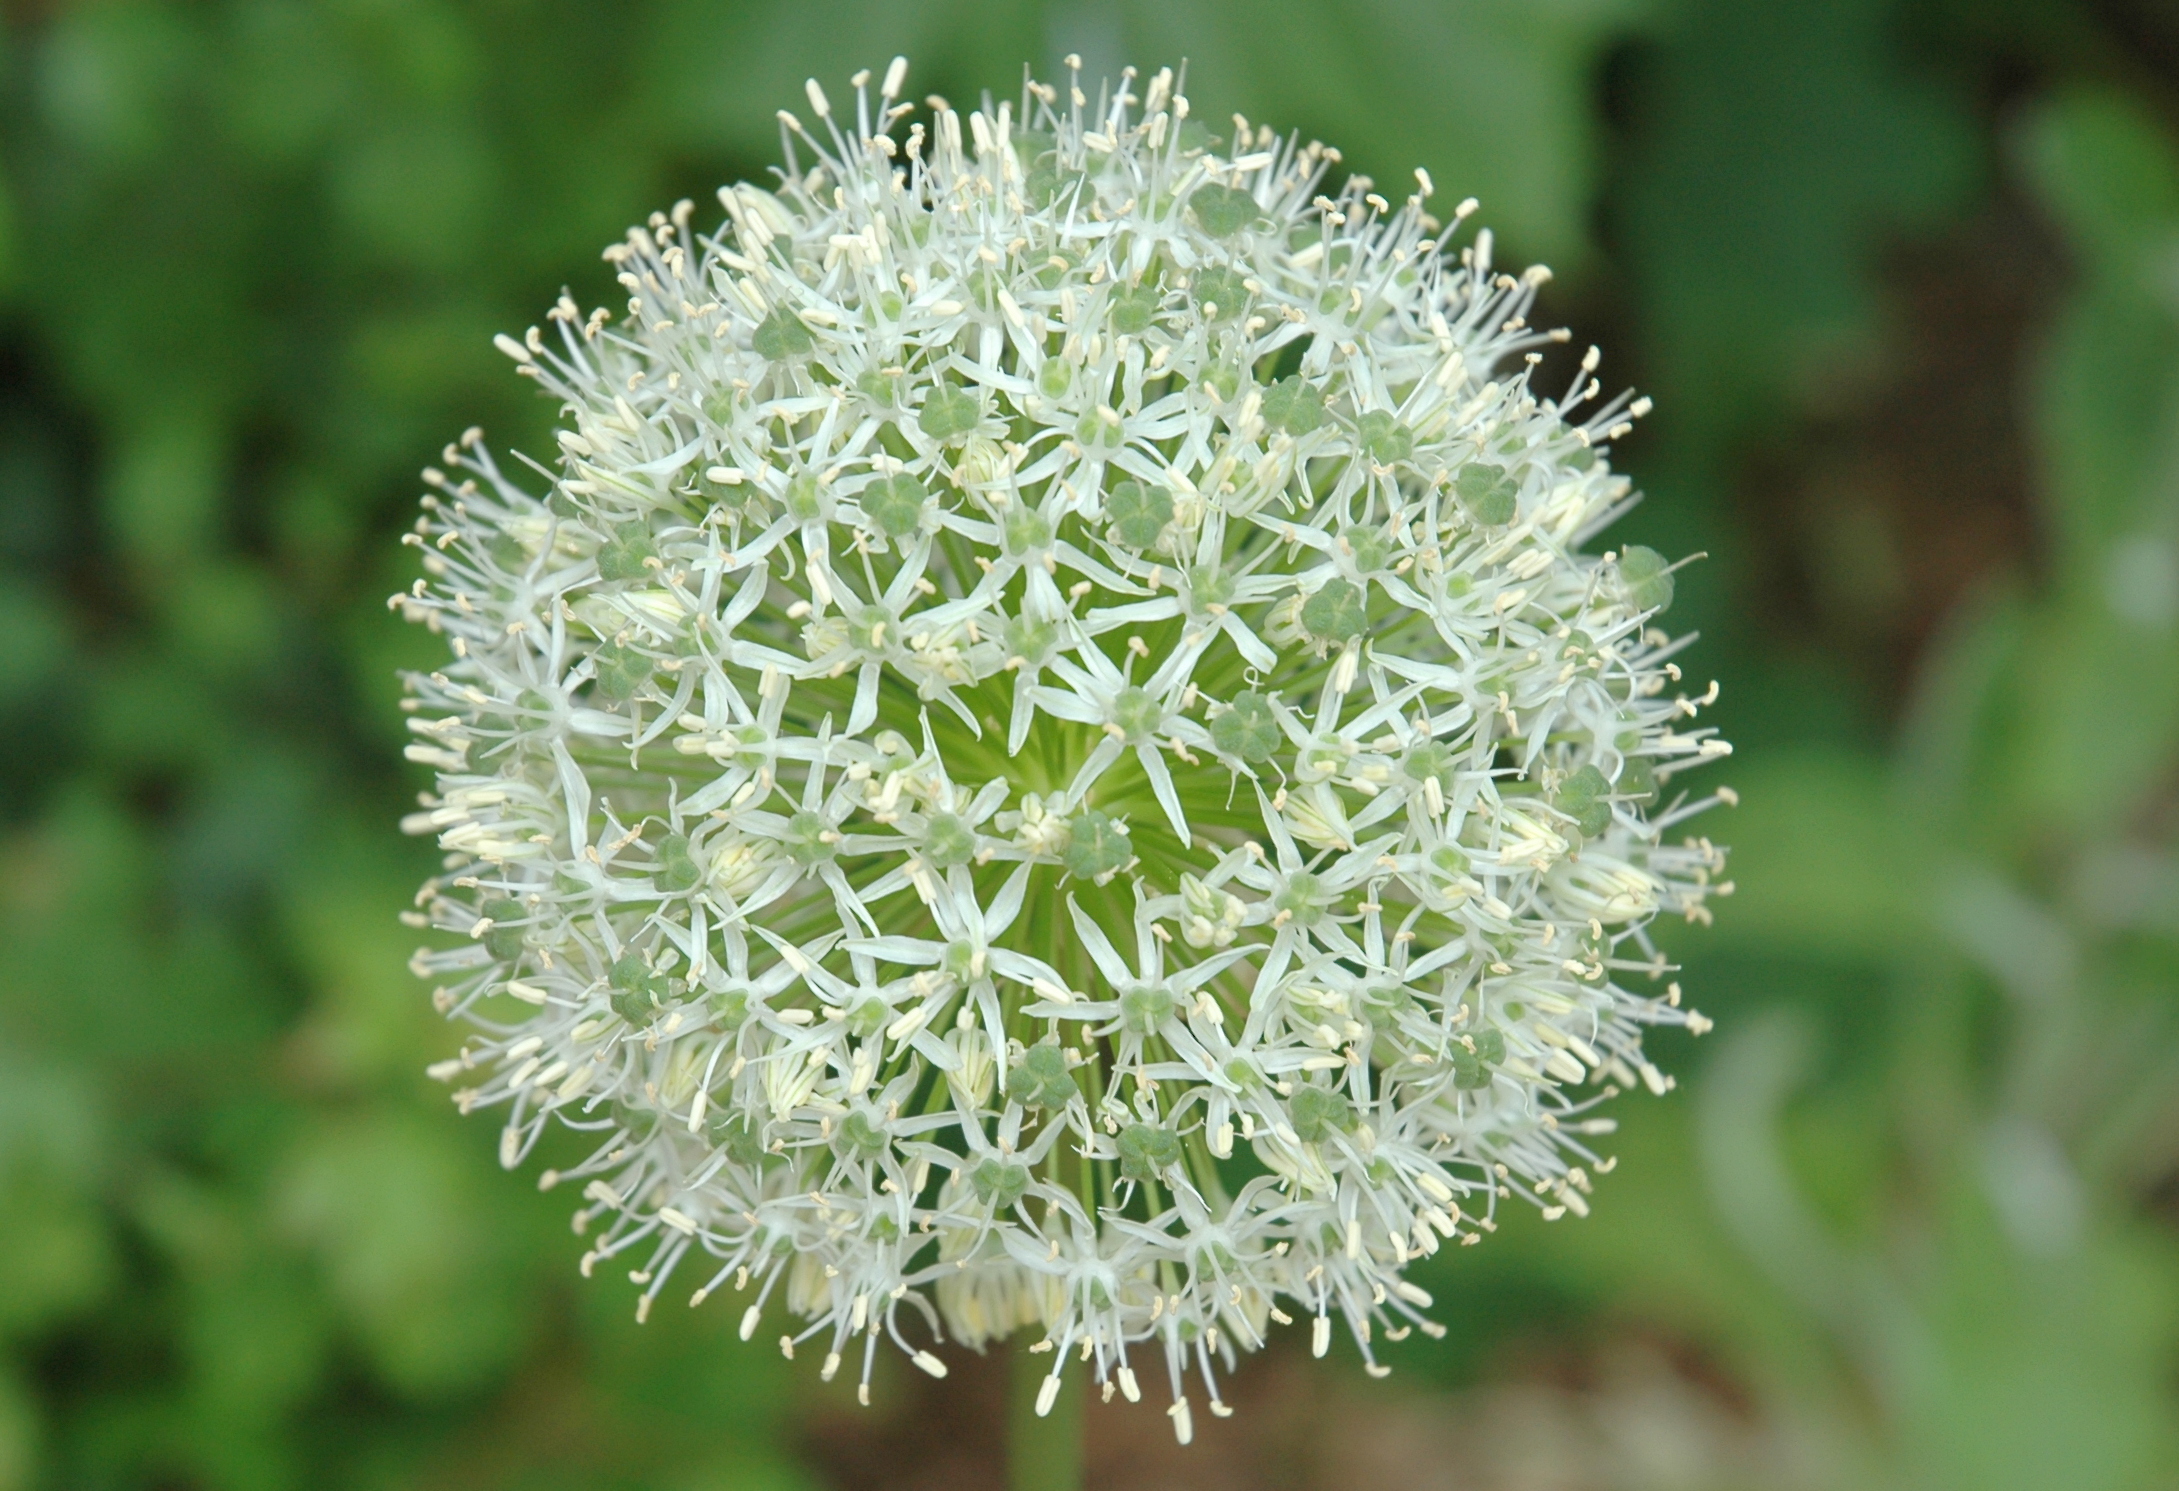
Allium Mount Everest
Allium ‘Mount Everest’ We planted these Allium Mount Everest along with lots of other spring bulbs, in September last year. At last the alliums have
Read more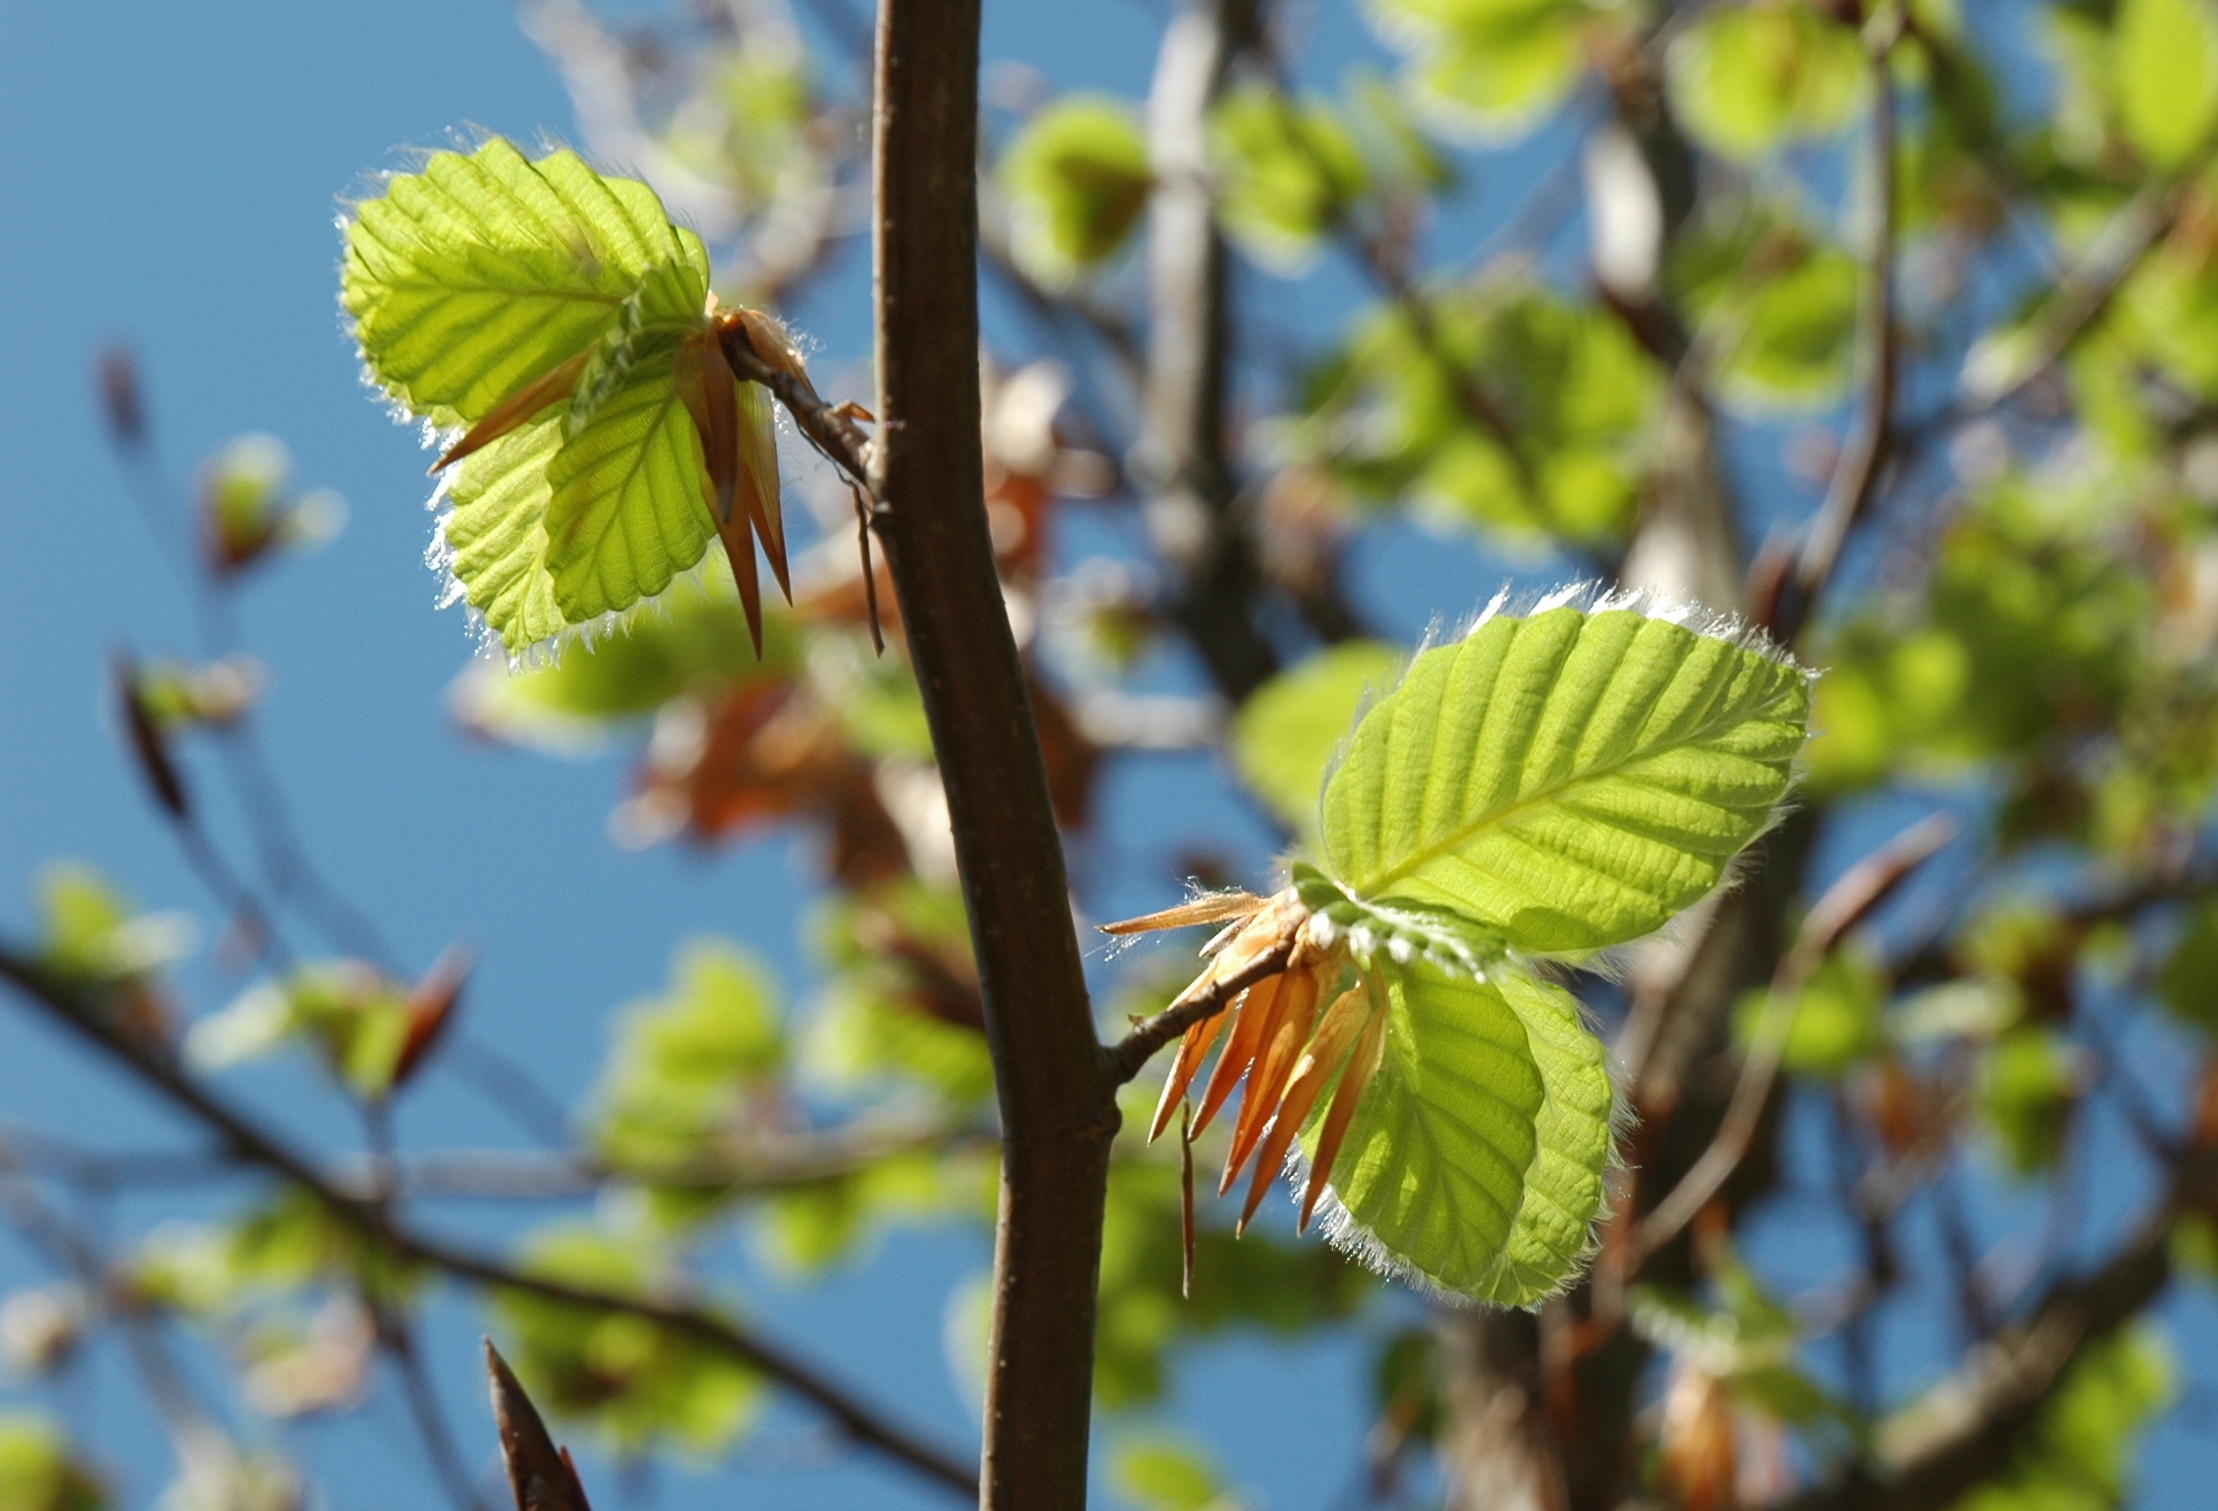
Beech Tree
Beech Tree (Fagus) Three years ago we planted 3 new beech trees and 3 new oak trees along the frontage of our house, however, after
Read more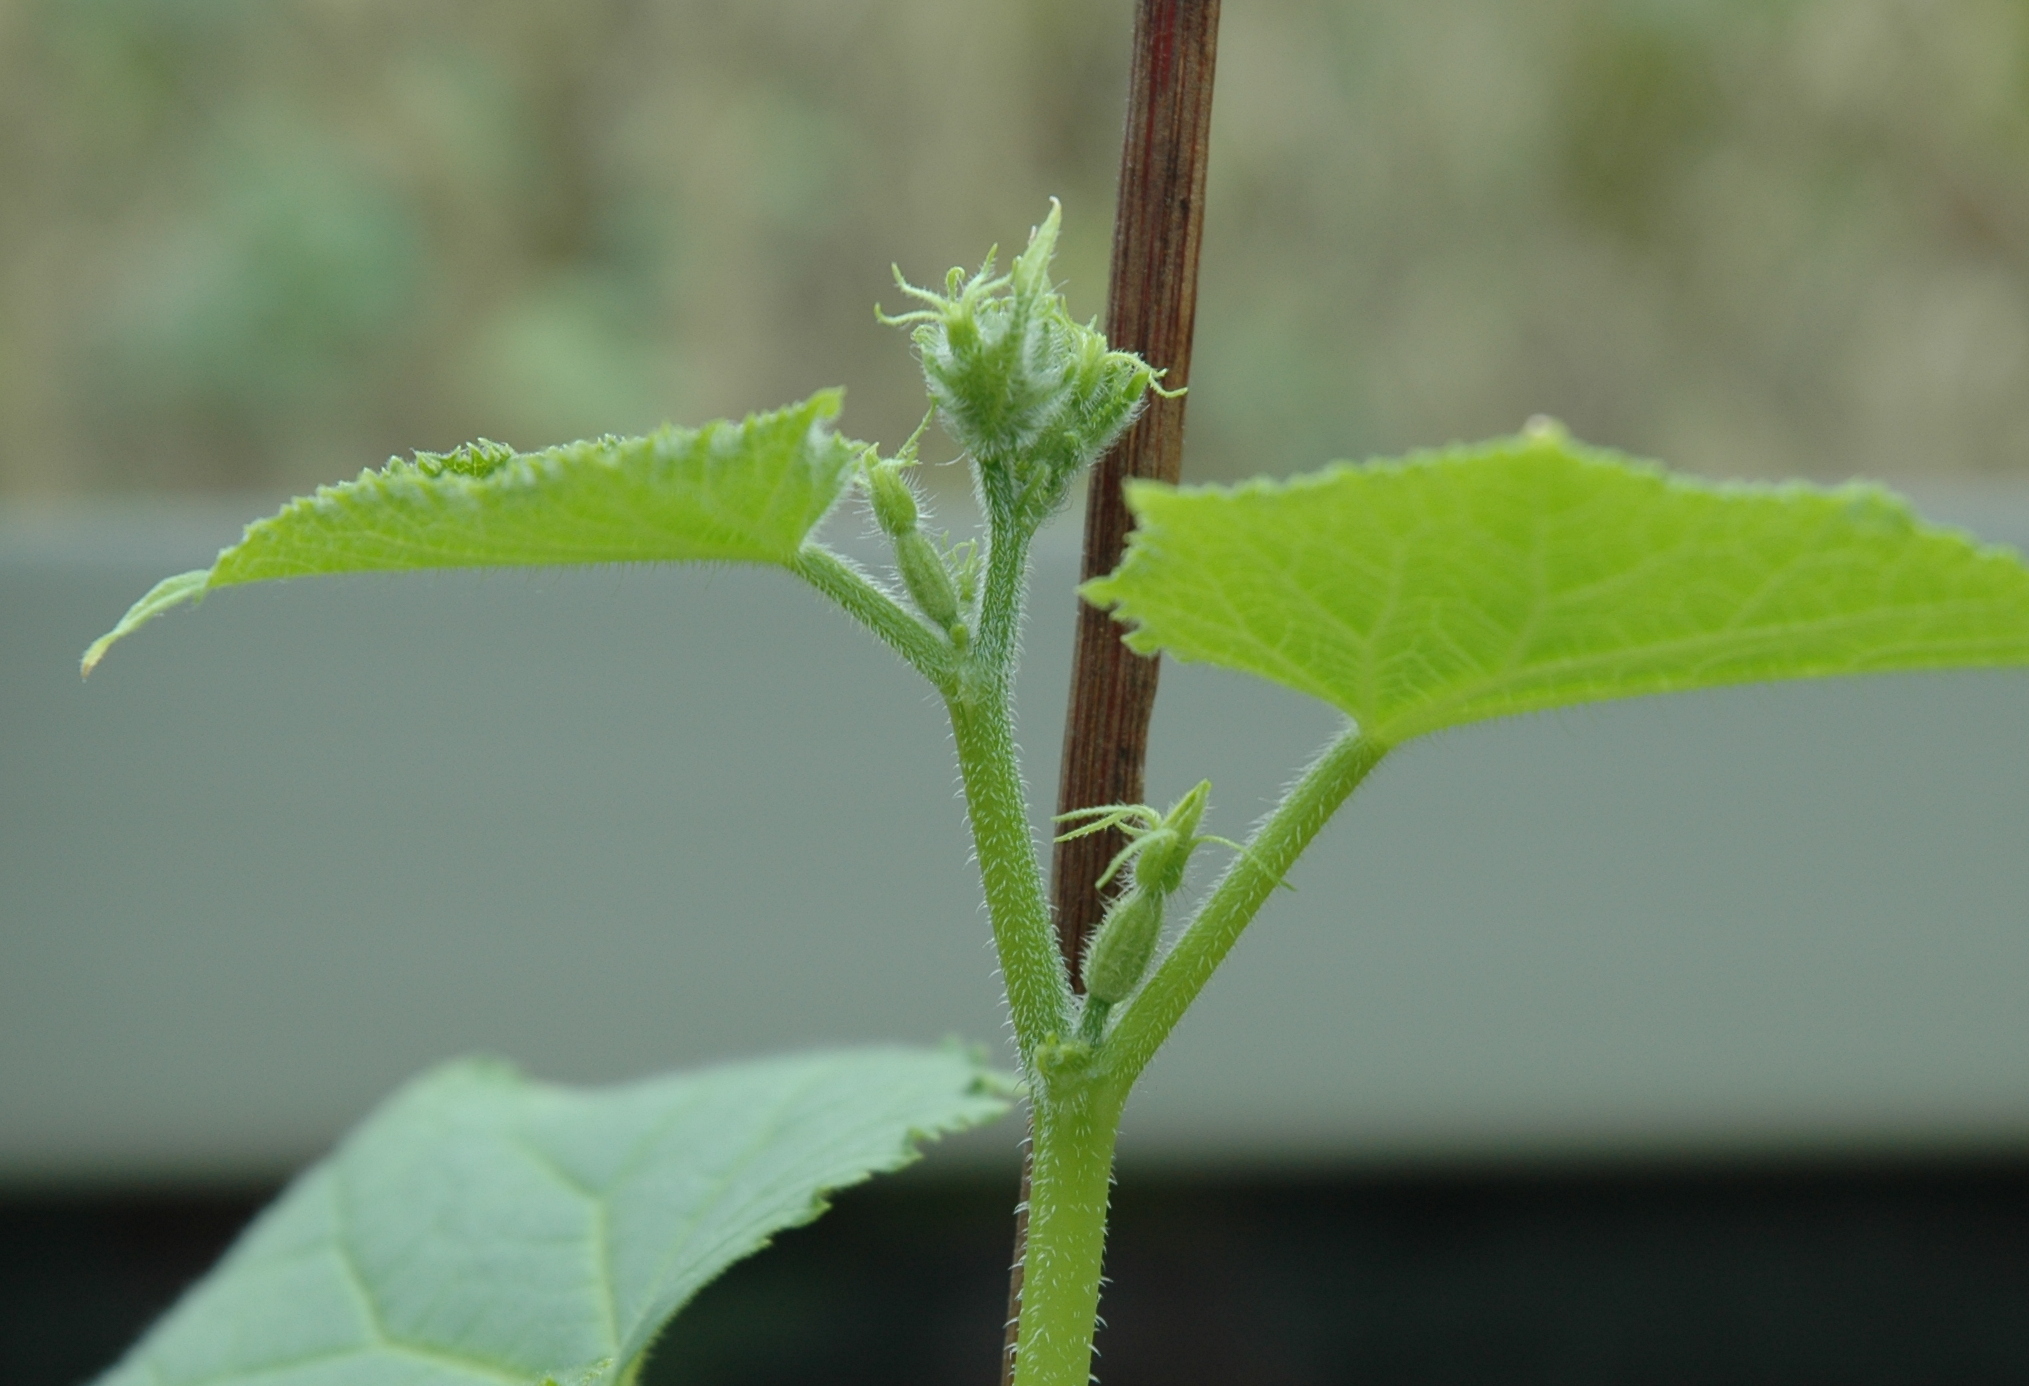
Growing & Pickling Gherkins
Gherkin – Cucumis Sativus (same family as the cucumber) Today I was lucky enough to have been given this beautiful gherkin plant. As you can
Read more
Mint & Chives in the Herb Garden
Mint – Mentha It was great to see so many of last years herbs bouncing back to life and basking in the sunshine in the
Read more
Greenfly or Aphid Pest Control
Green Fly – Aphid I found a few uninvited guests in my greenhouse this week. I know these little pests as greenfly, but they are
Read more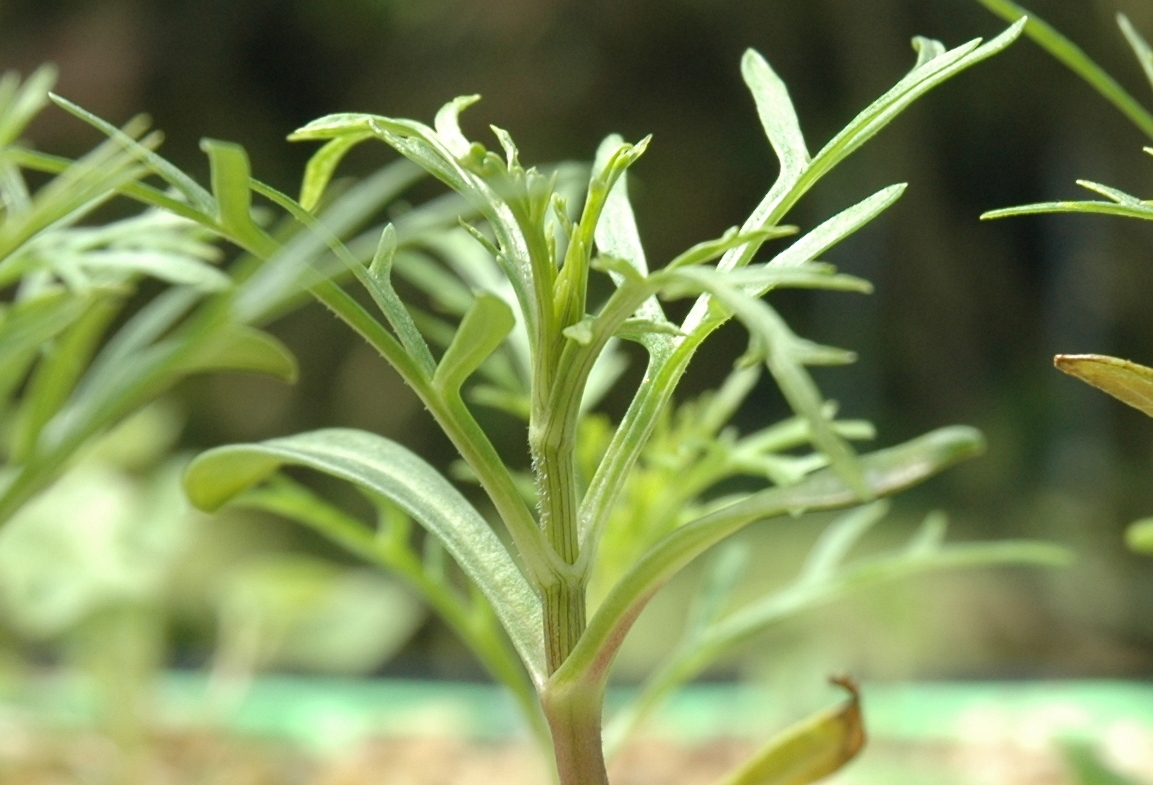
Cosmos Bipinnatus
The Cosmos Bipinnatus – Double Click Snow Puff are full of promise for a wonderful display in the summer.
Read more
Daffodils & Tulips
Div 5 Triandrus Narcissi – Thalia It was lovely to return from our Easter break to find the daffodils and tulips in full bloom. Div
Read more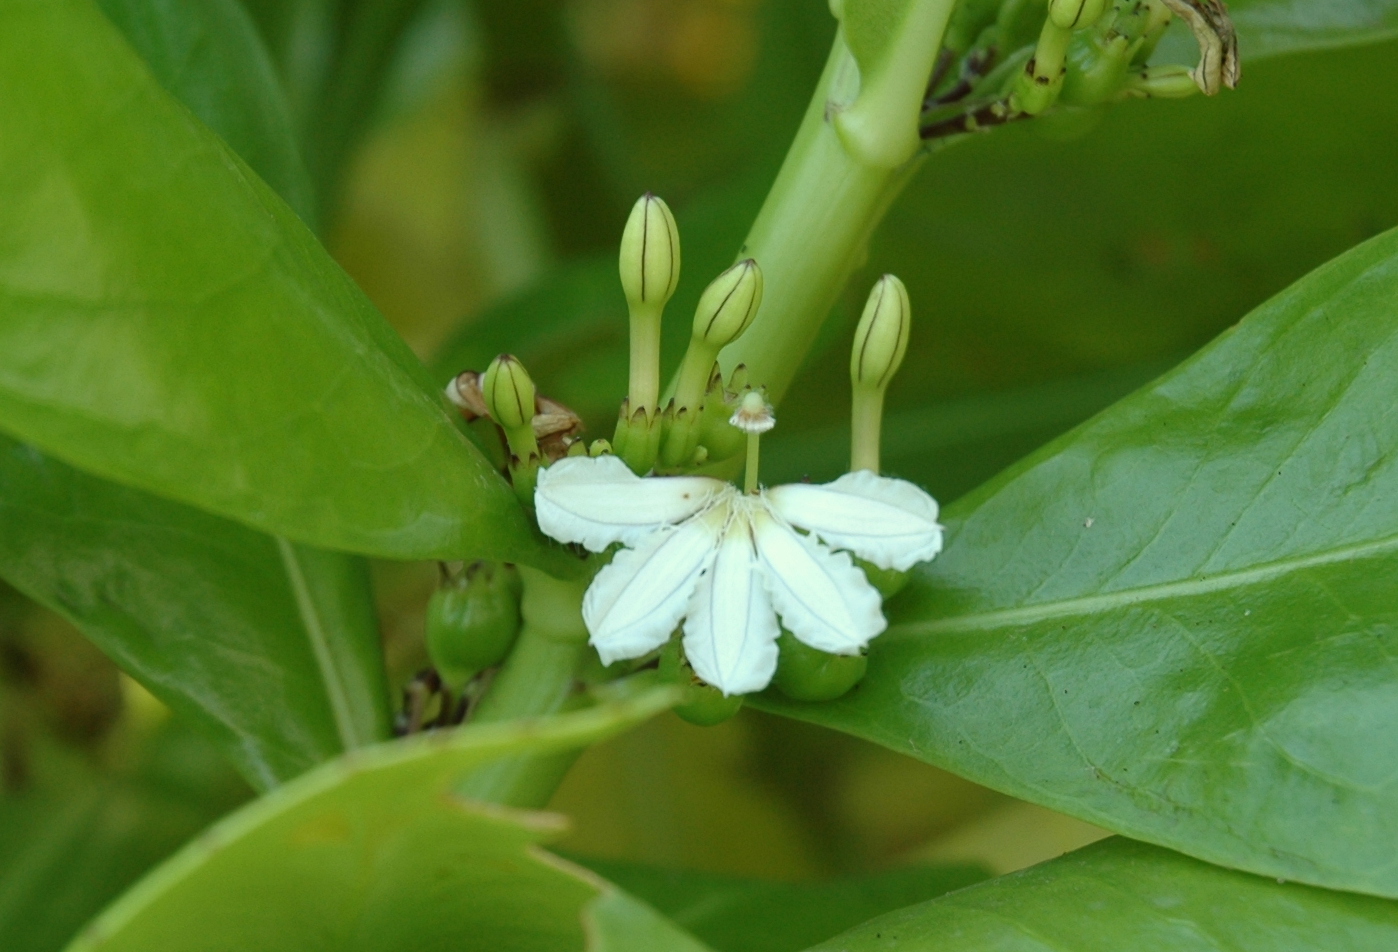
Scaevola Flower – Maldives
Scaevola Flower On a recent trip to Moofishi in the Maldives, we spotted this beautiful Scaevola flower from the Goodenia family (Goodeniaceae). Other names for
Read more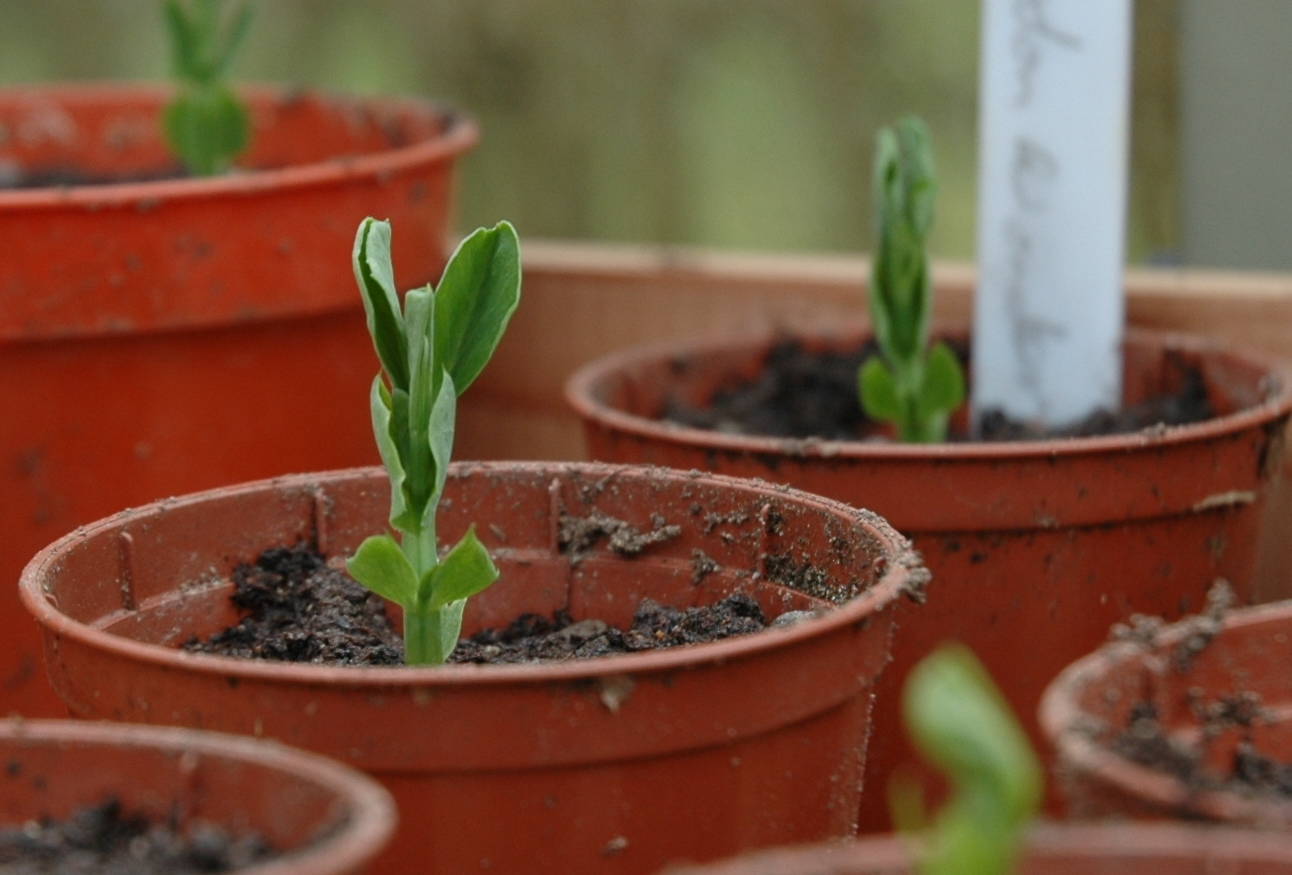
Pea Kelvedon Wonder
These Kelvedon Wonder (Pisum Sativum) pea seedlings were sown just a few weeks ago and are popping up beautifully.
Read more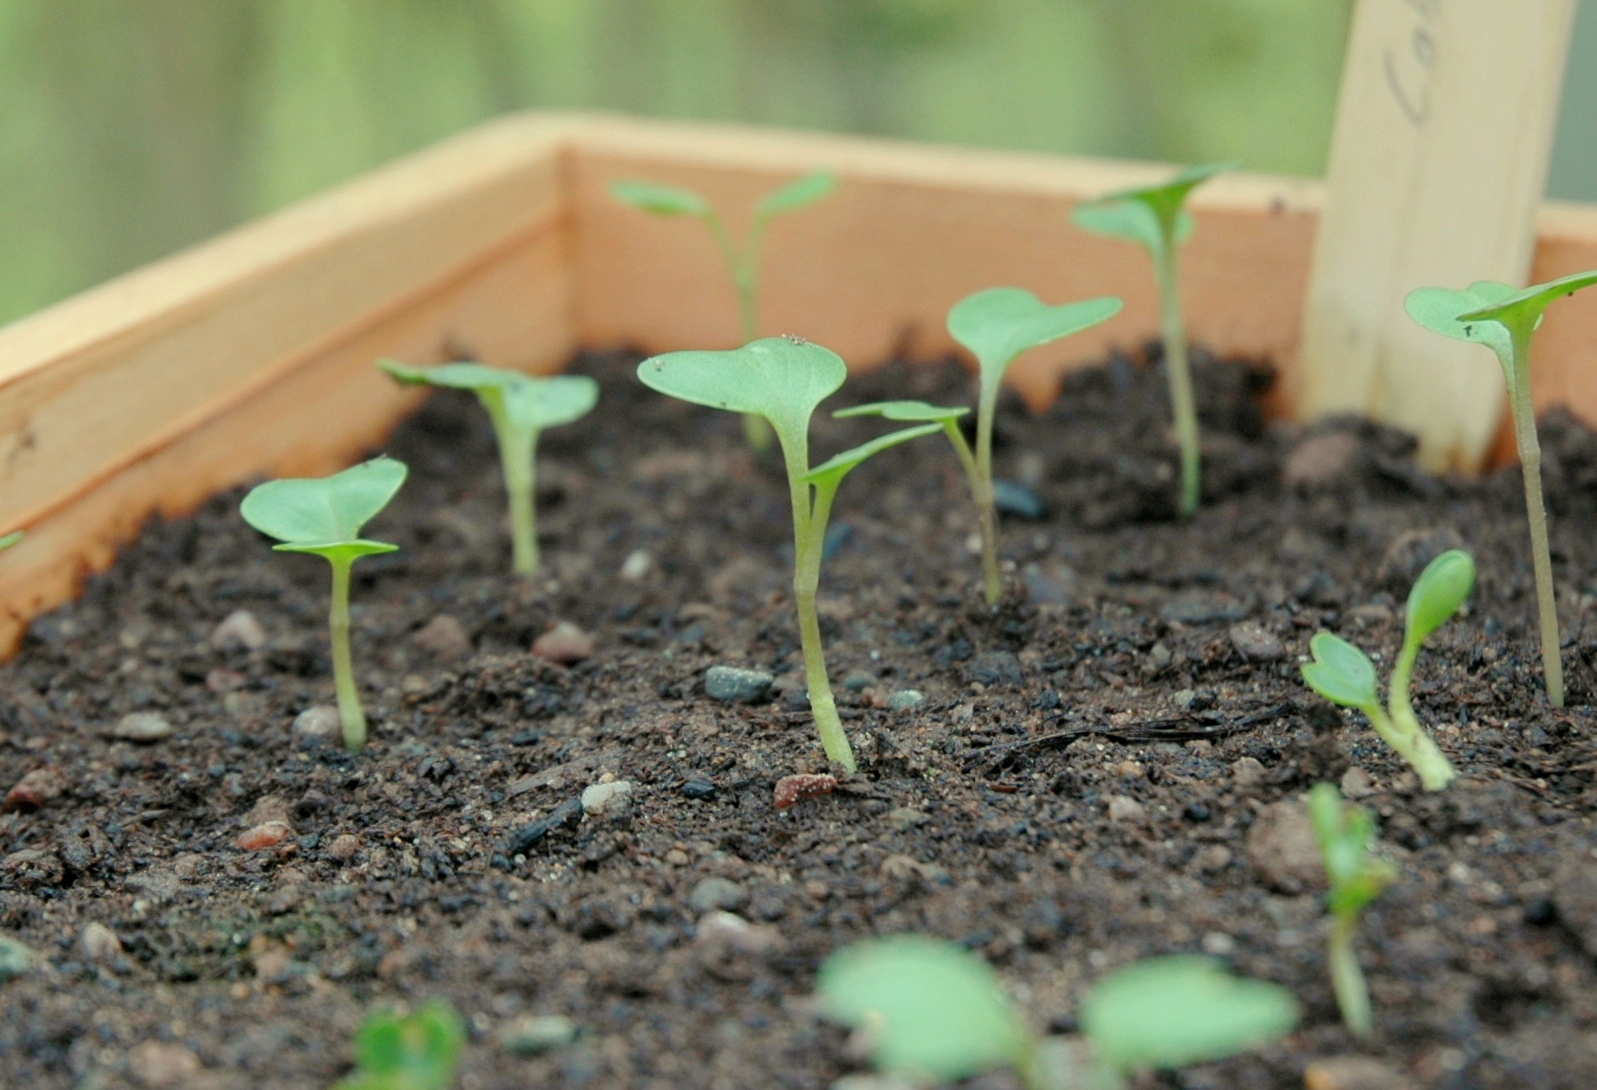
Cabbage Seedlings
These seedlings are the summer cabbage seeds I sowed 3 weeks ago. I think they are coming along rather nicely.
Read more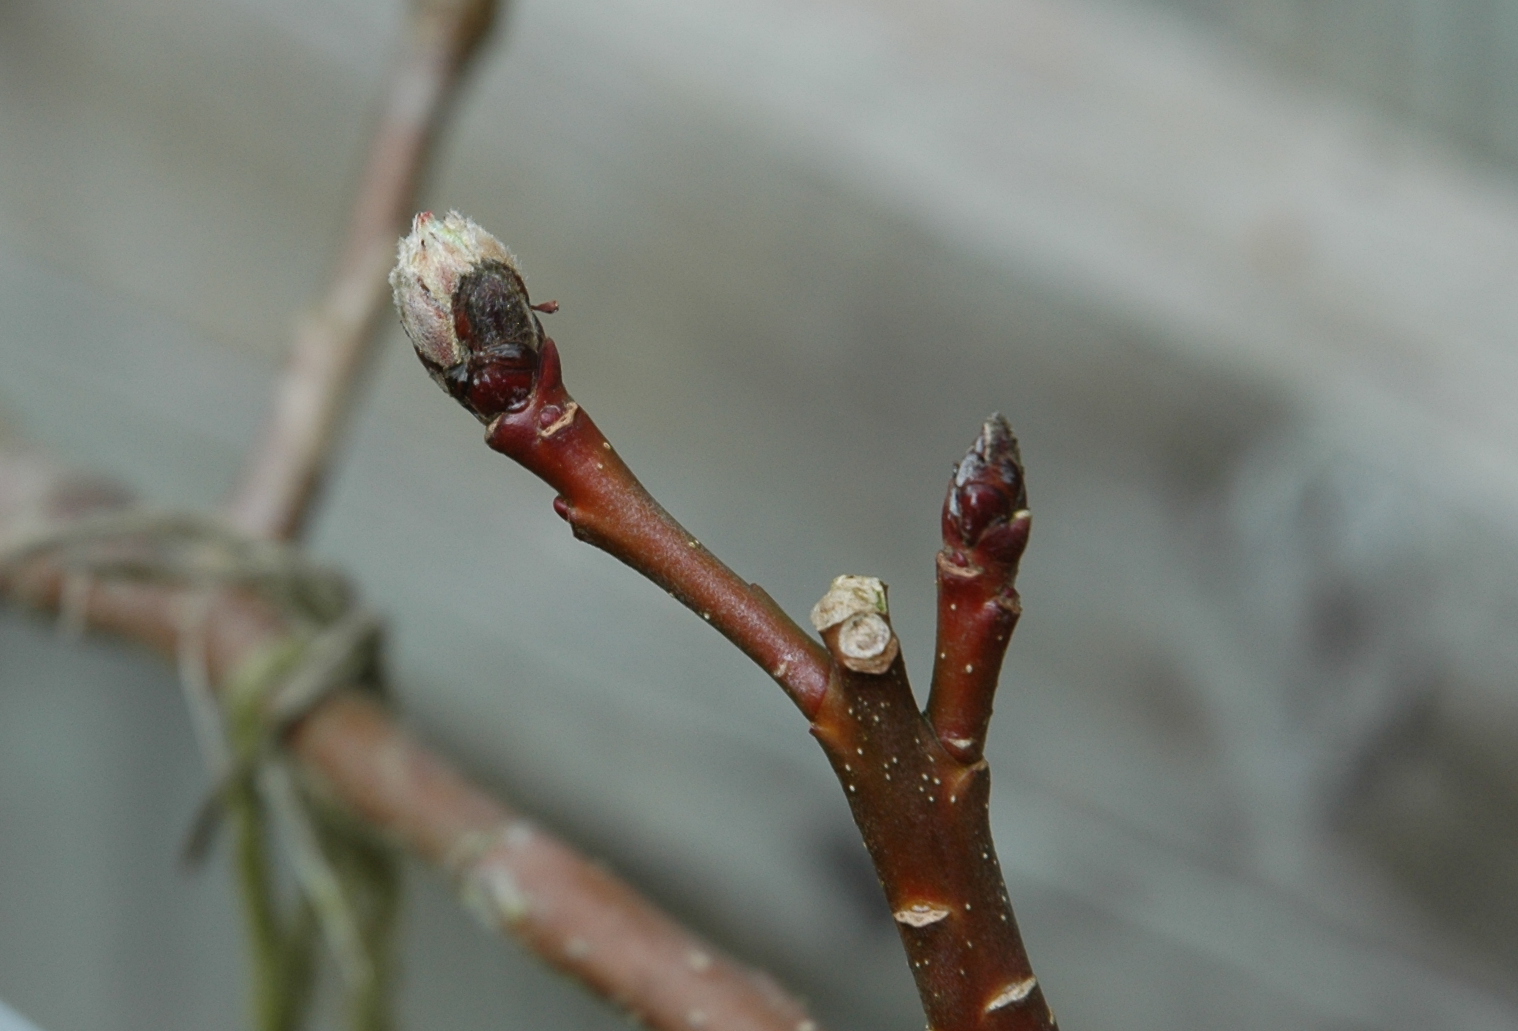
Apple Buds
It is lovely to see the apple buds ready to burst into life. Apple Discovery Apple Egremont Russet
Read more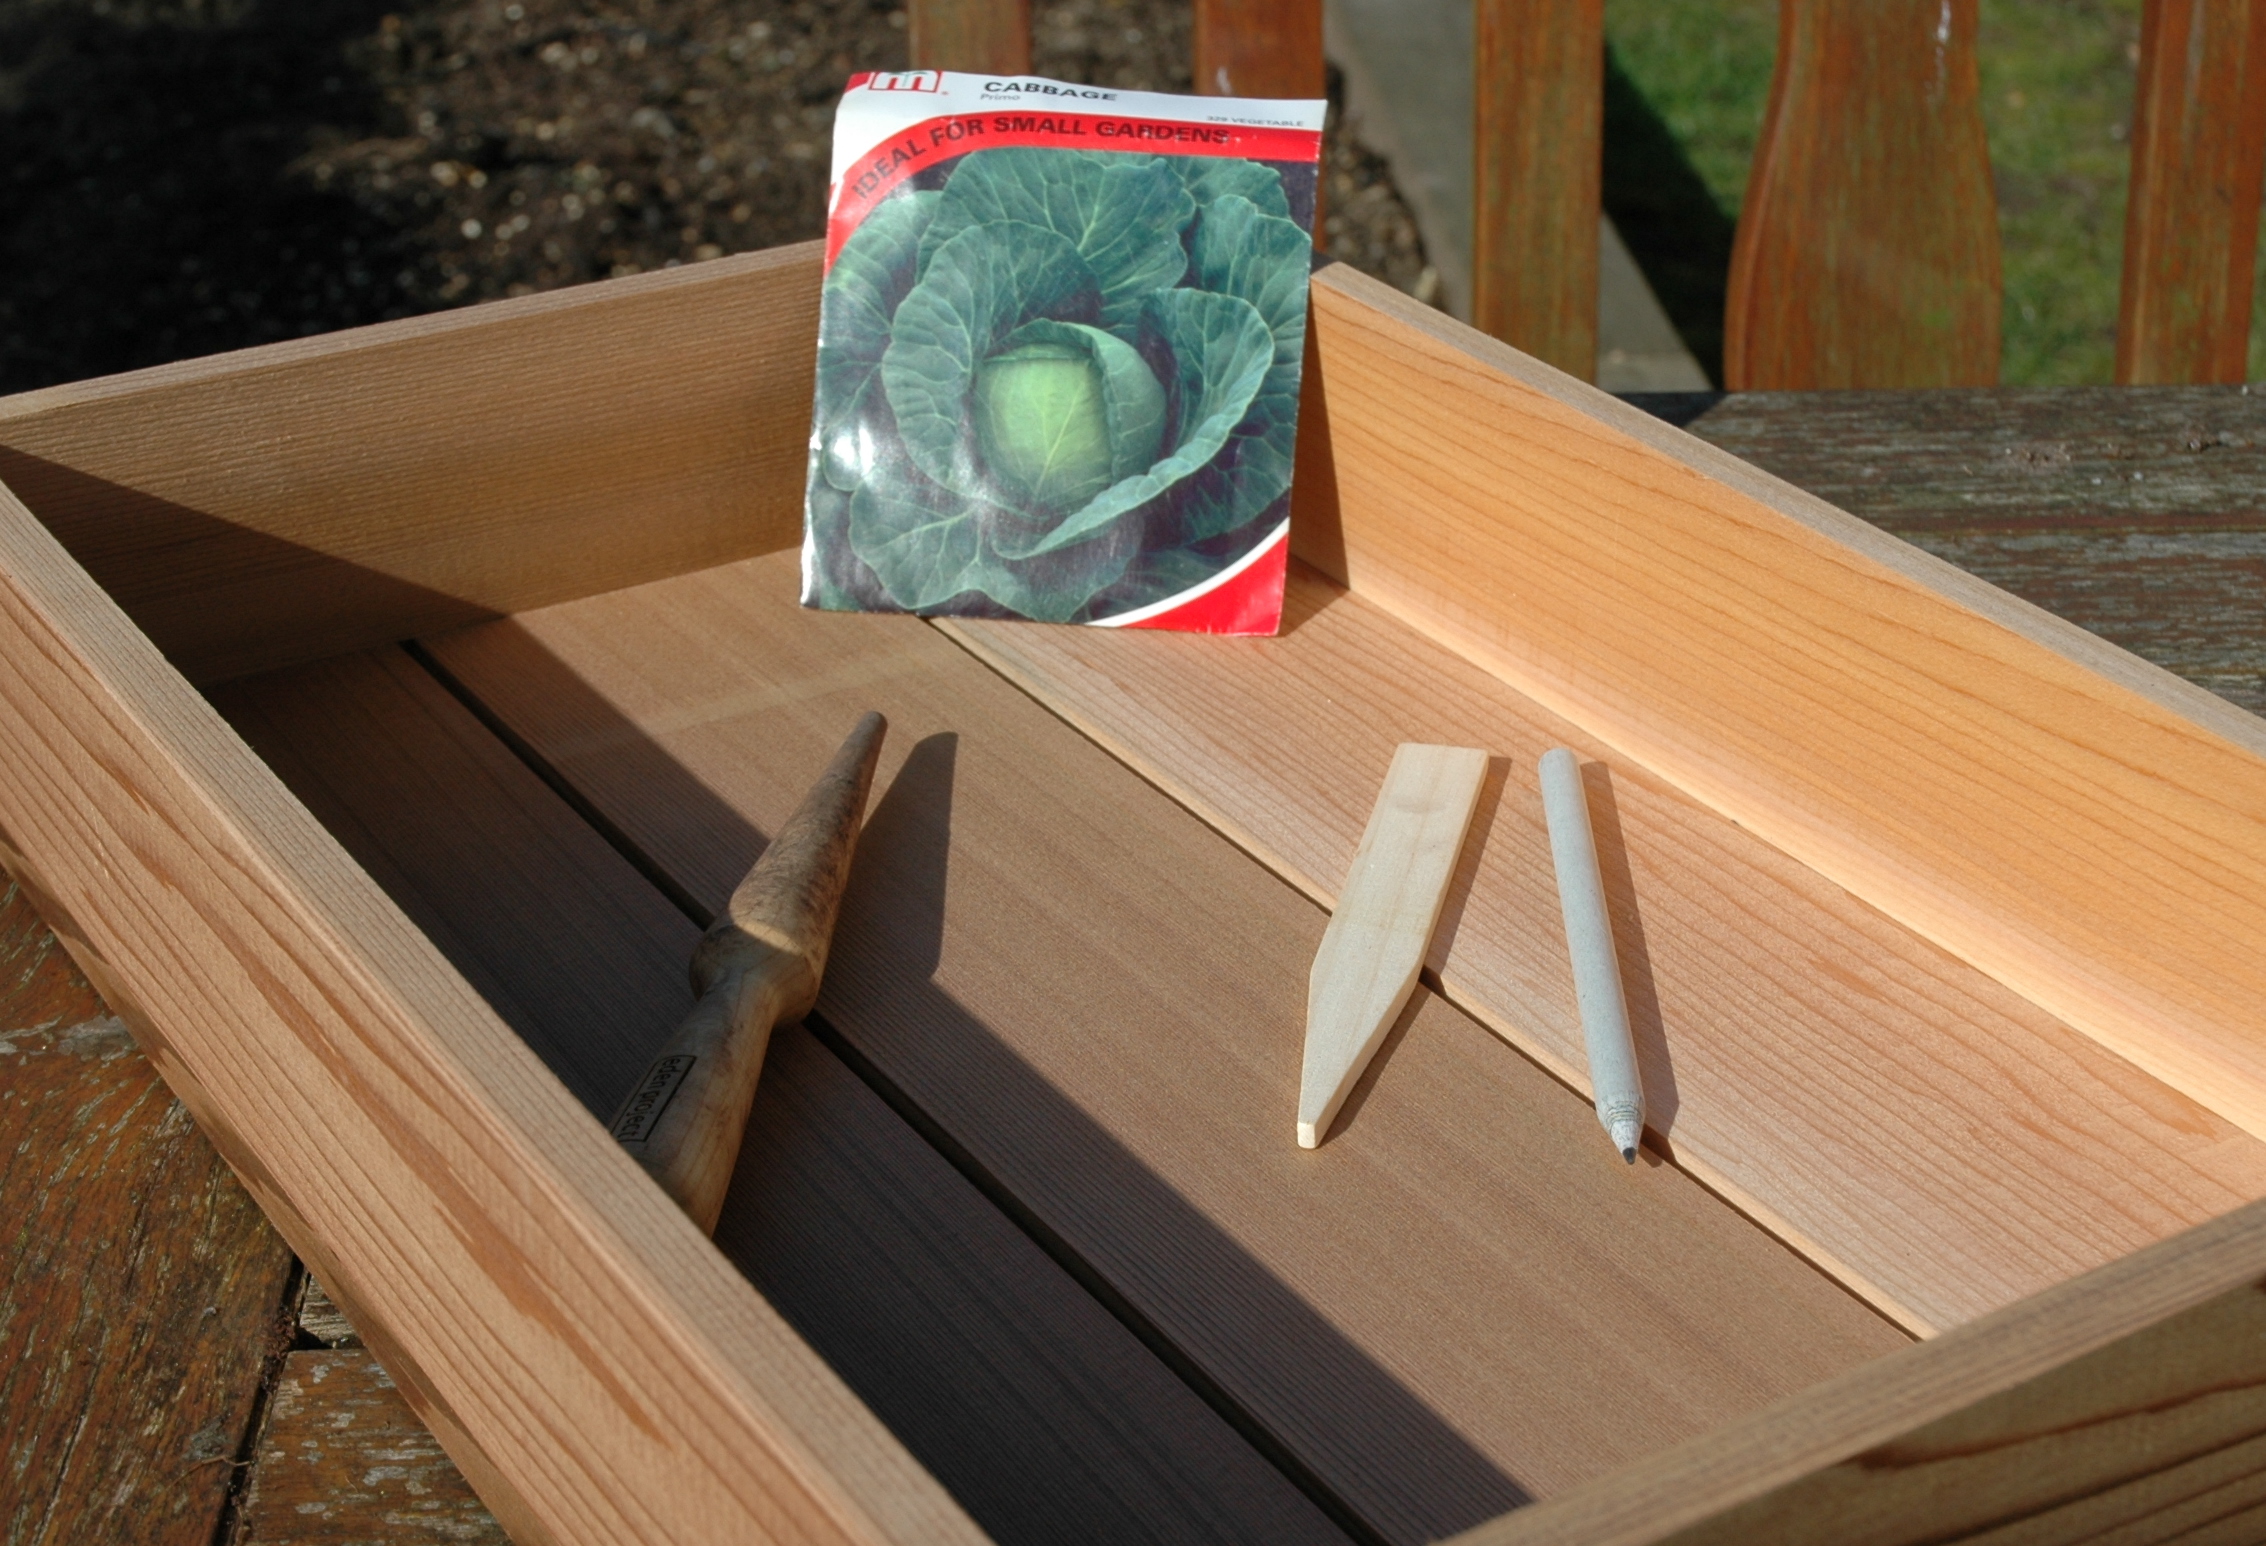
Sowing Summer Cabbage
Now is the time to sow summer cabbage seeds. I am planting these into seed trays, although you could equally plant directly into the ground
Read more